DIY Privacy Screen
By Hugo Belin
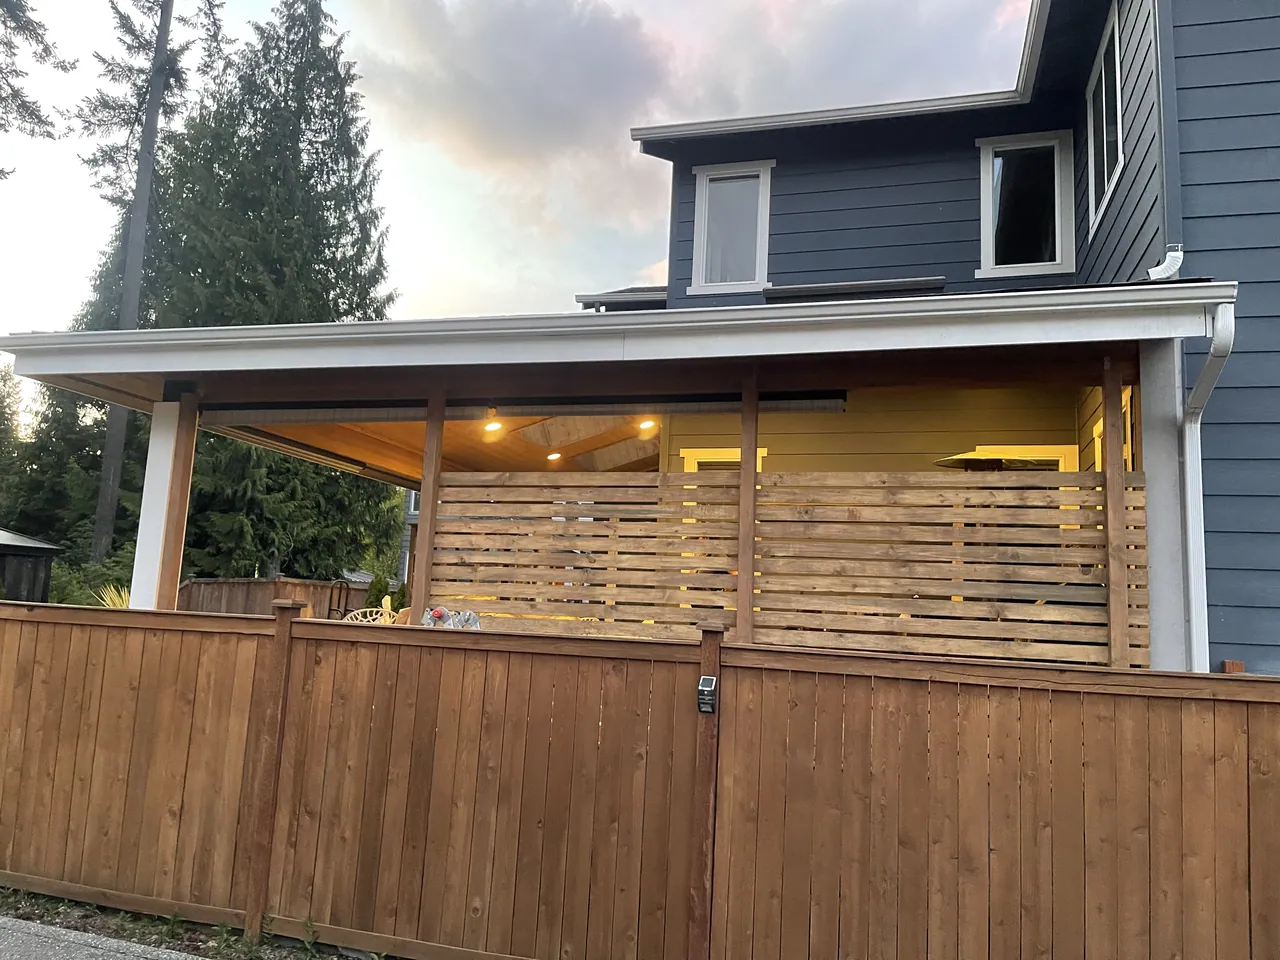
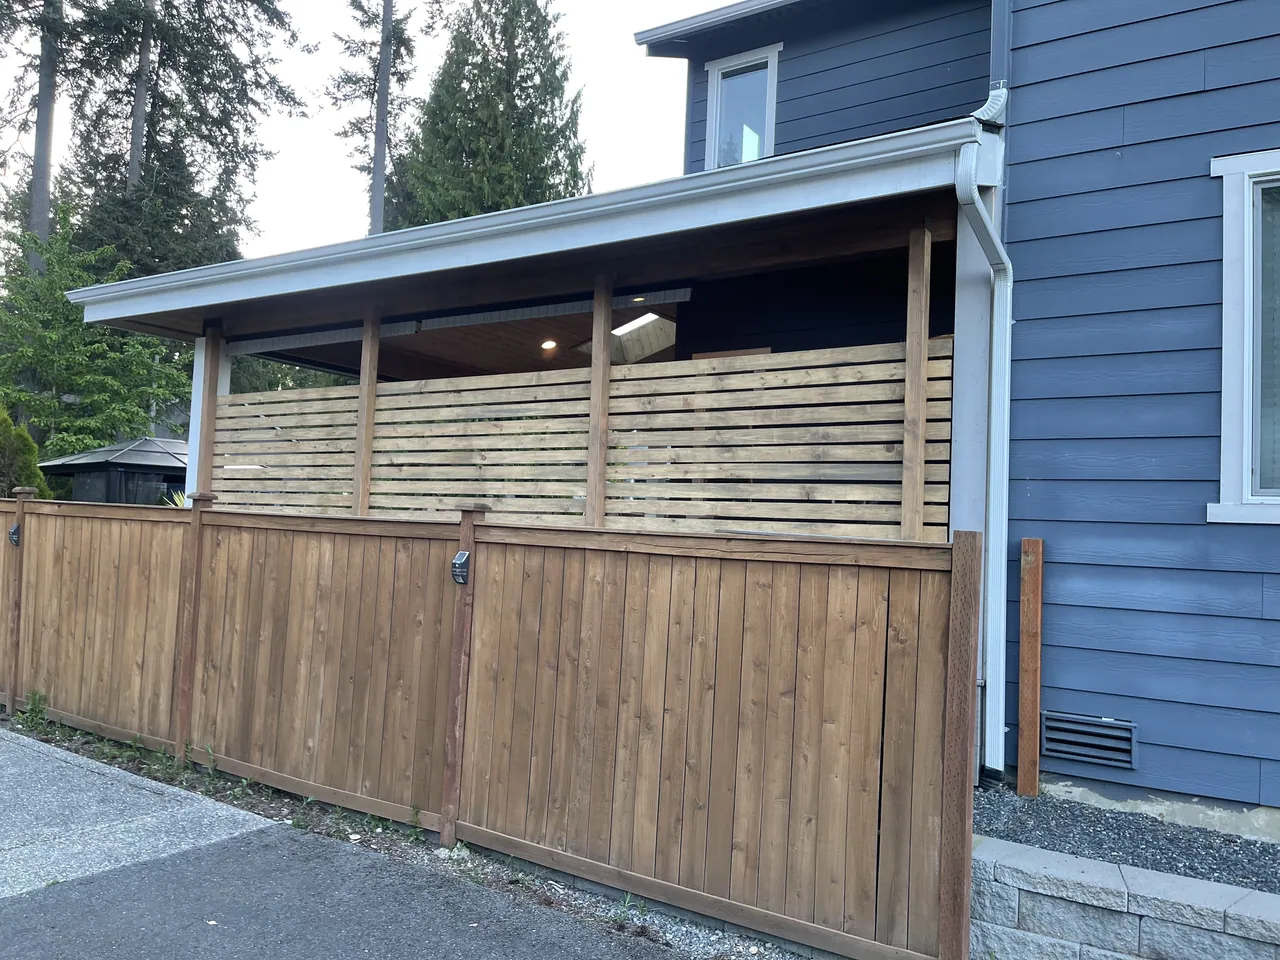
Getting ready for the summer! One of the things that just needed to be done before we could enjoy the company of guests in the backyard was the addition of a privacy wall in the deck. We got our hands dirty for few days and accomplished it! Some woodwork here, some staining there (plus few tools) was all we needed to call this project done. Here’s how it happened.
Why a privacy screen was needed?
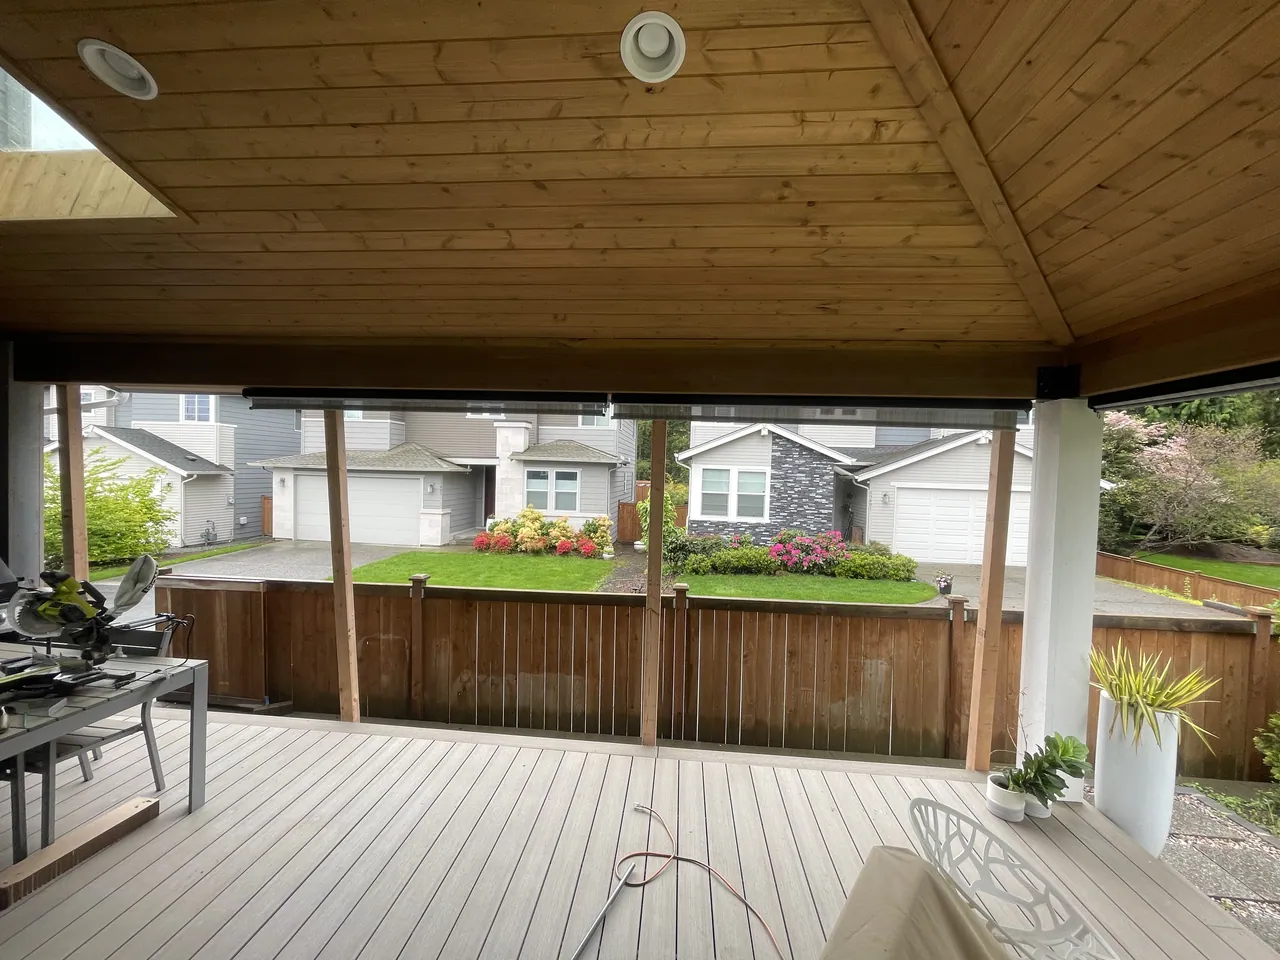
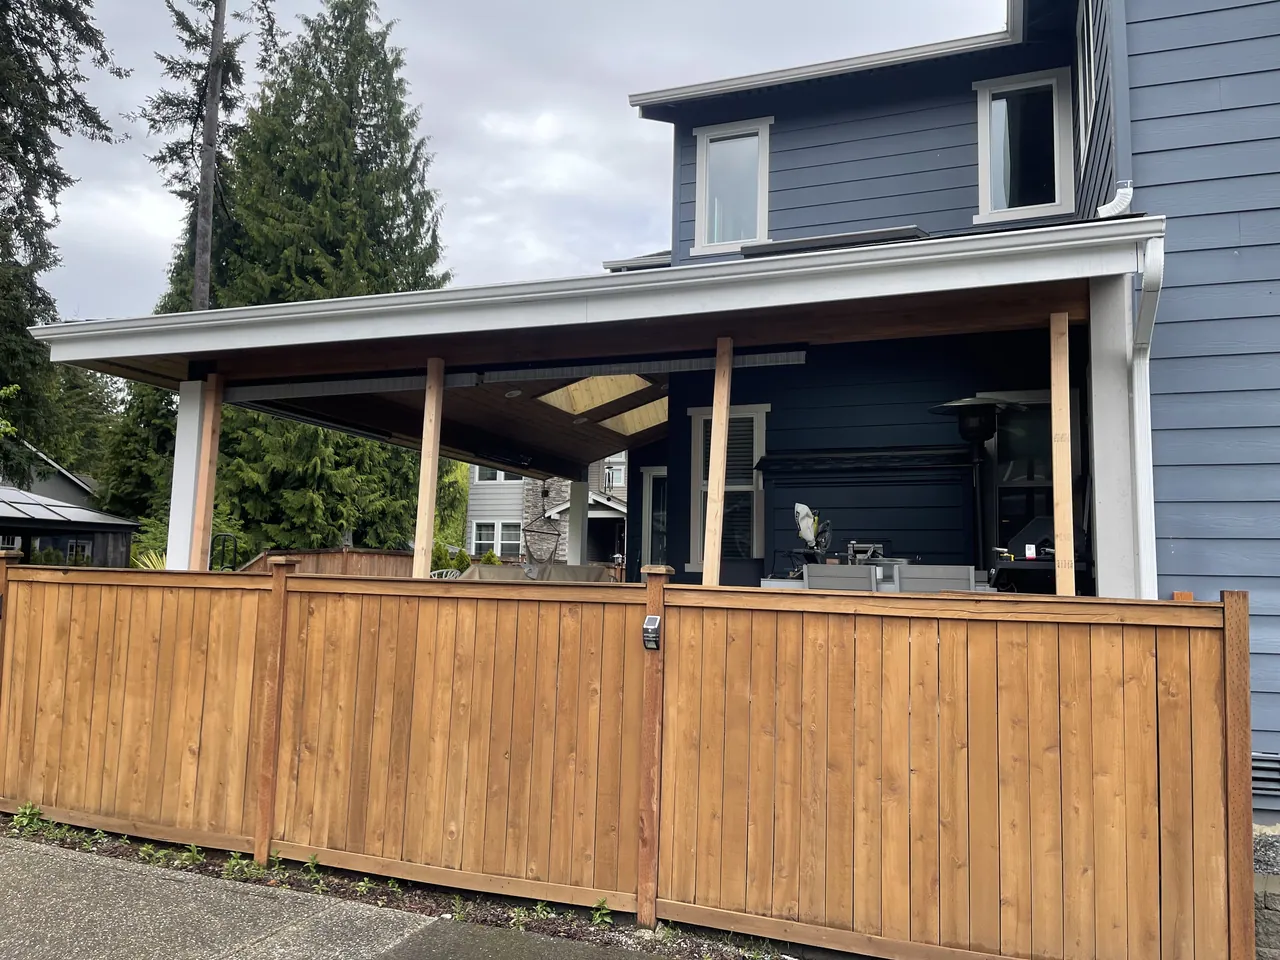
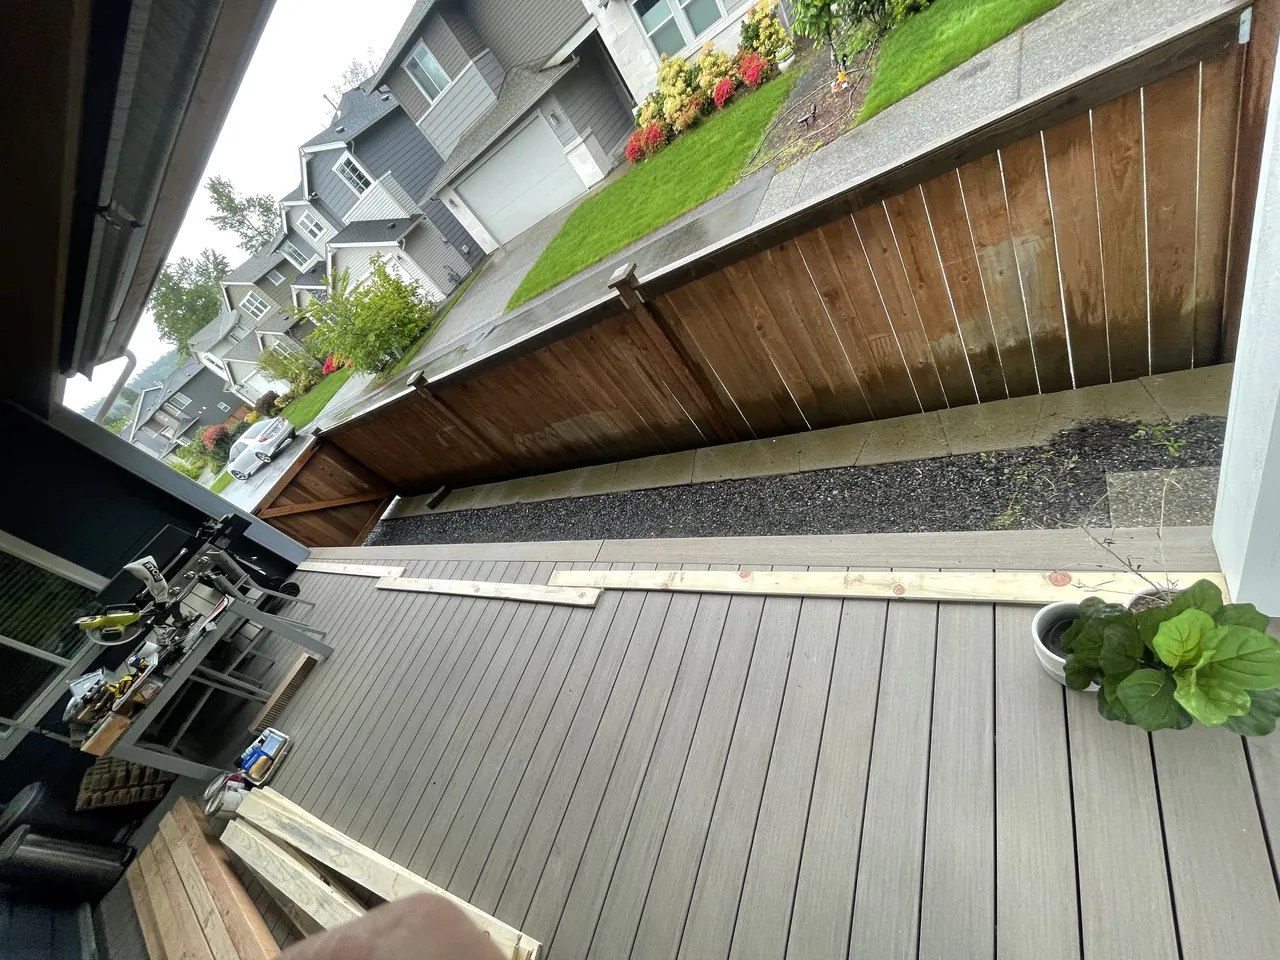
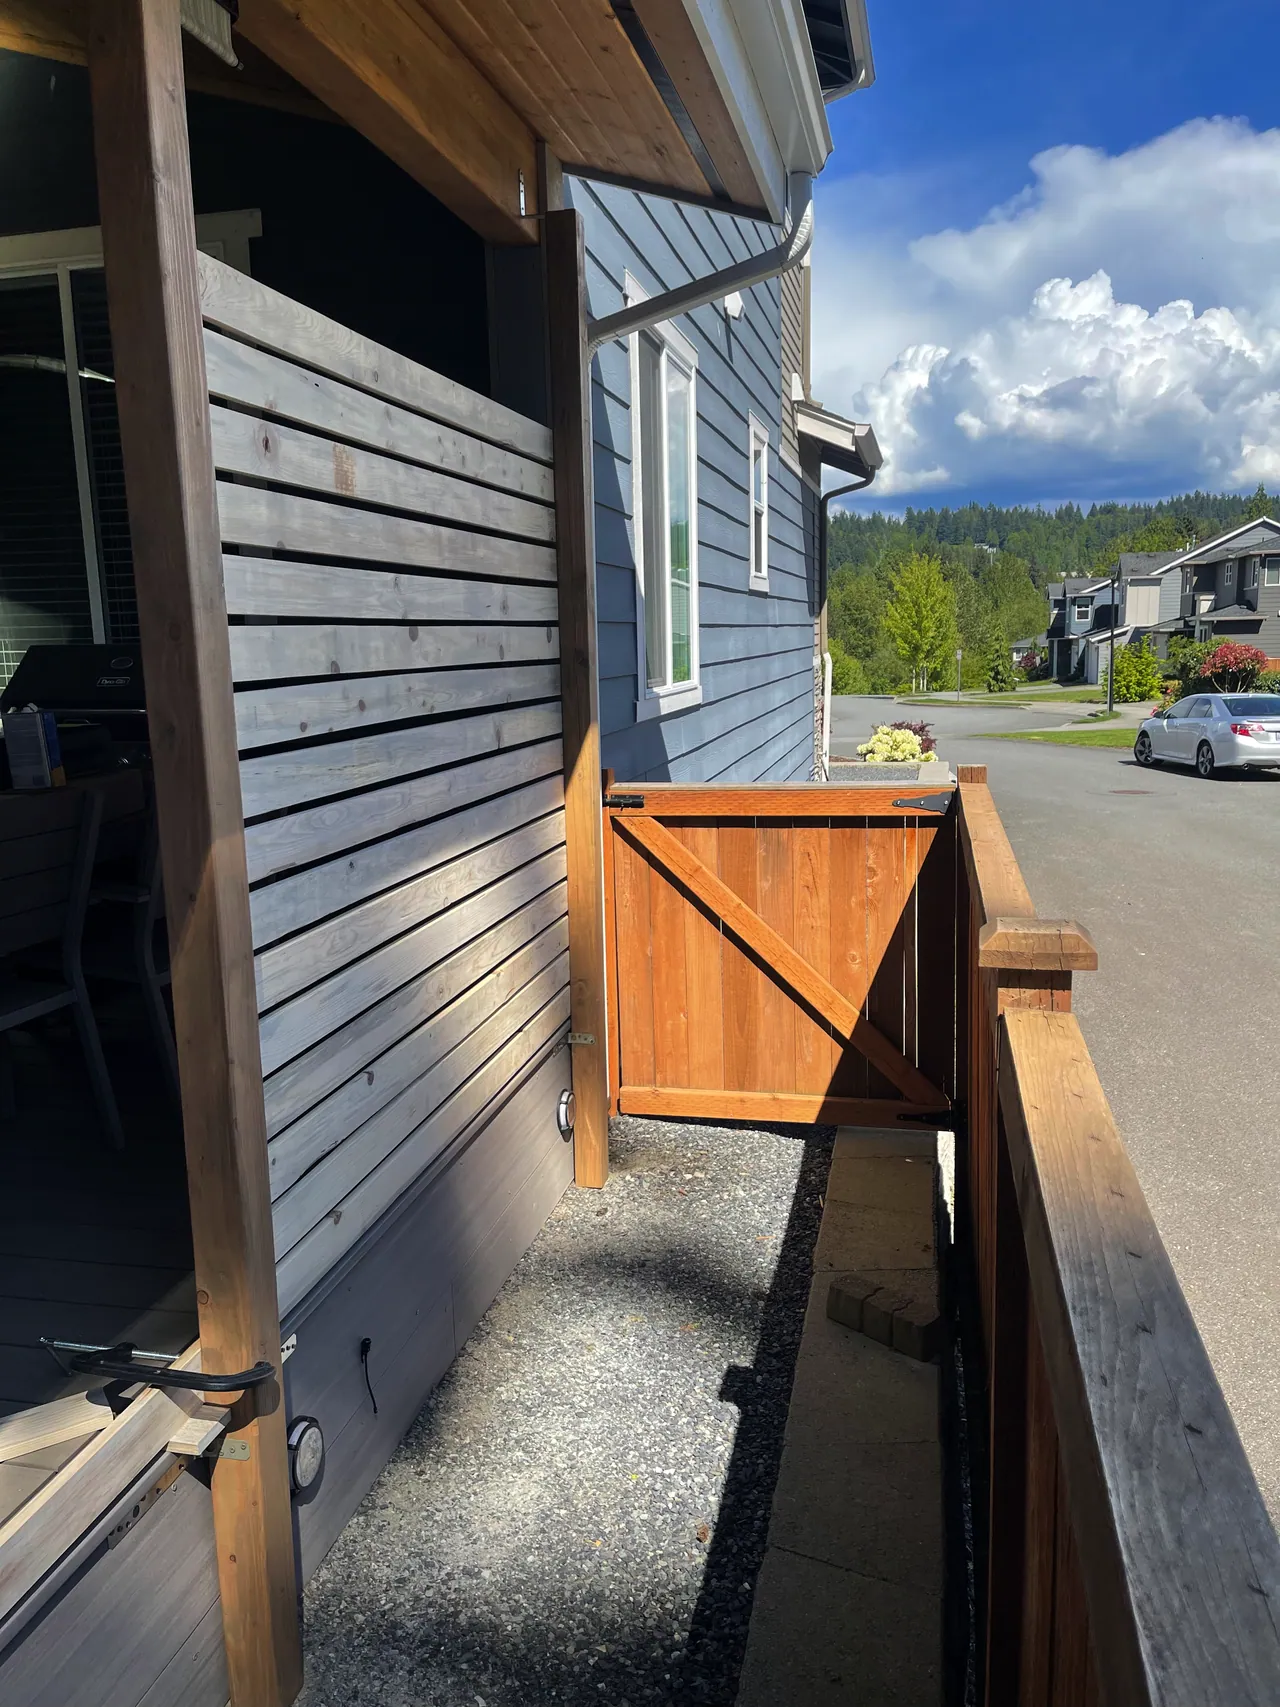
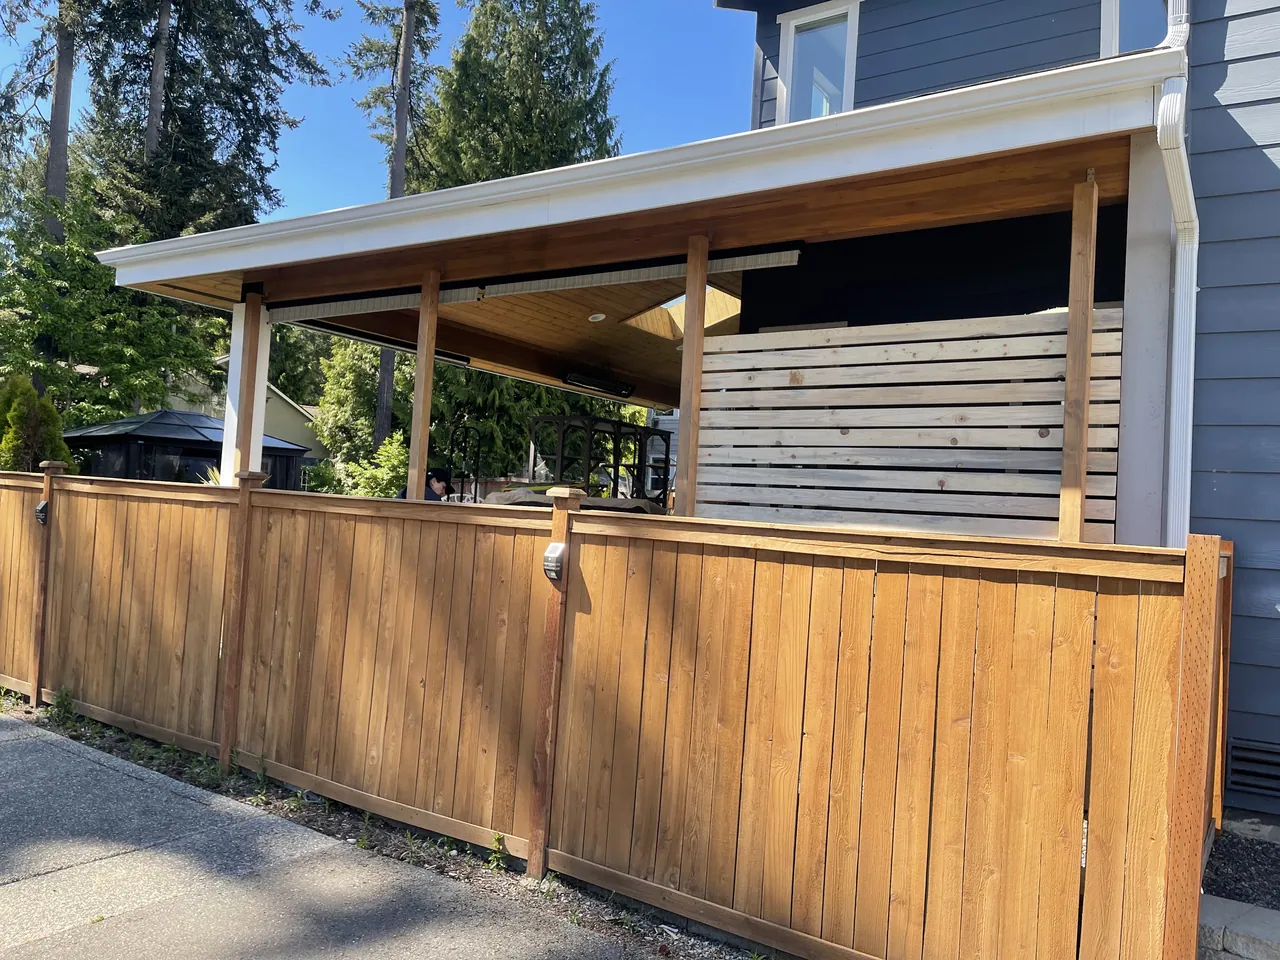
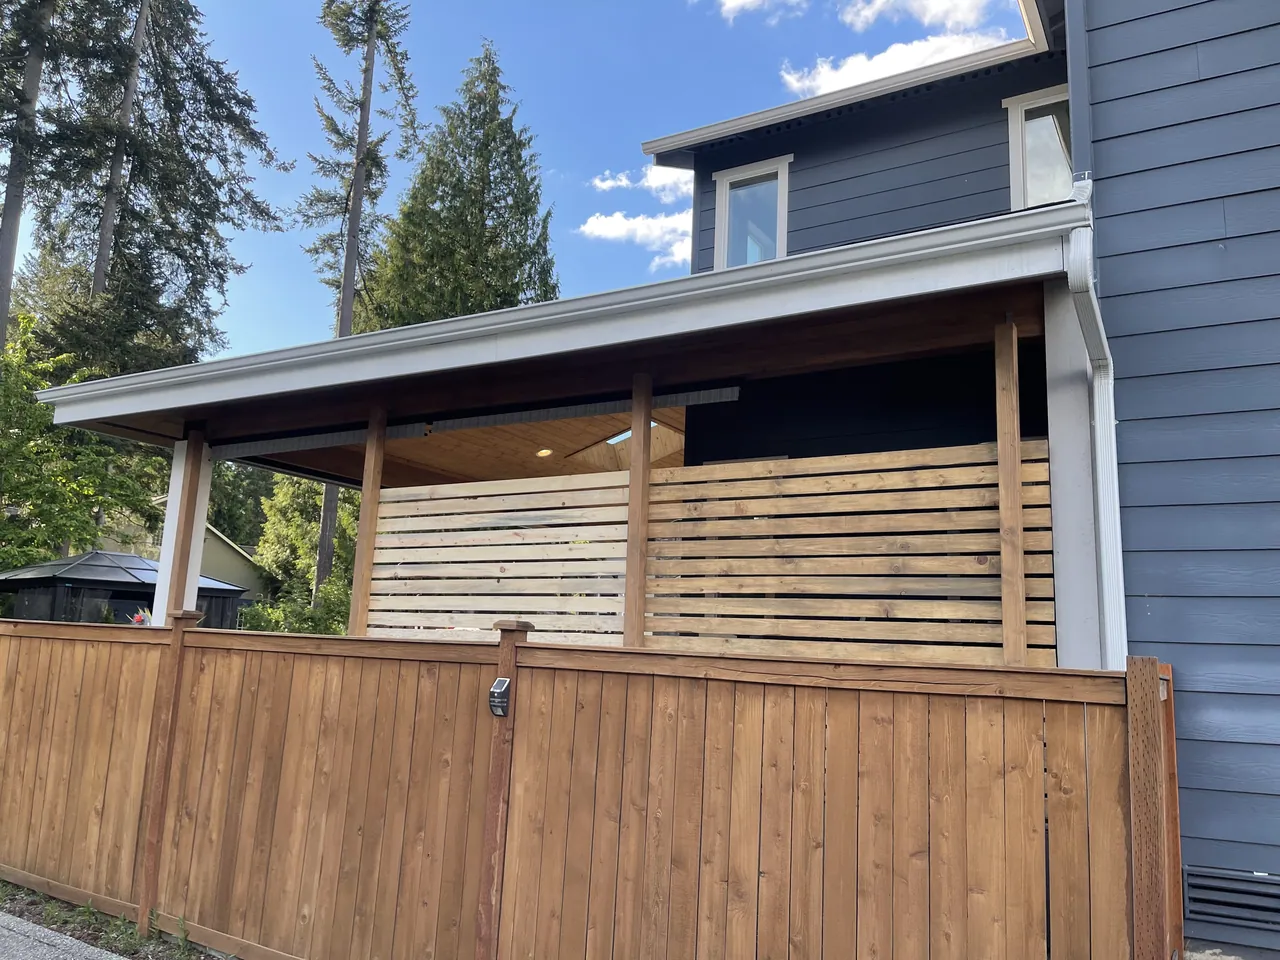
In 2020 a deck was added to the back of the house, the level of the deck is in line with the level of the floor of the house. There were two steps at the exit of the house that got covered by the deck. In addition to that, the level of the house is above the level of the street. The resulting deck ended up pretty close to the top level of the fence and thus anything can be seen entirely from the street.
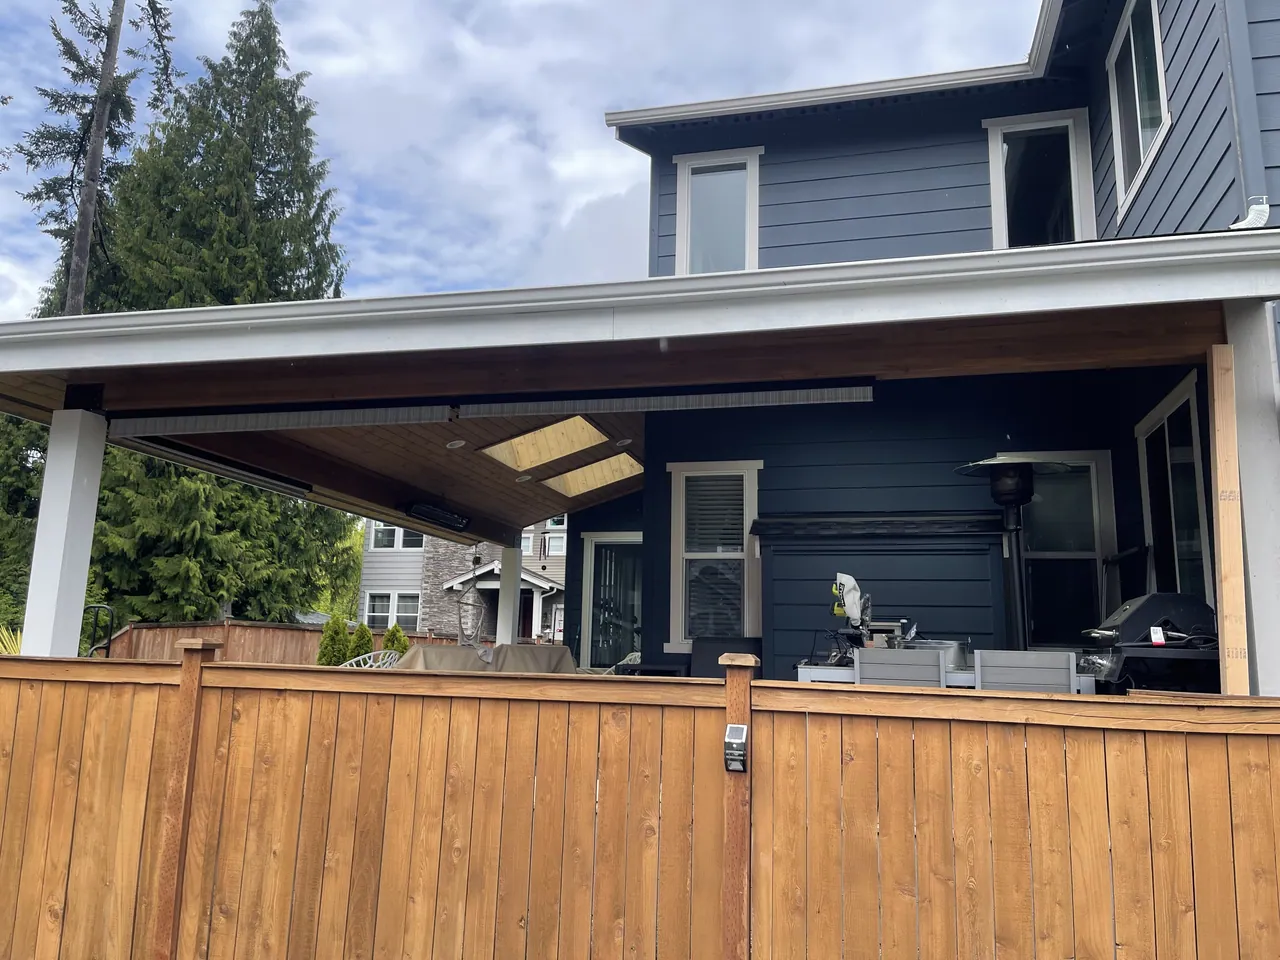
What everyone was able to see from the street
Let's fix this
Planning was the first step in the process. Decide how many panels are we going to fit into the space, find the wood for the posts and the panels. In order to preview the panel size the very first step is to find appropriate wood for the posts, the decision was to use 4" x 4" x 10’ since it seemed to have the appropriate height and sturdiness for the job. Home Depot price for the posts is $21.84 (total $87.36).
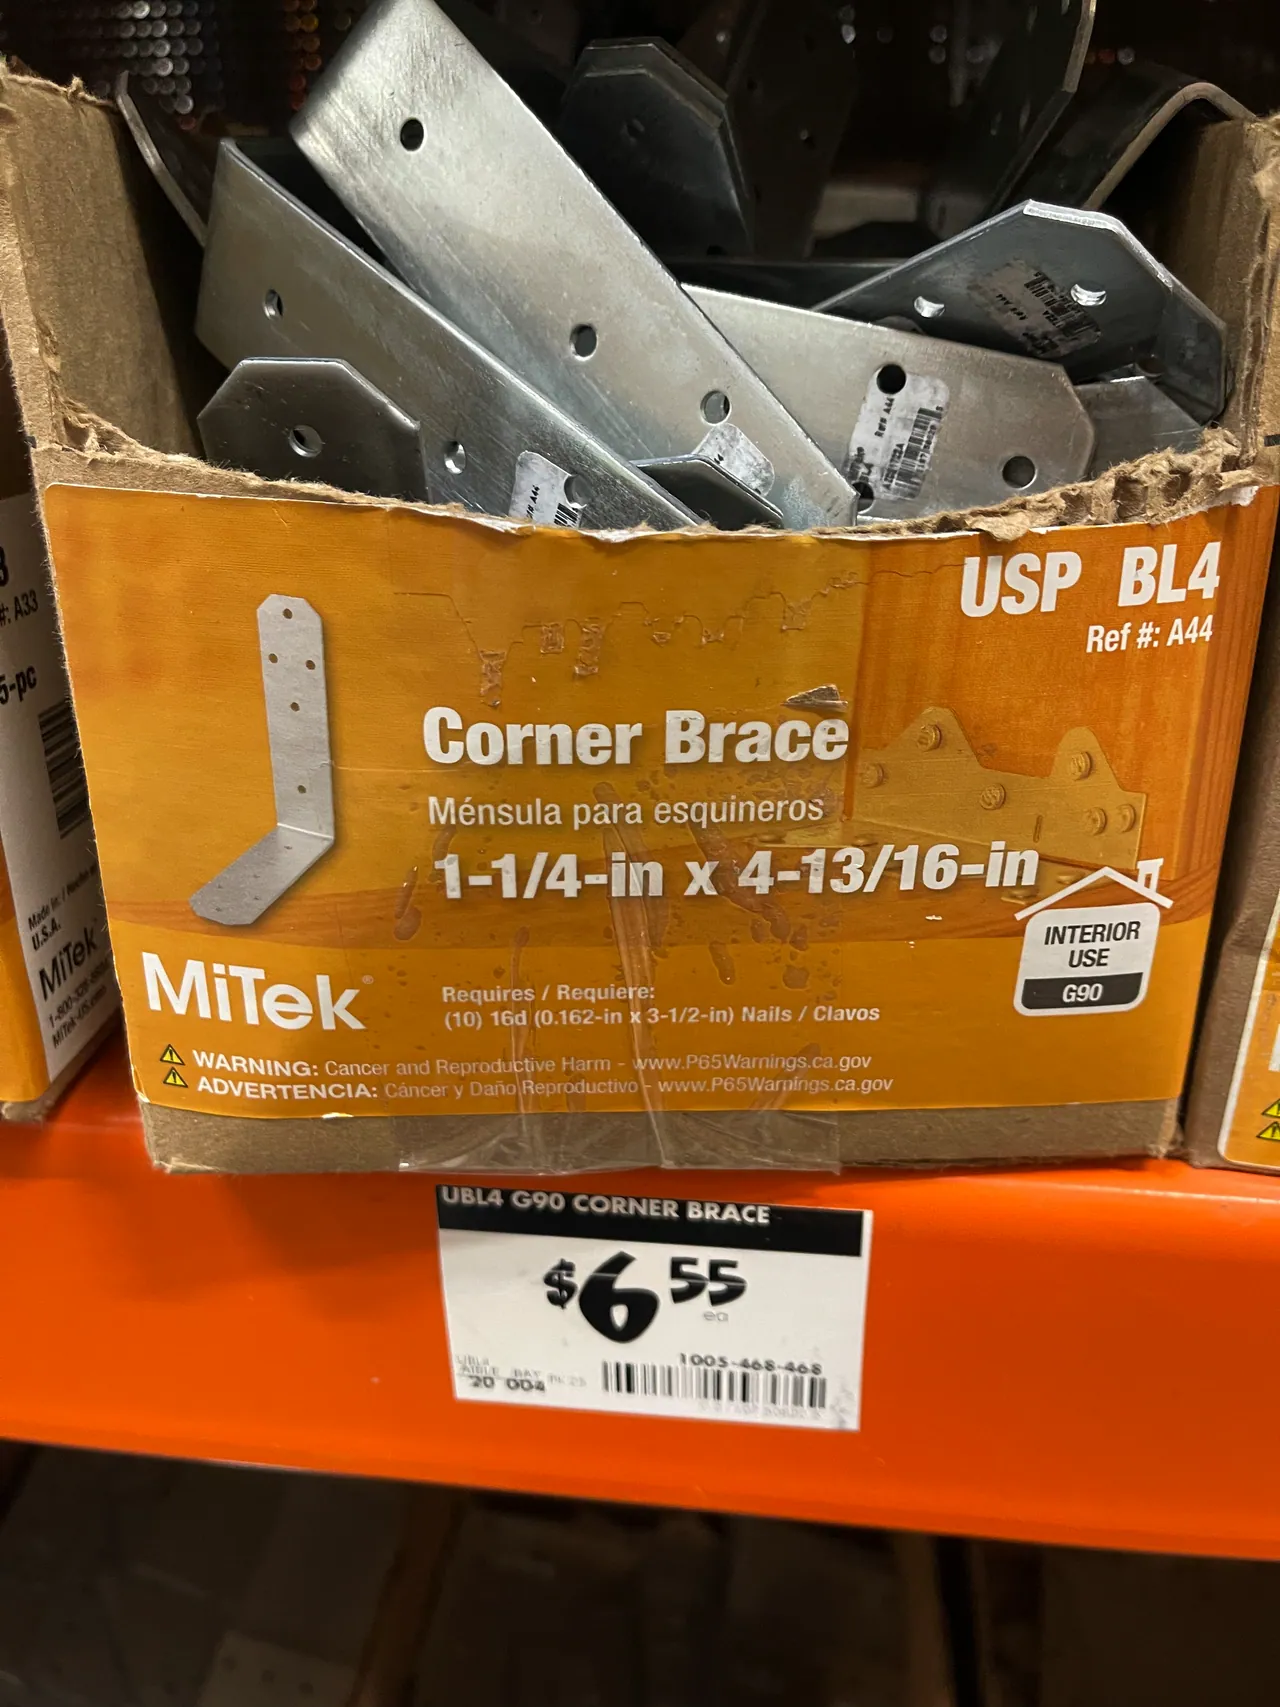
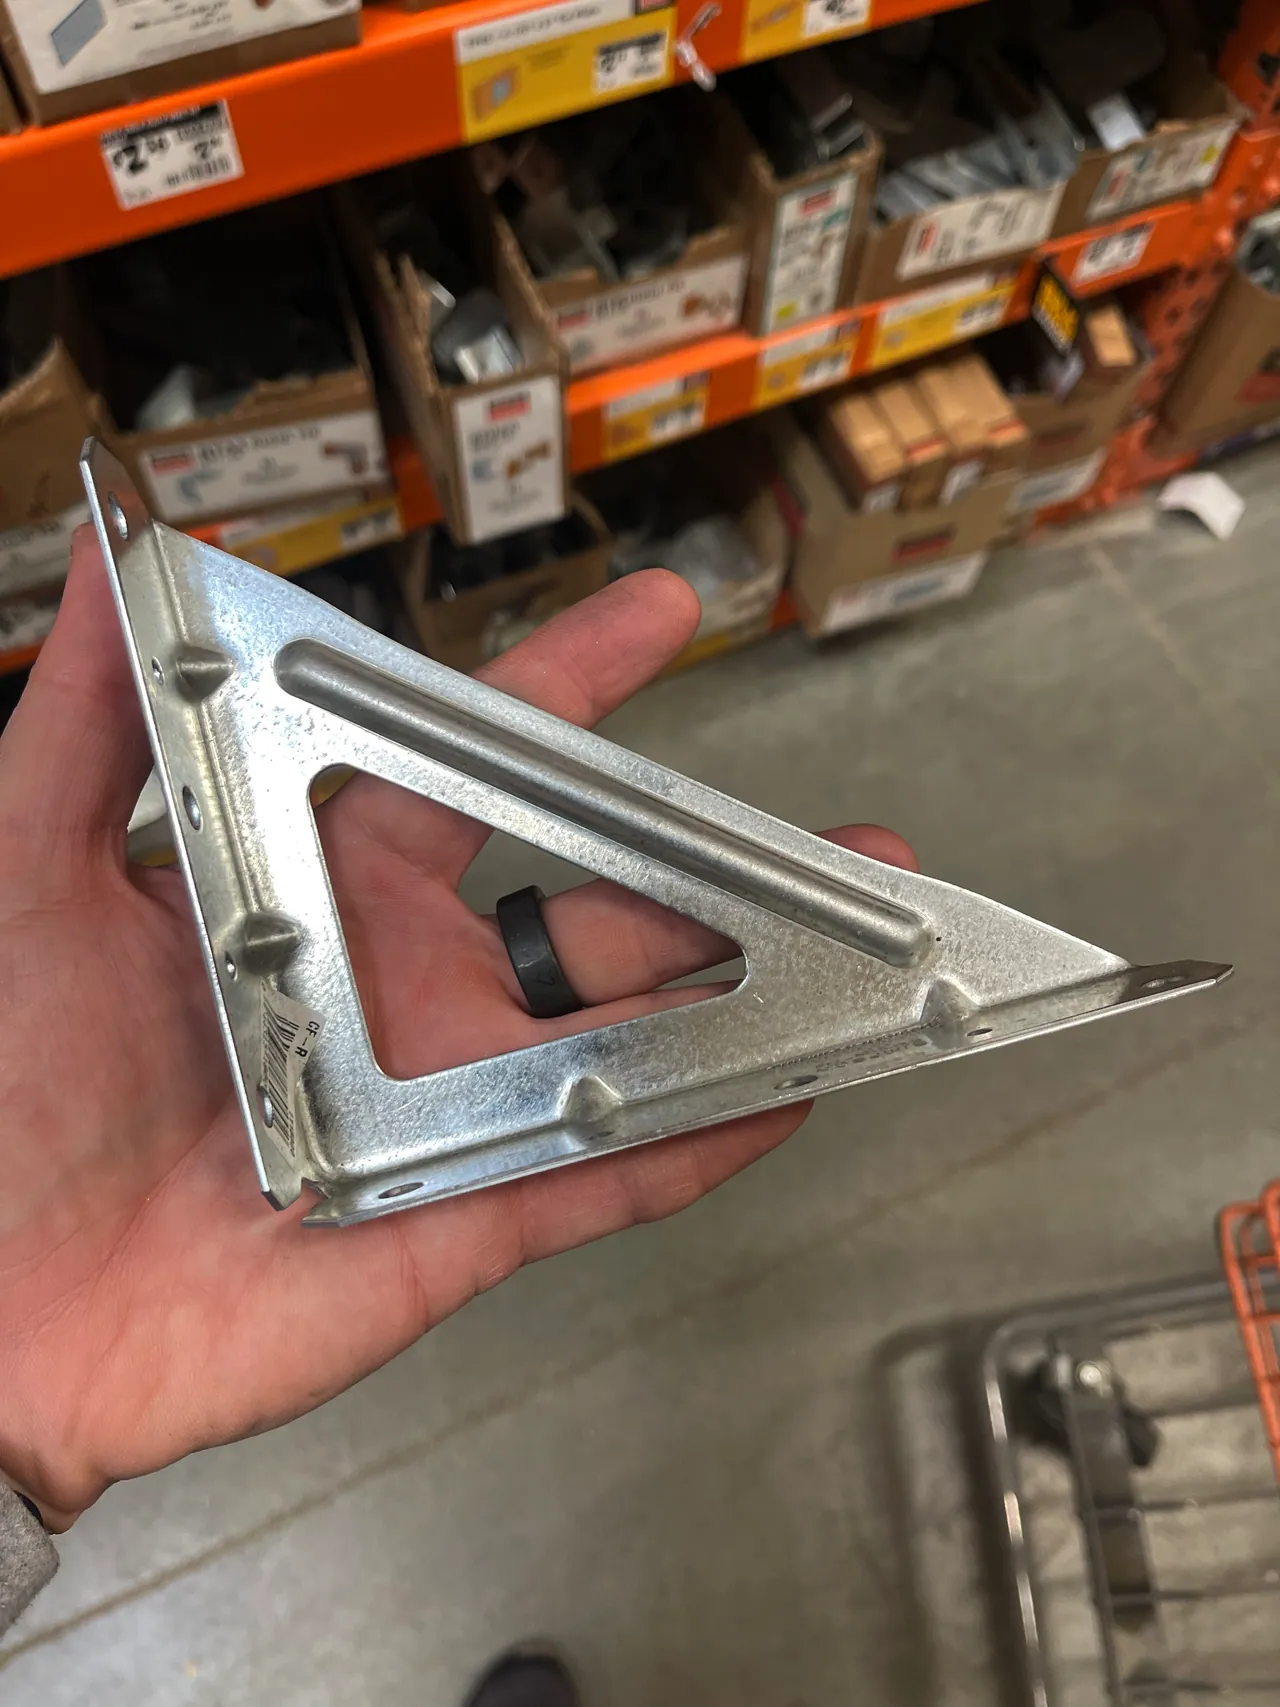
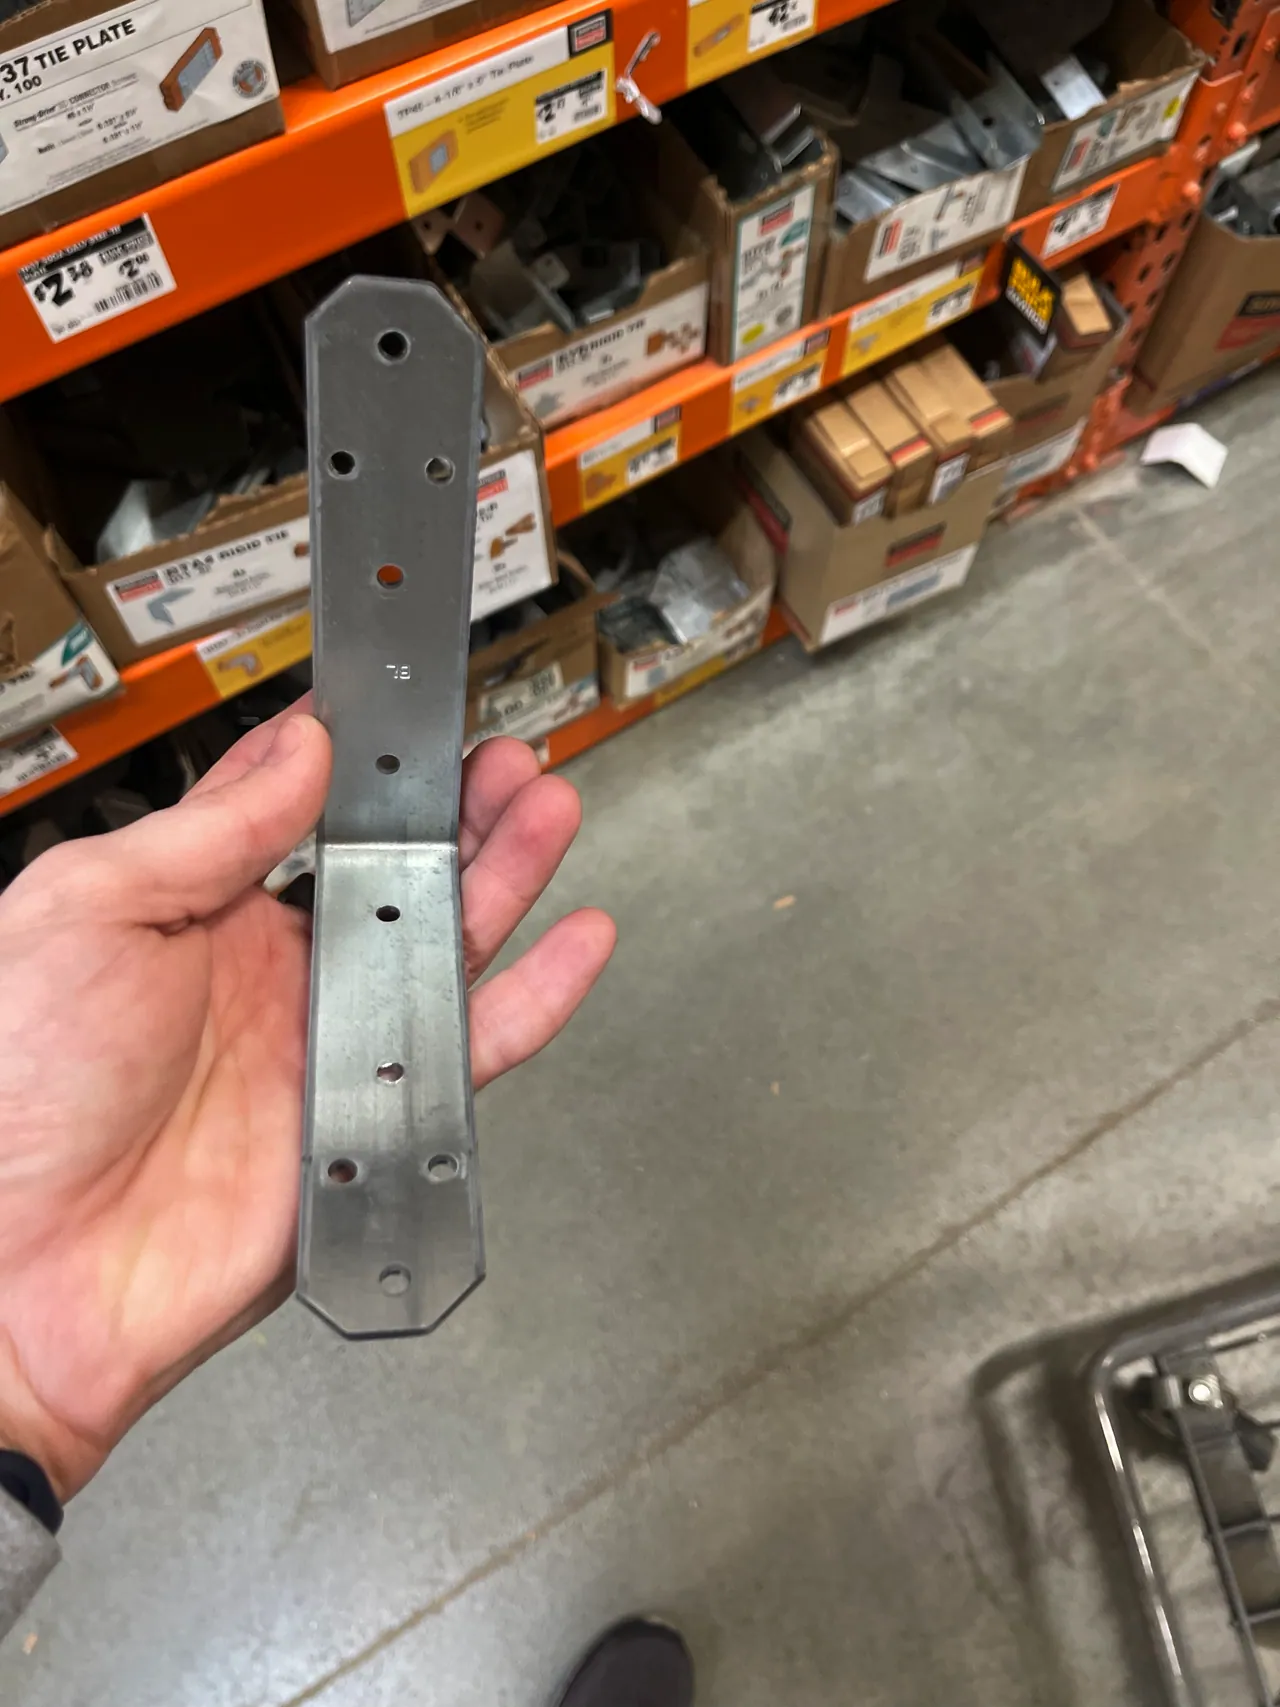
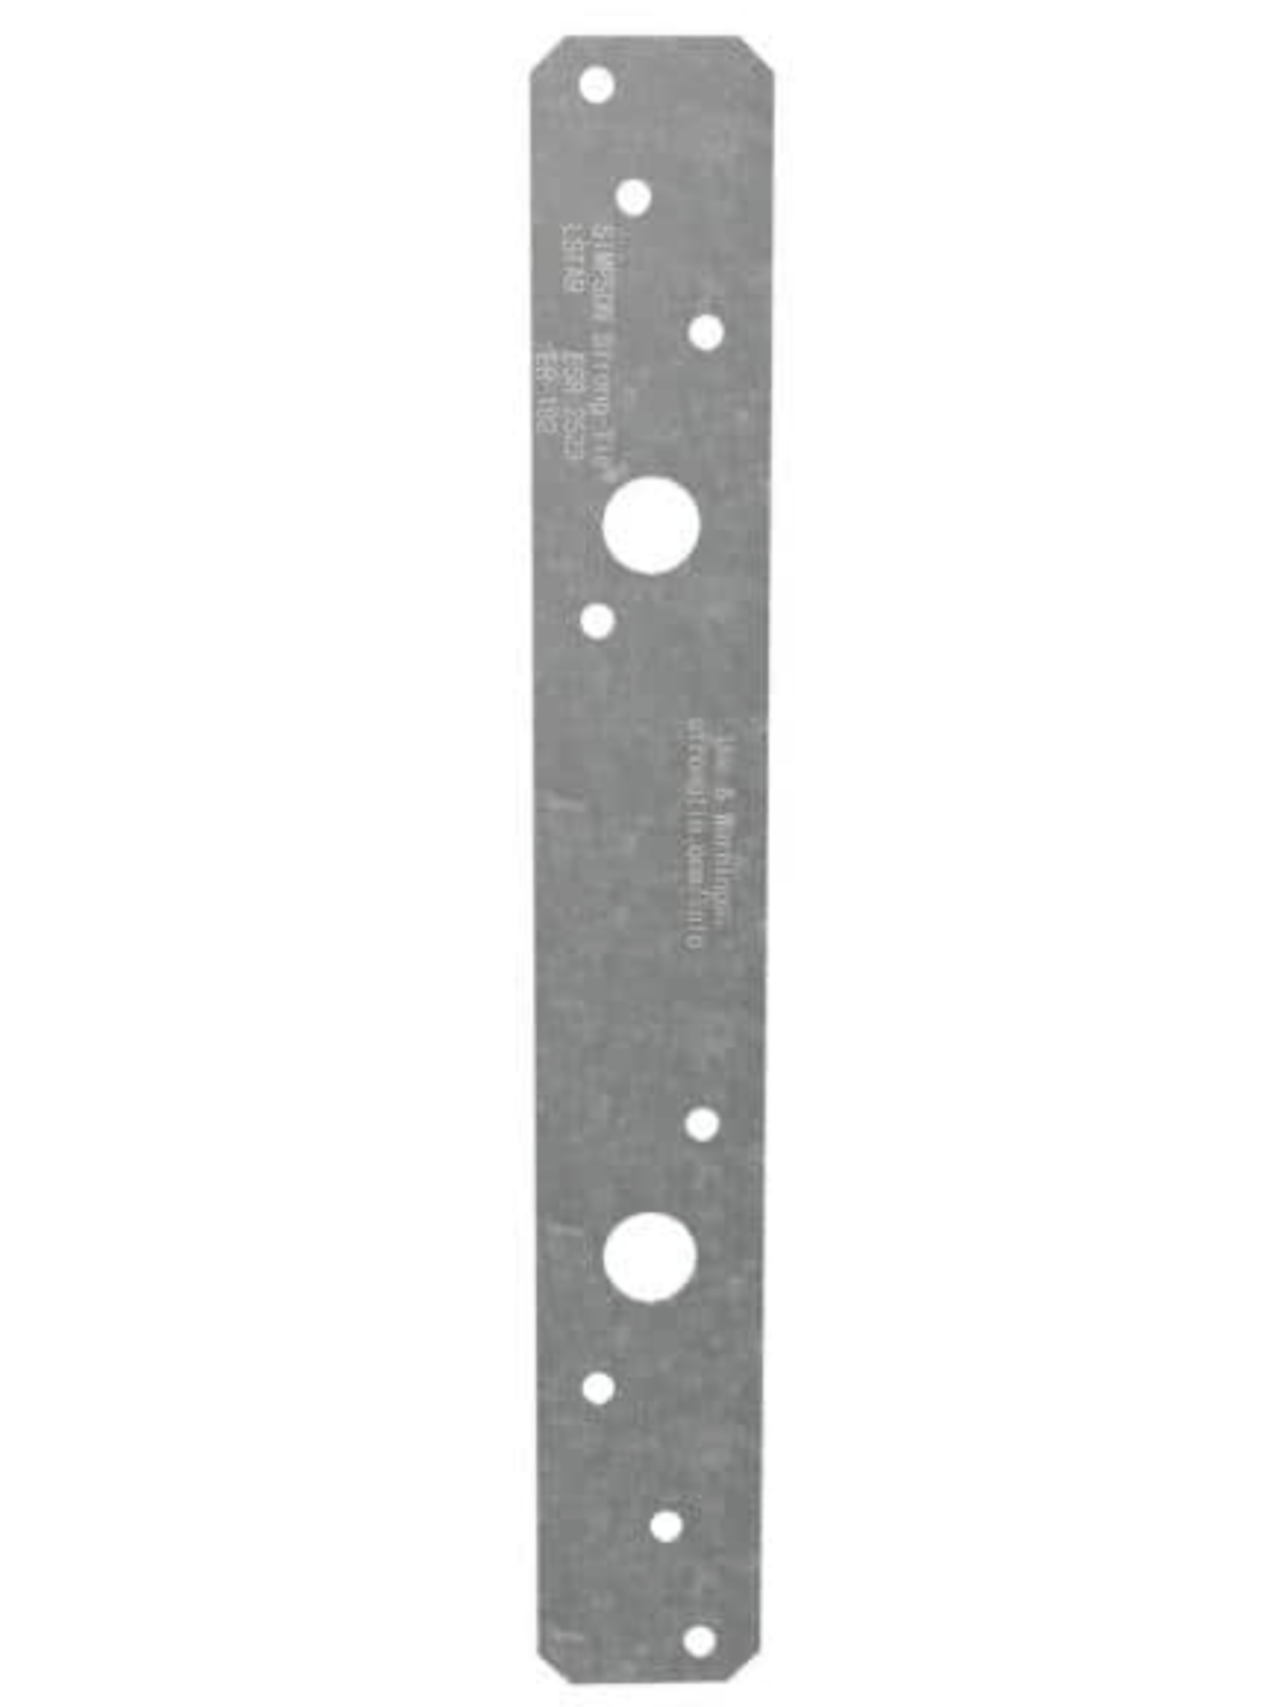
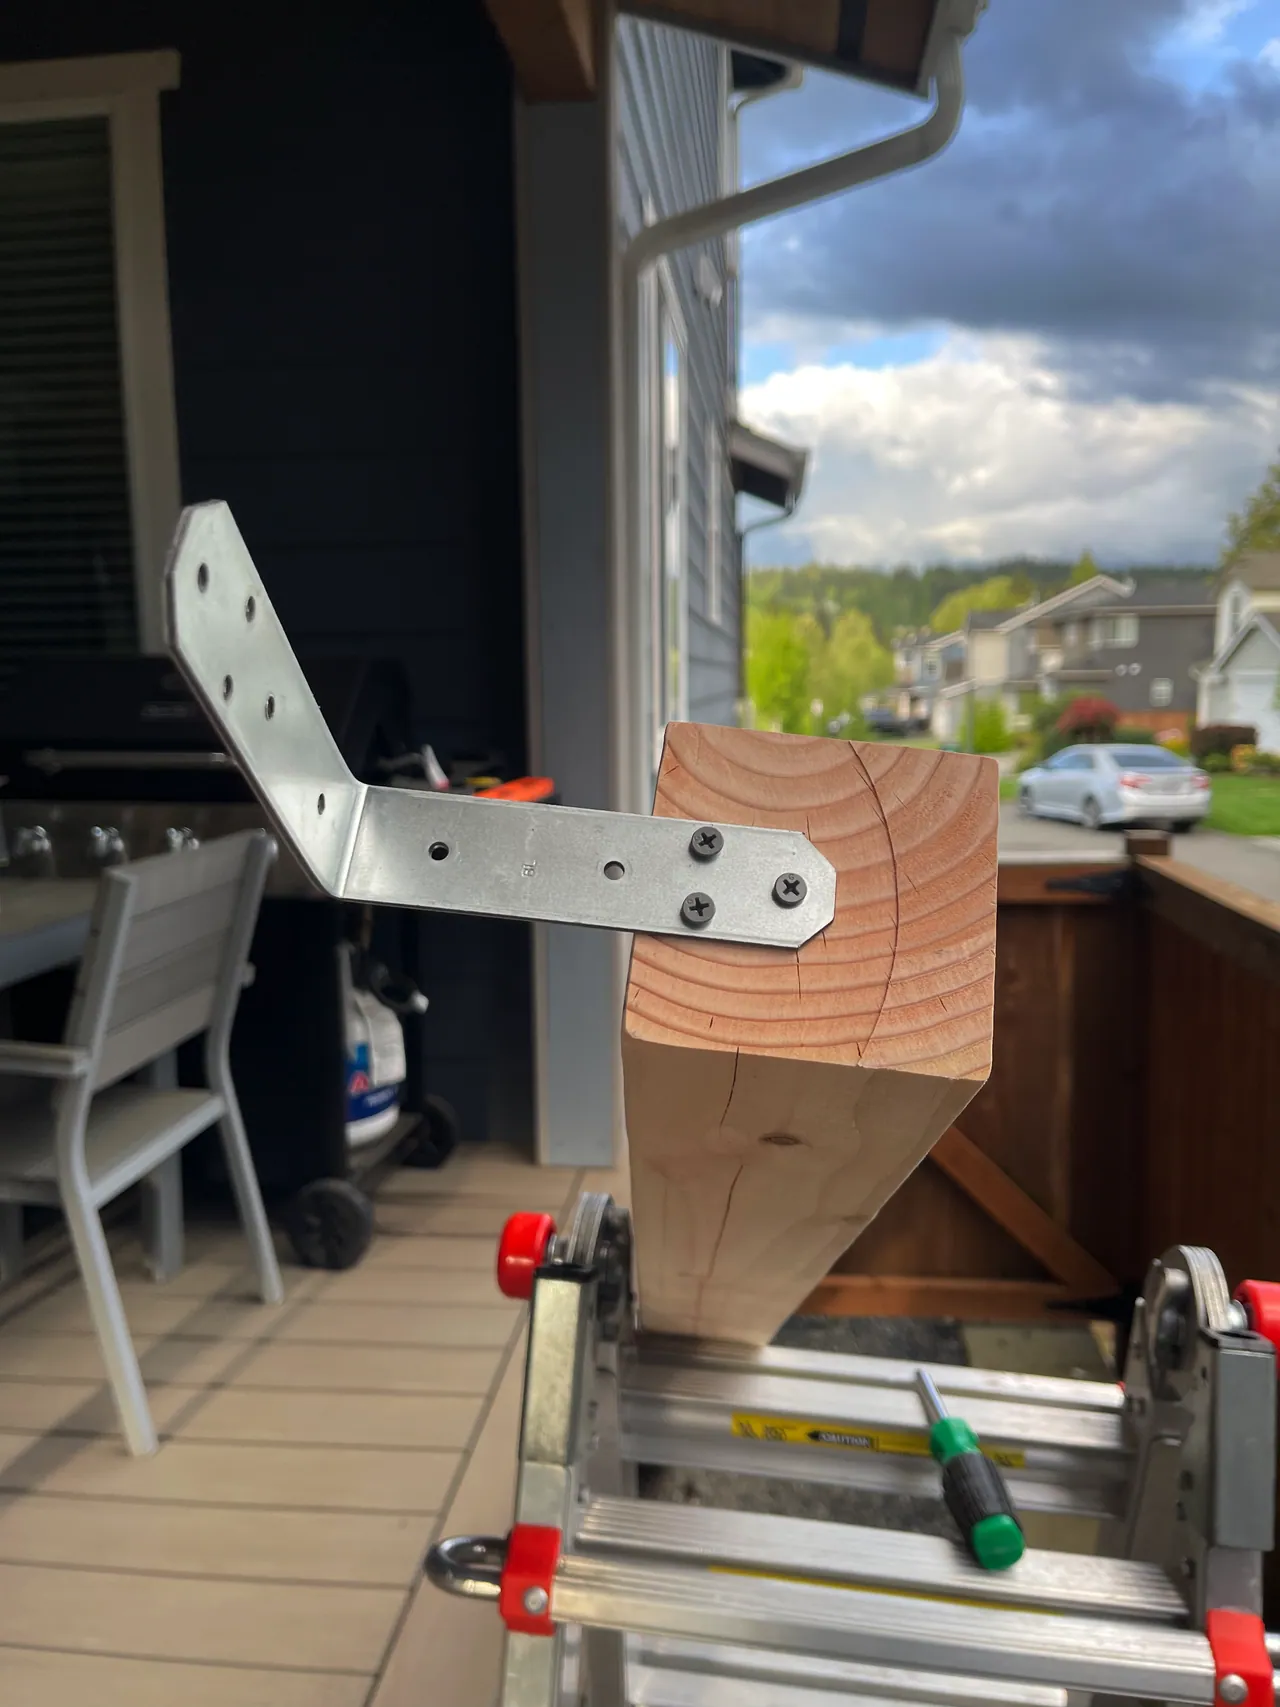
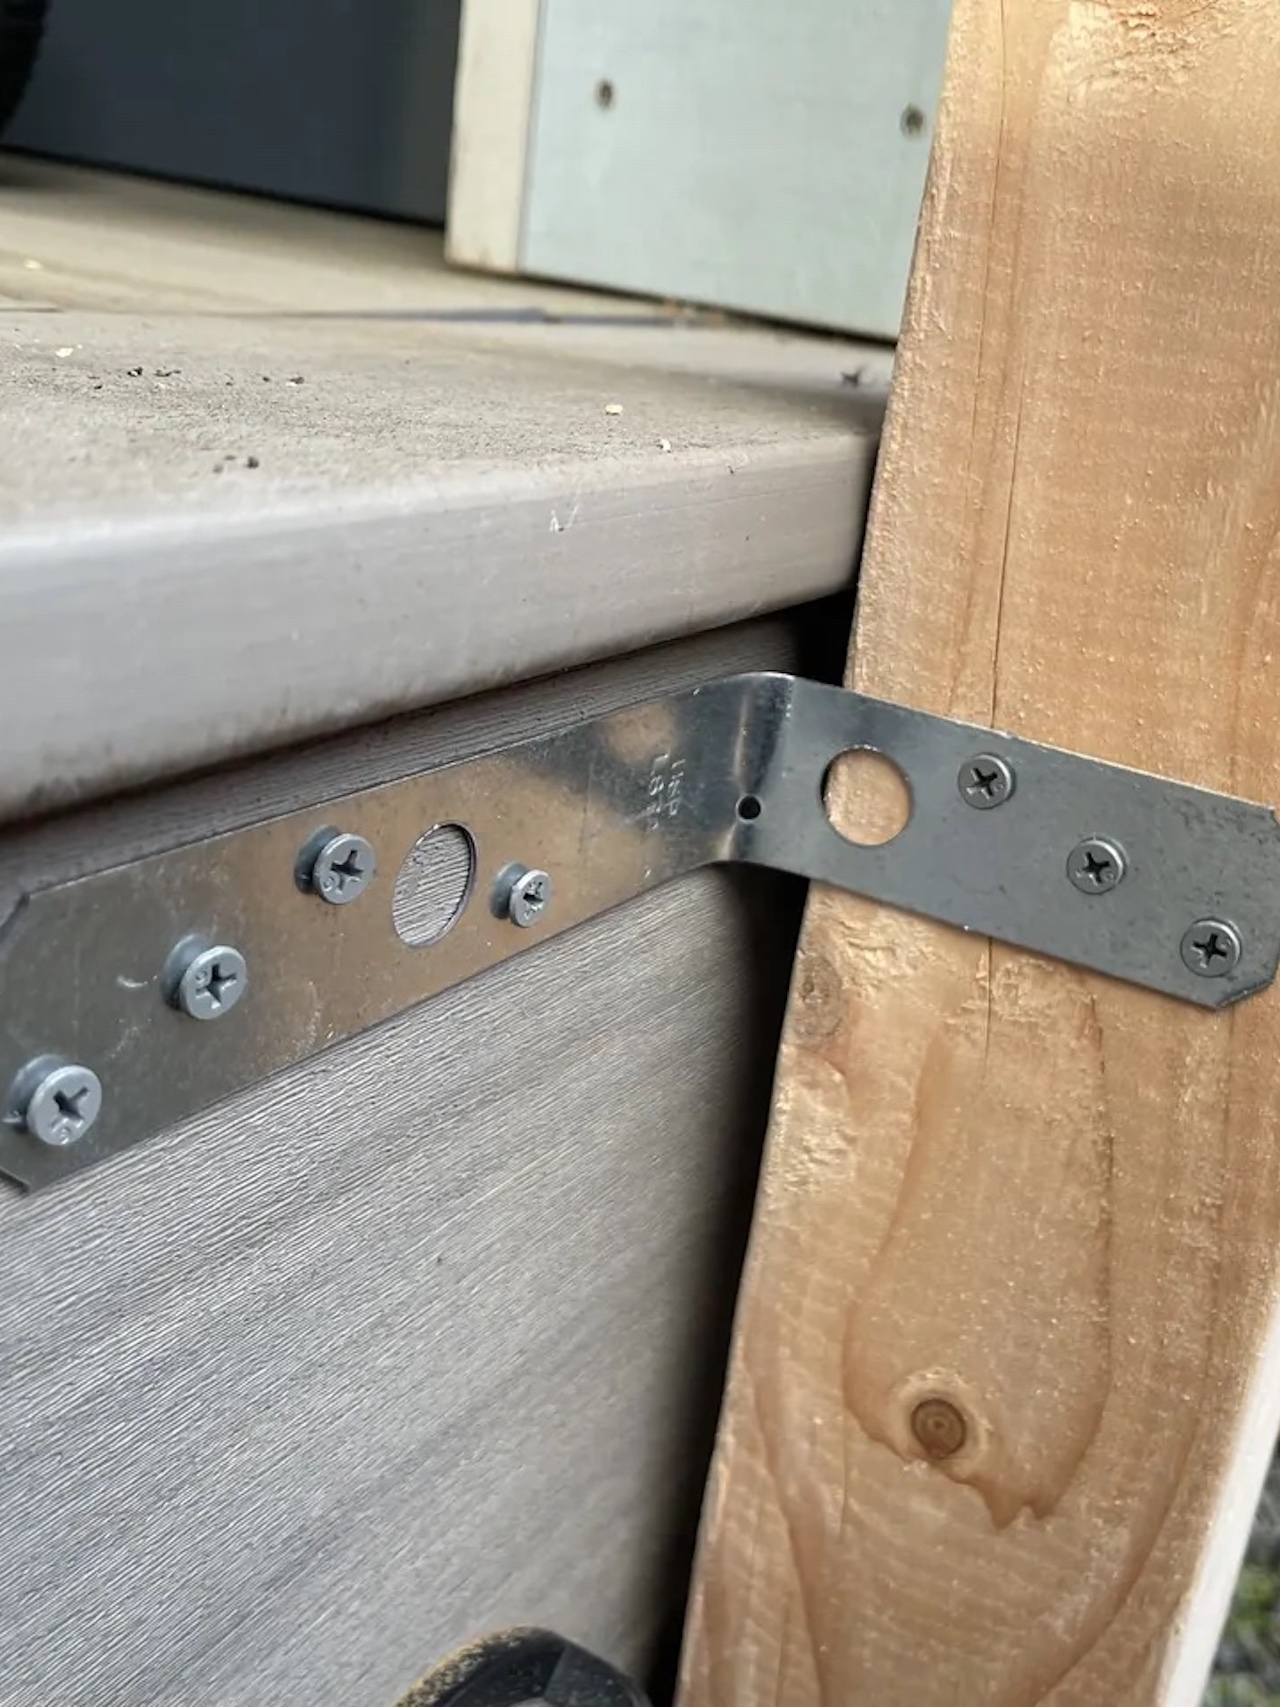
Ok the posts are a go. Now we need hardware to attach them. We need to consider the position of the posts and how to attach them to the beam on top and to the base on the lower part. The main consideration here is that the top part of the post will not be attached directly to the beam given the limitations of the post positioning (you’ll realize why later). We’ll need a bracket that is sturdy enough to support the post, the weight of the boards attached to them, and the wind forces pushing in both directions. Below are some of the brackets I’ve considered for this job. Selected brace for the top costs $6.55 (total $26.20). For the bottom I used a galvanized strap tie since it can be bent as desired (also included below. Two per post at 57¢ for a total of $4.56).
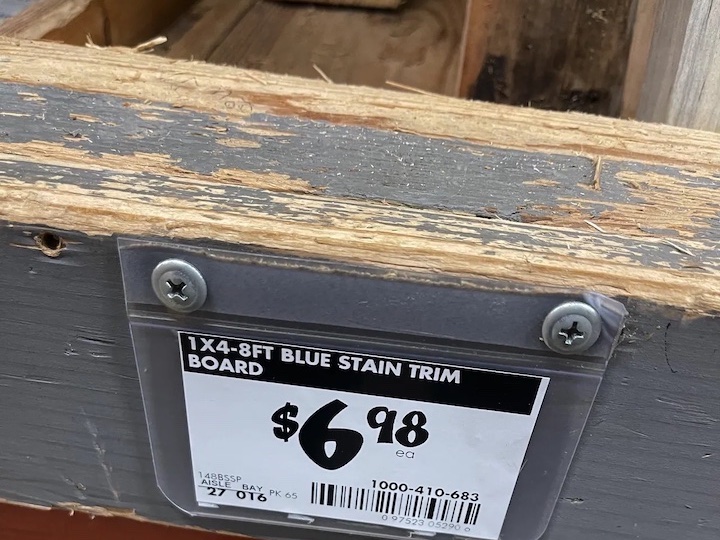
Selecting the boards is now the next step. First of all, these wood boards will be exposed to the elements and hence it needs to tolerate humidity, changes in themperature, wind, etcetera. Staining will be part of the process but still the wood should tolerate the elements. It is important to select construction grade wood that does not split either during instalation or later. Nicer wood would be a waste given this application. The length should be big enough to support the intended distance between posts and sturdy enough for this panel width. In the end this was the selected wood.
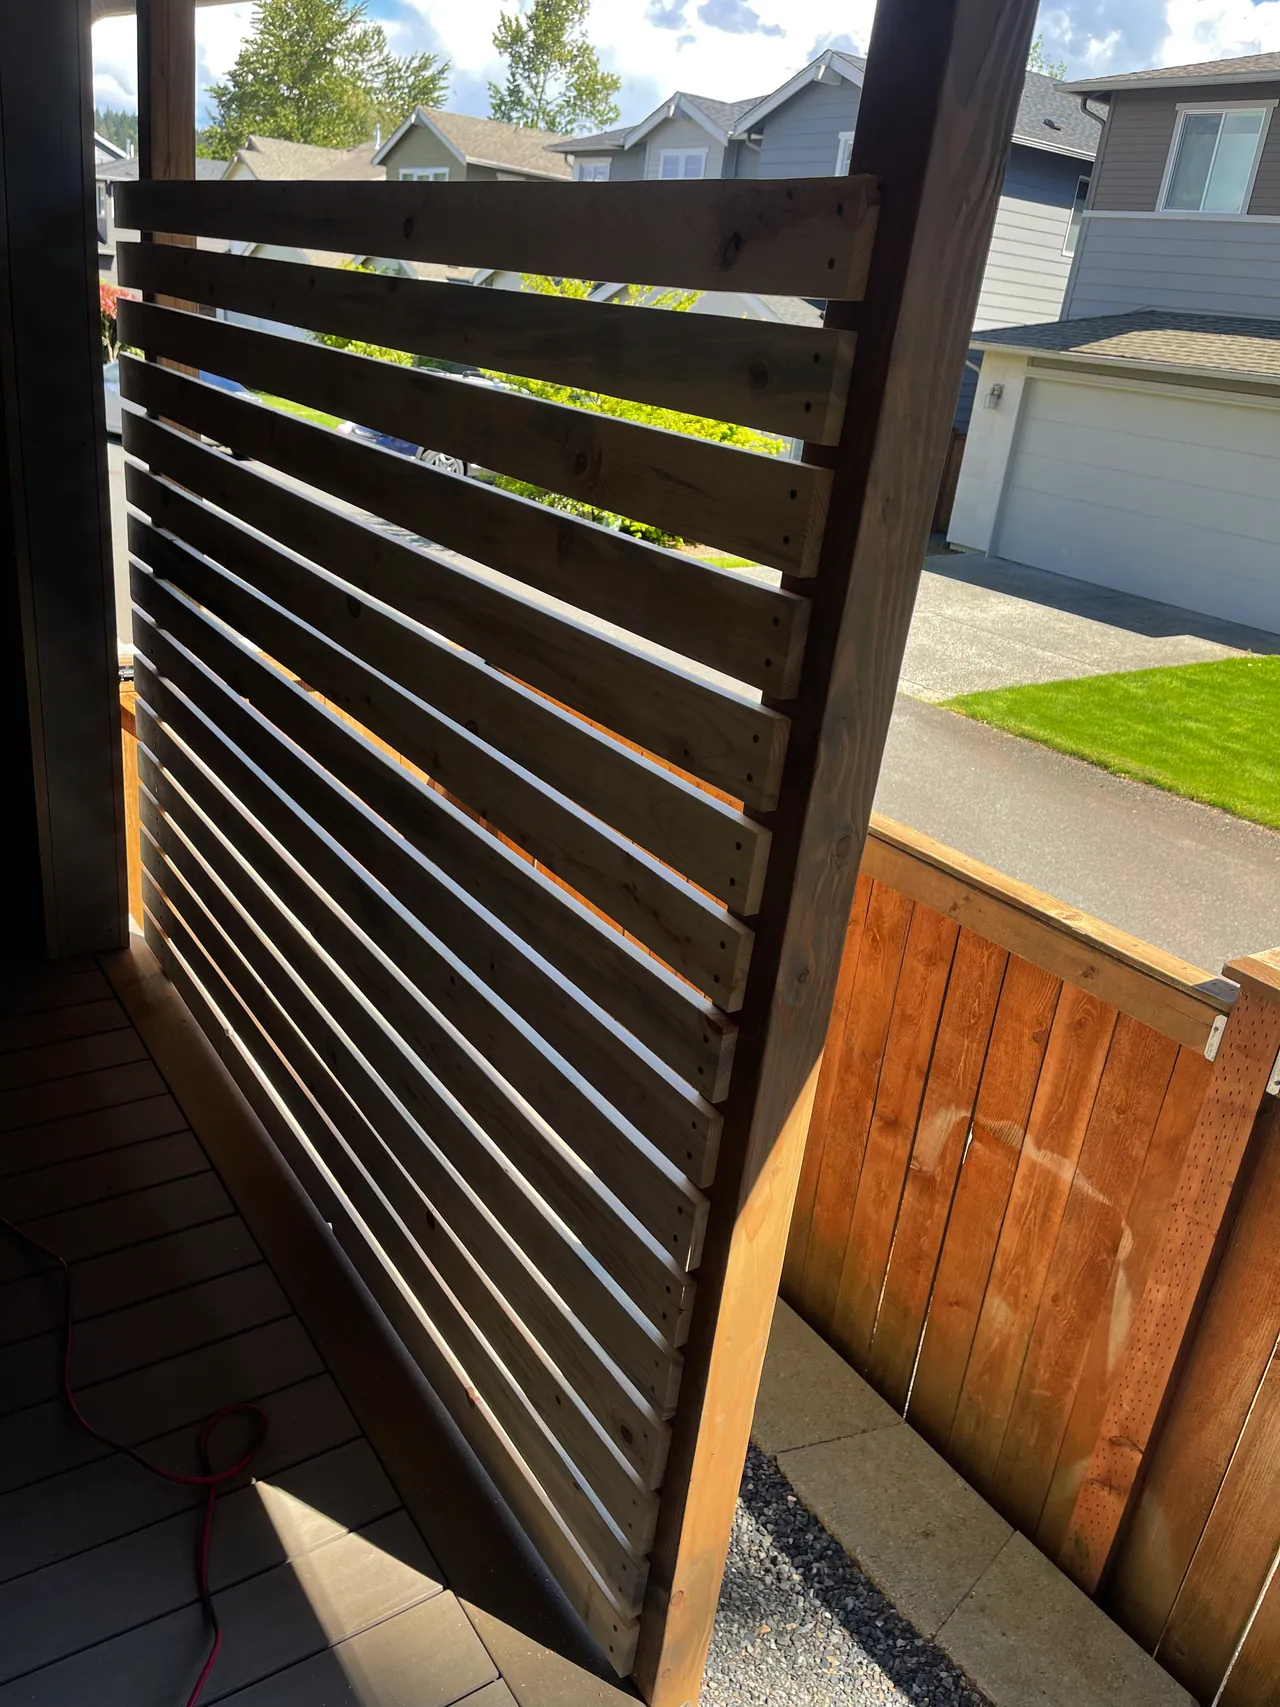
Elected 1" separation between the boards, and calculating for a space on top to allow for light to enter reached out to a total of 16 boards per panel. Totalling 3 panels means we need a total of 48 boards at a price of $6.98 for an expense of $335.04. I bought few boards ahead to calculate how much I would need to cut from the boards.
Putting it all together
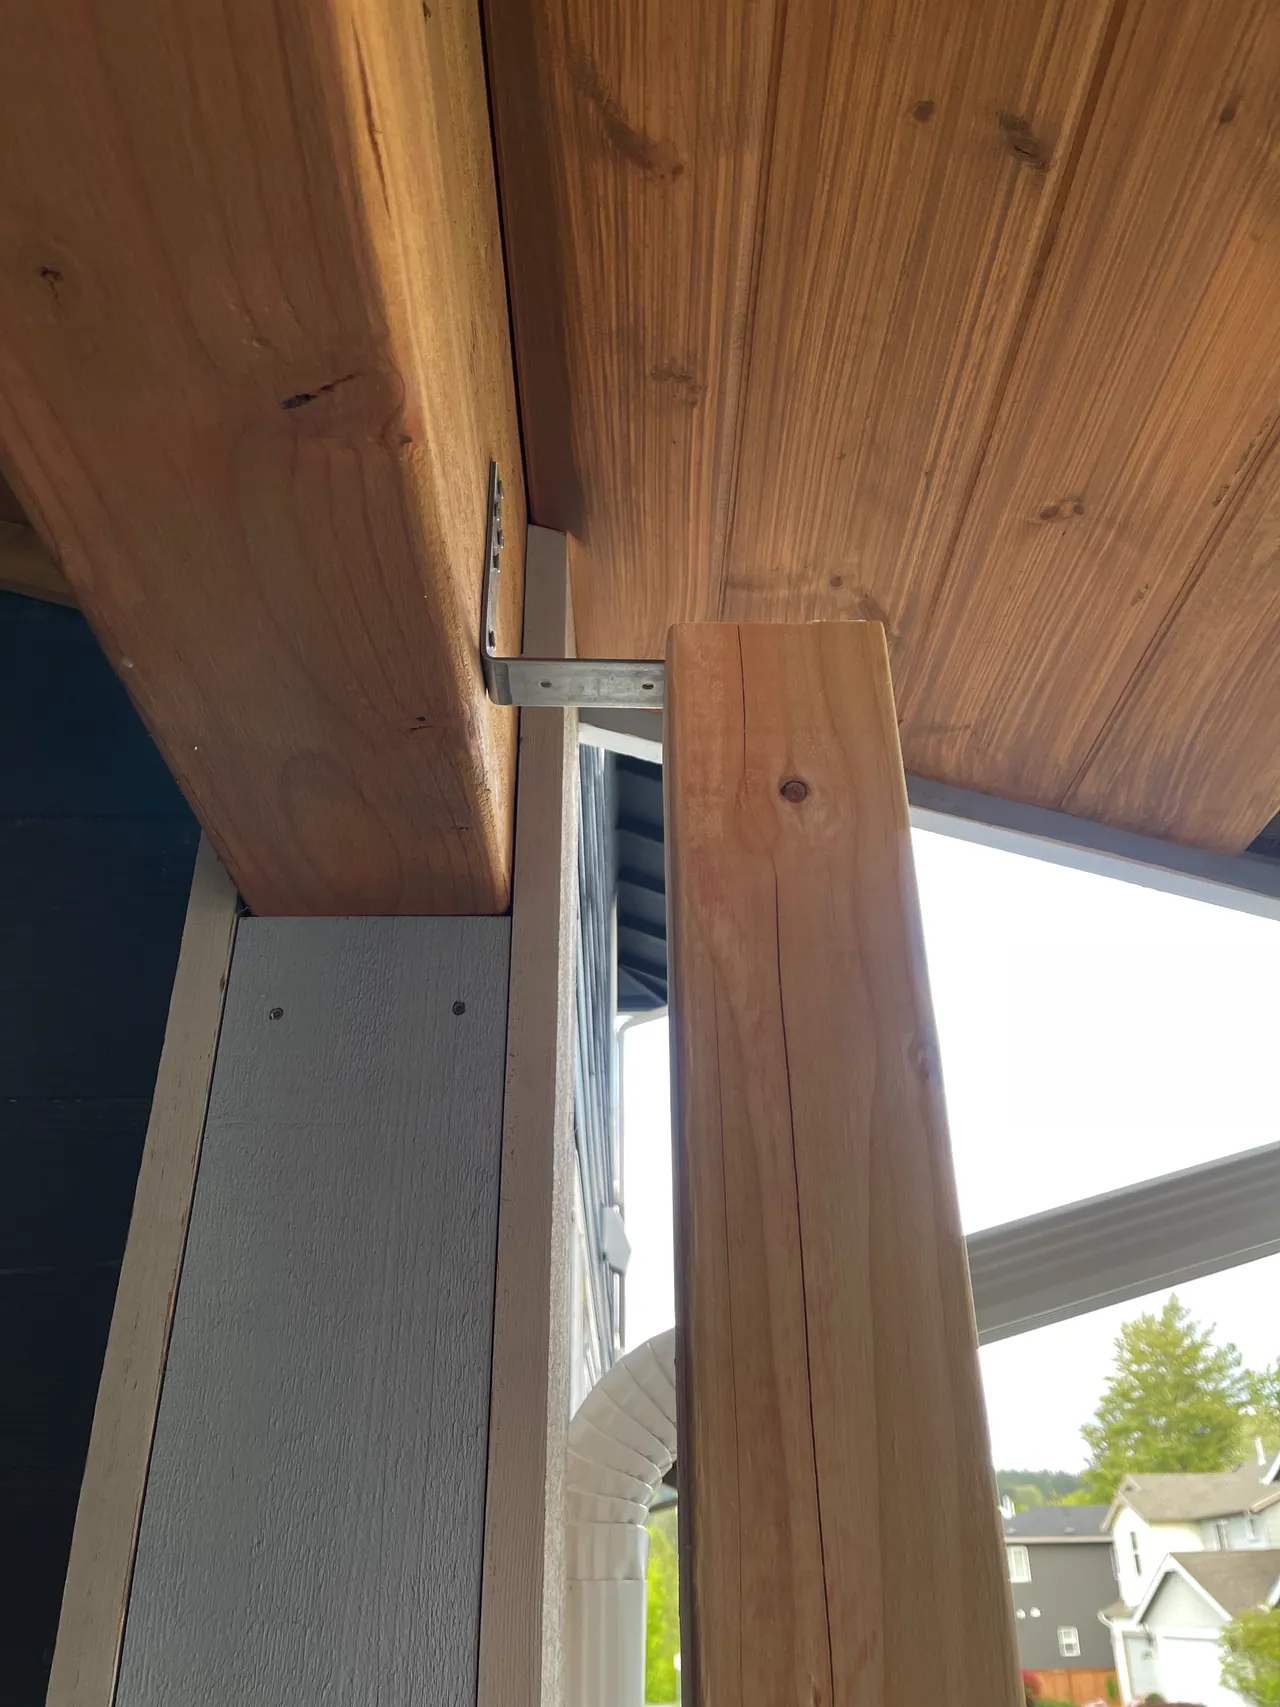
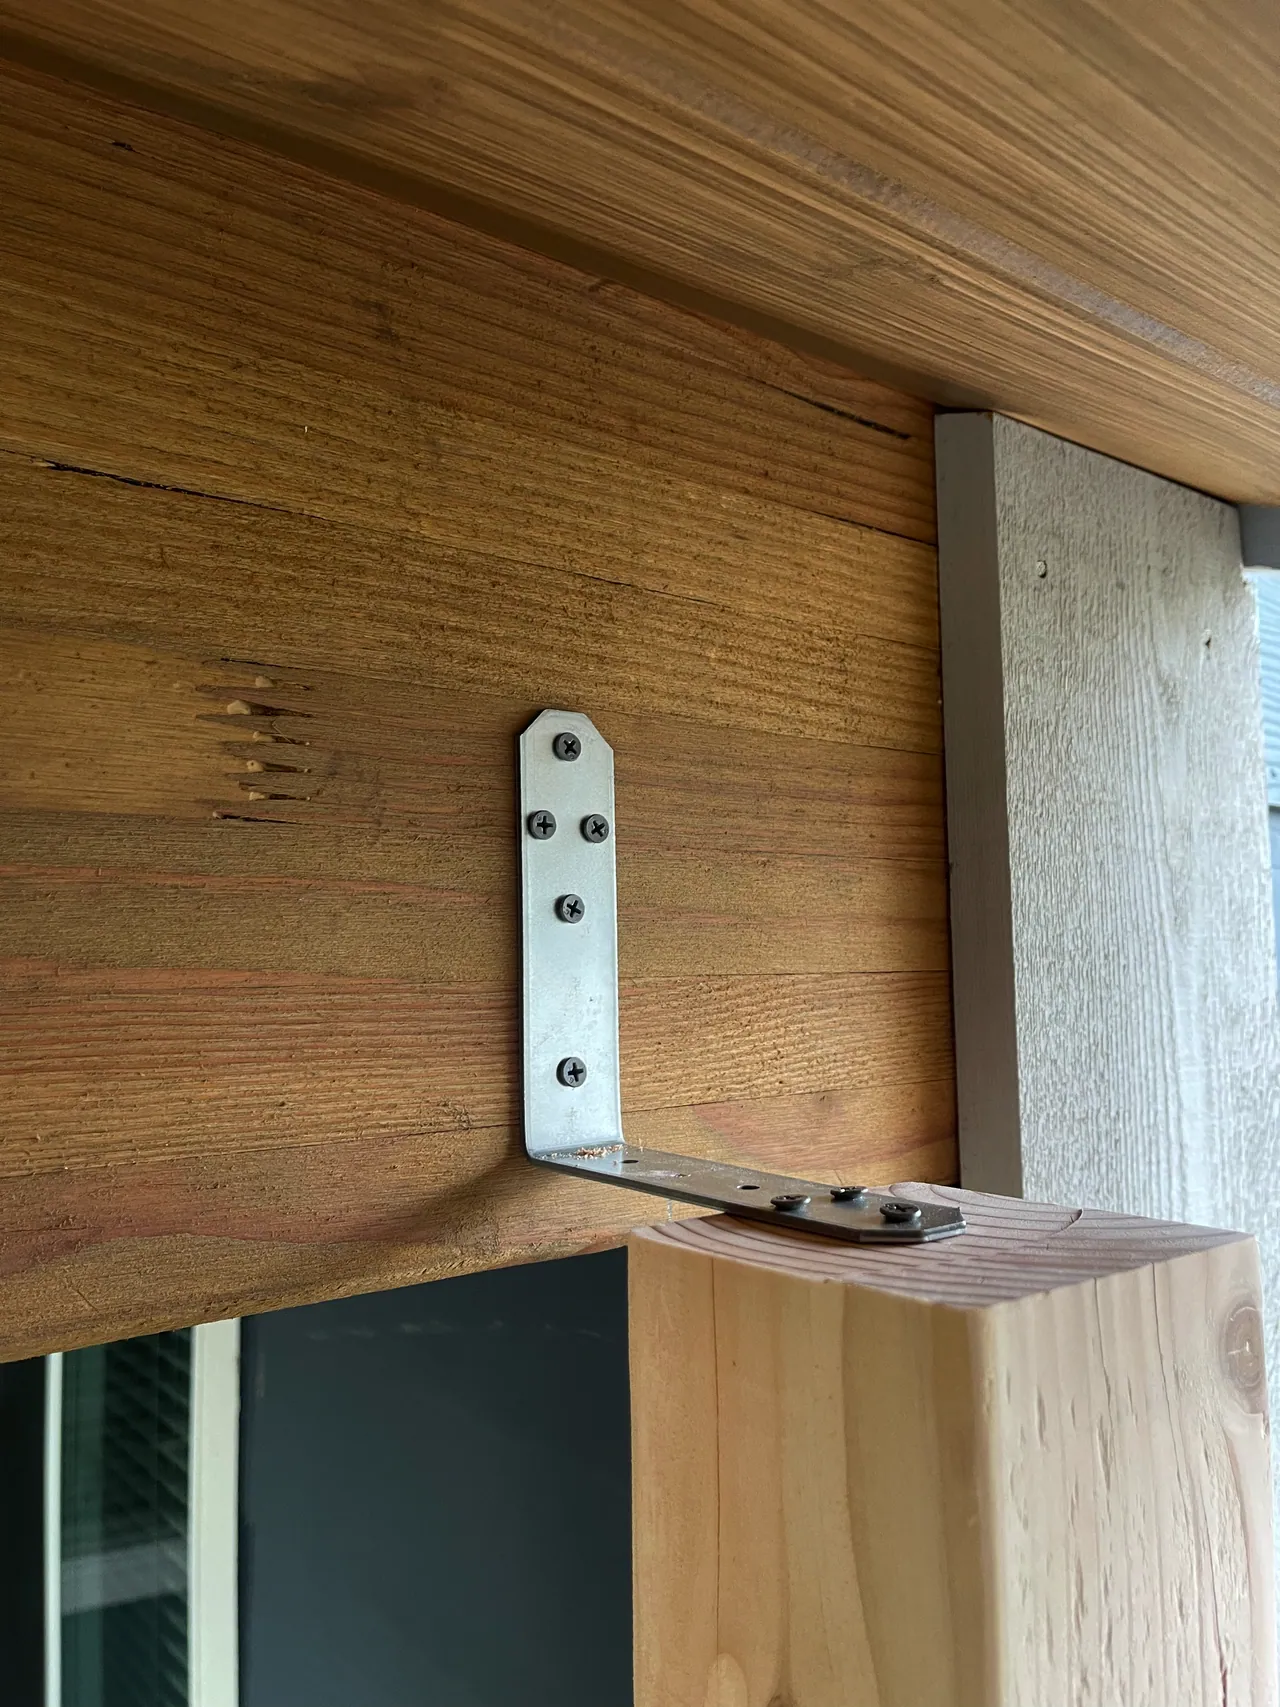
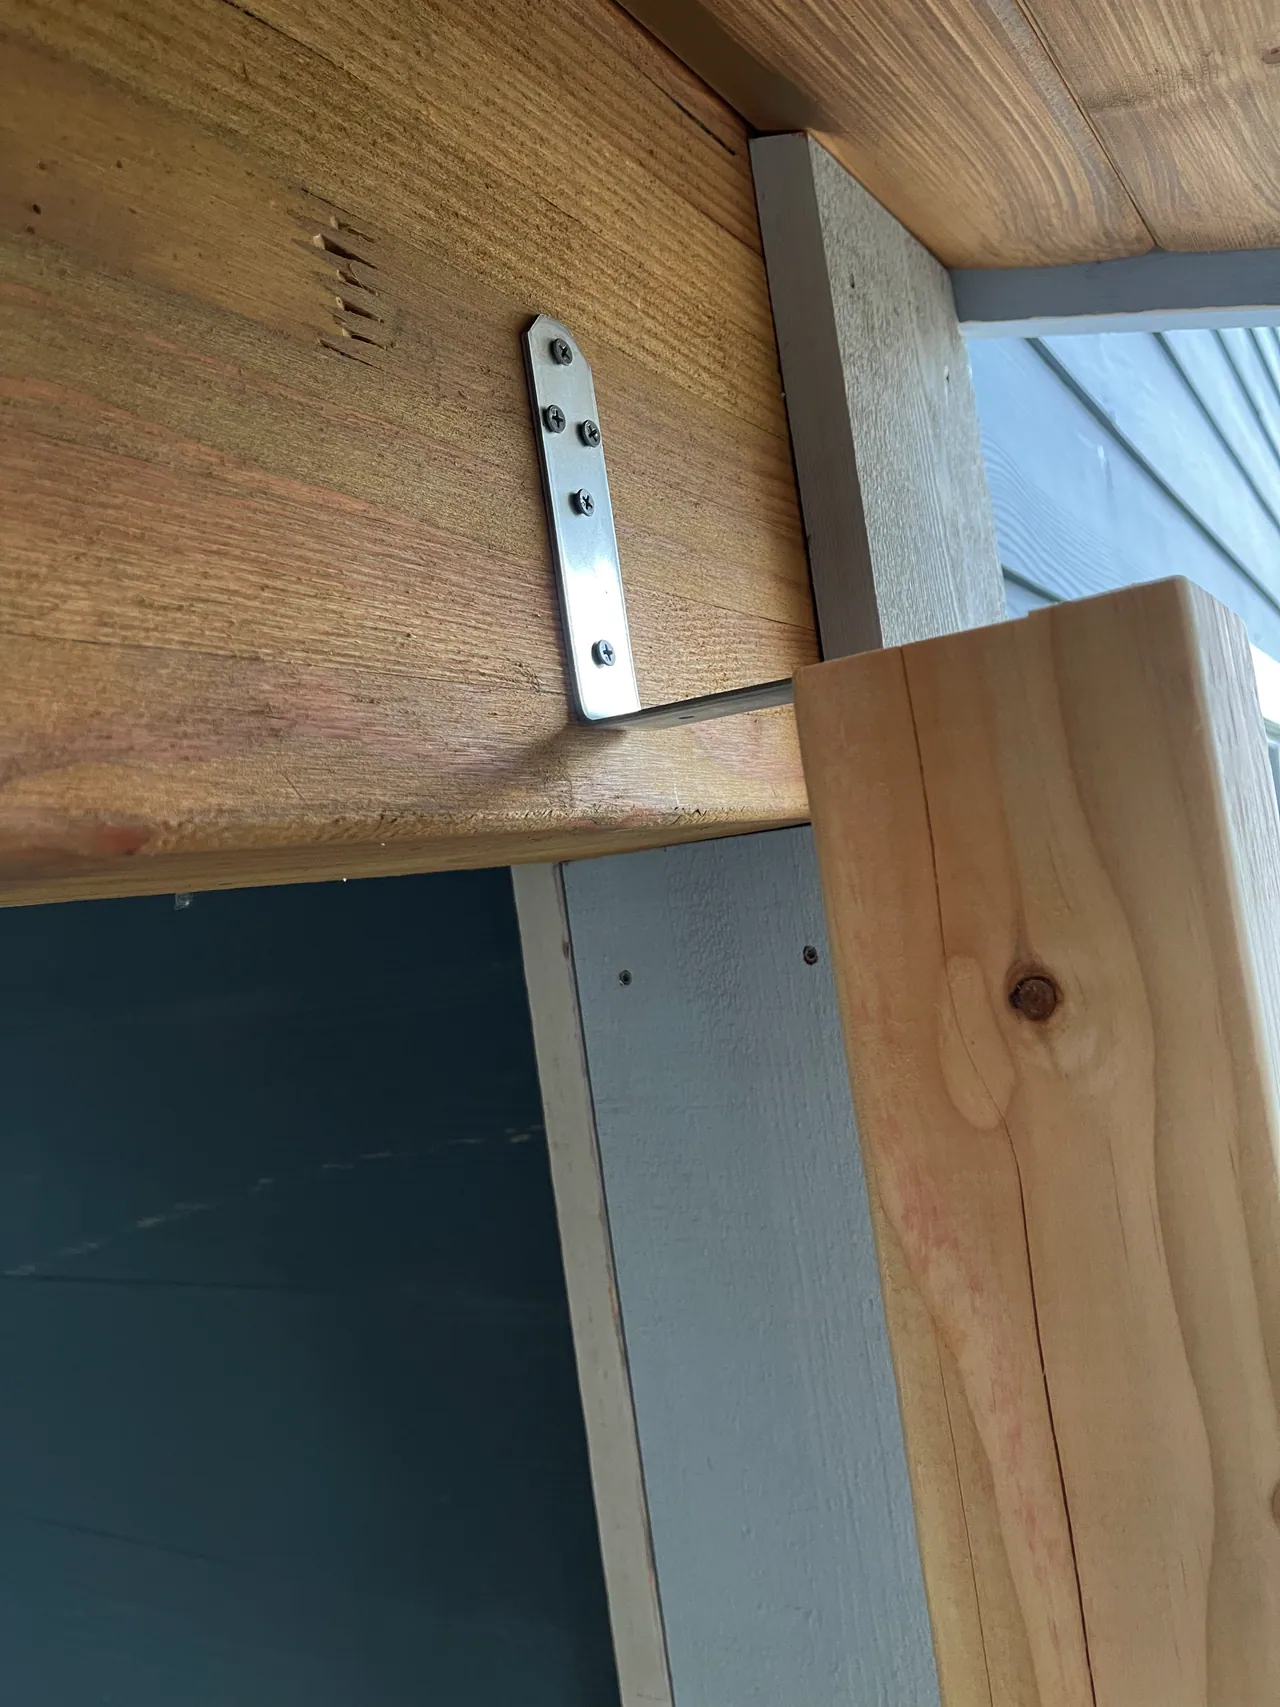
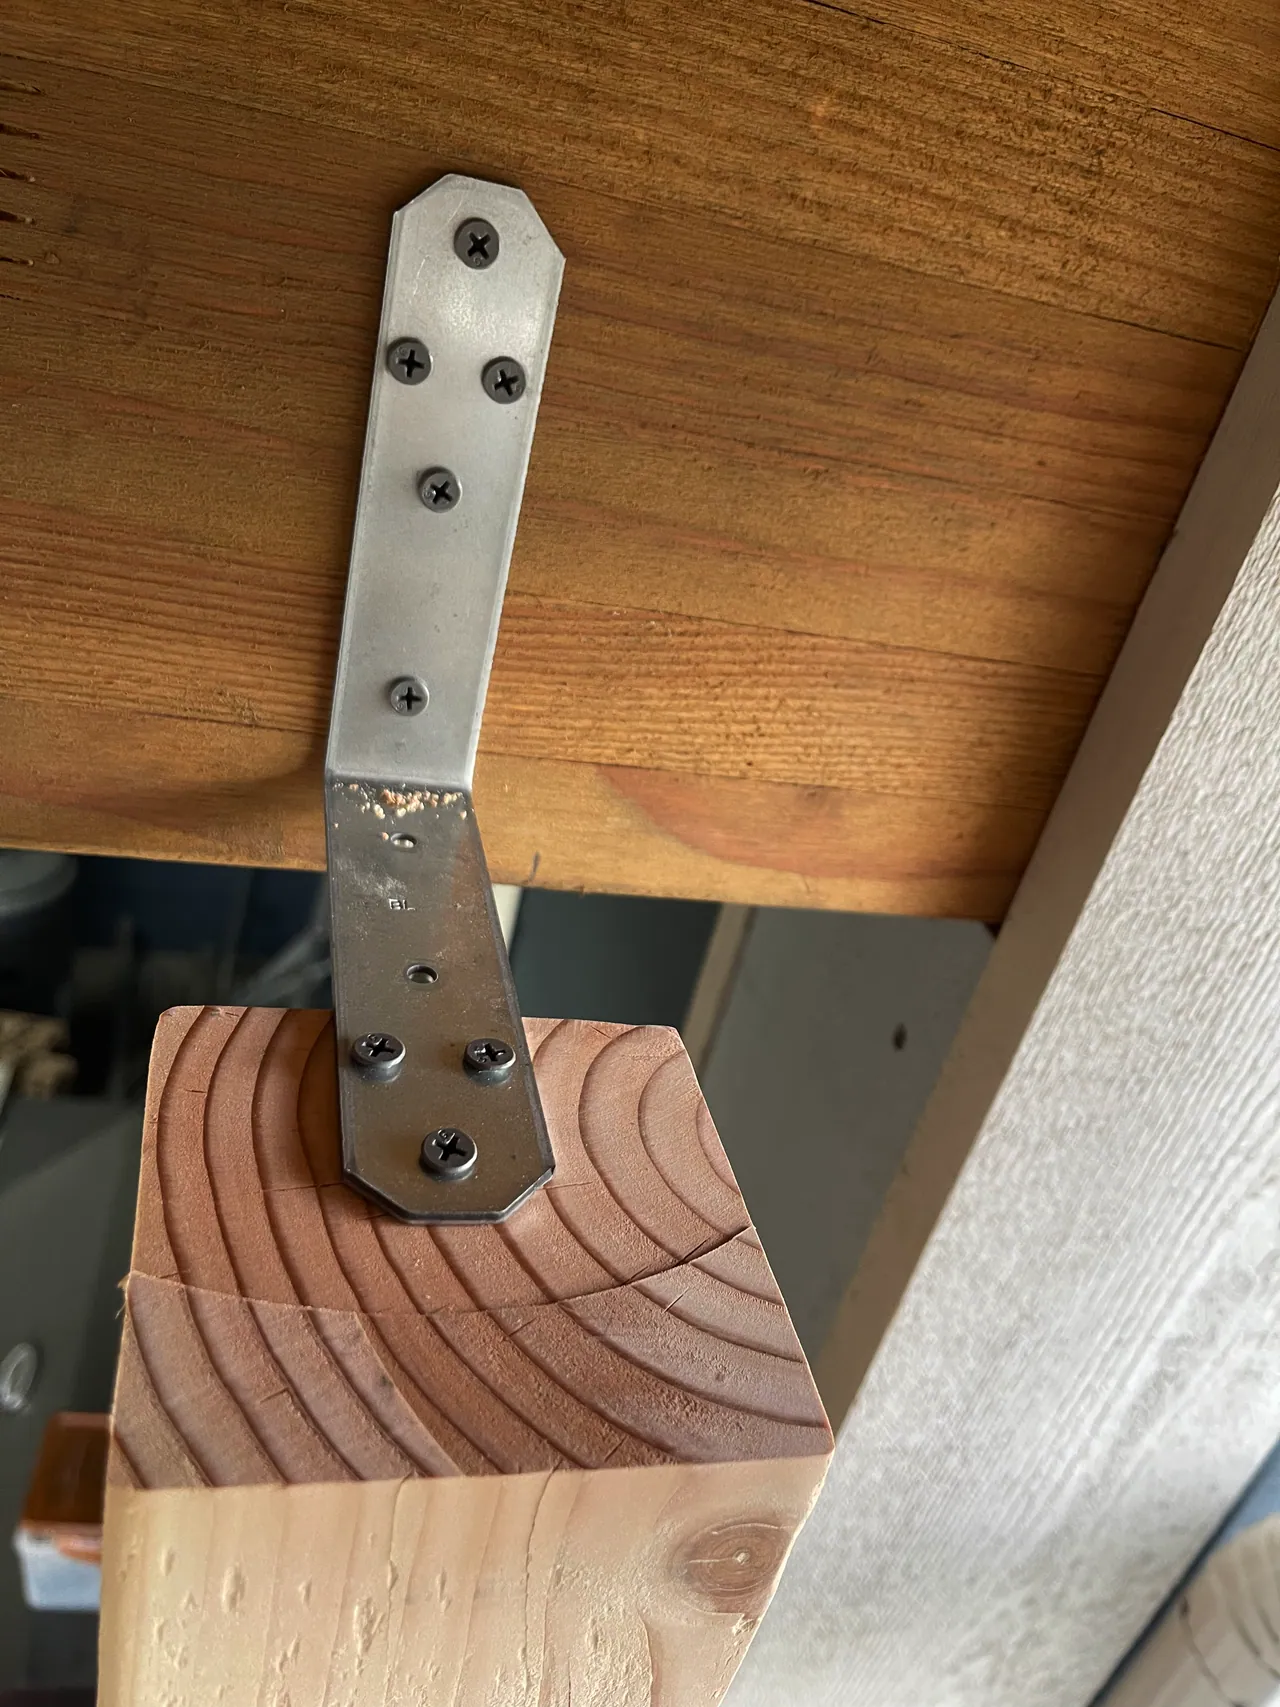
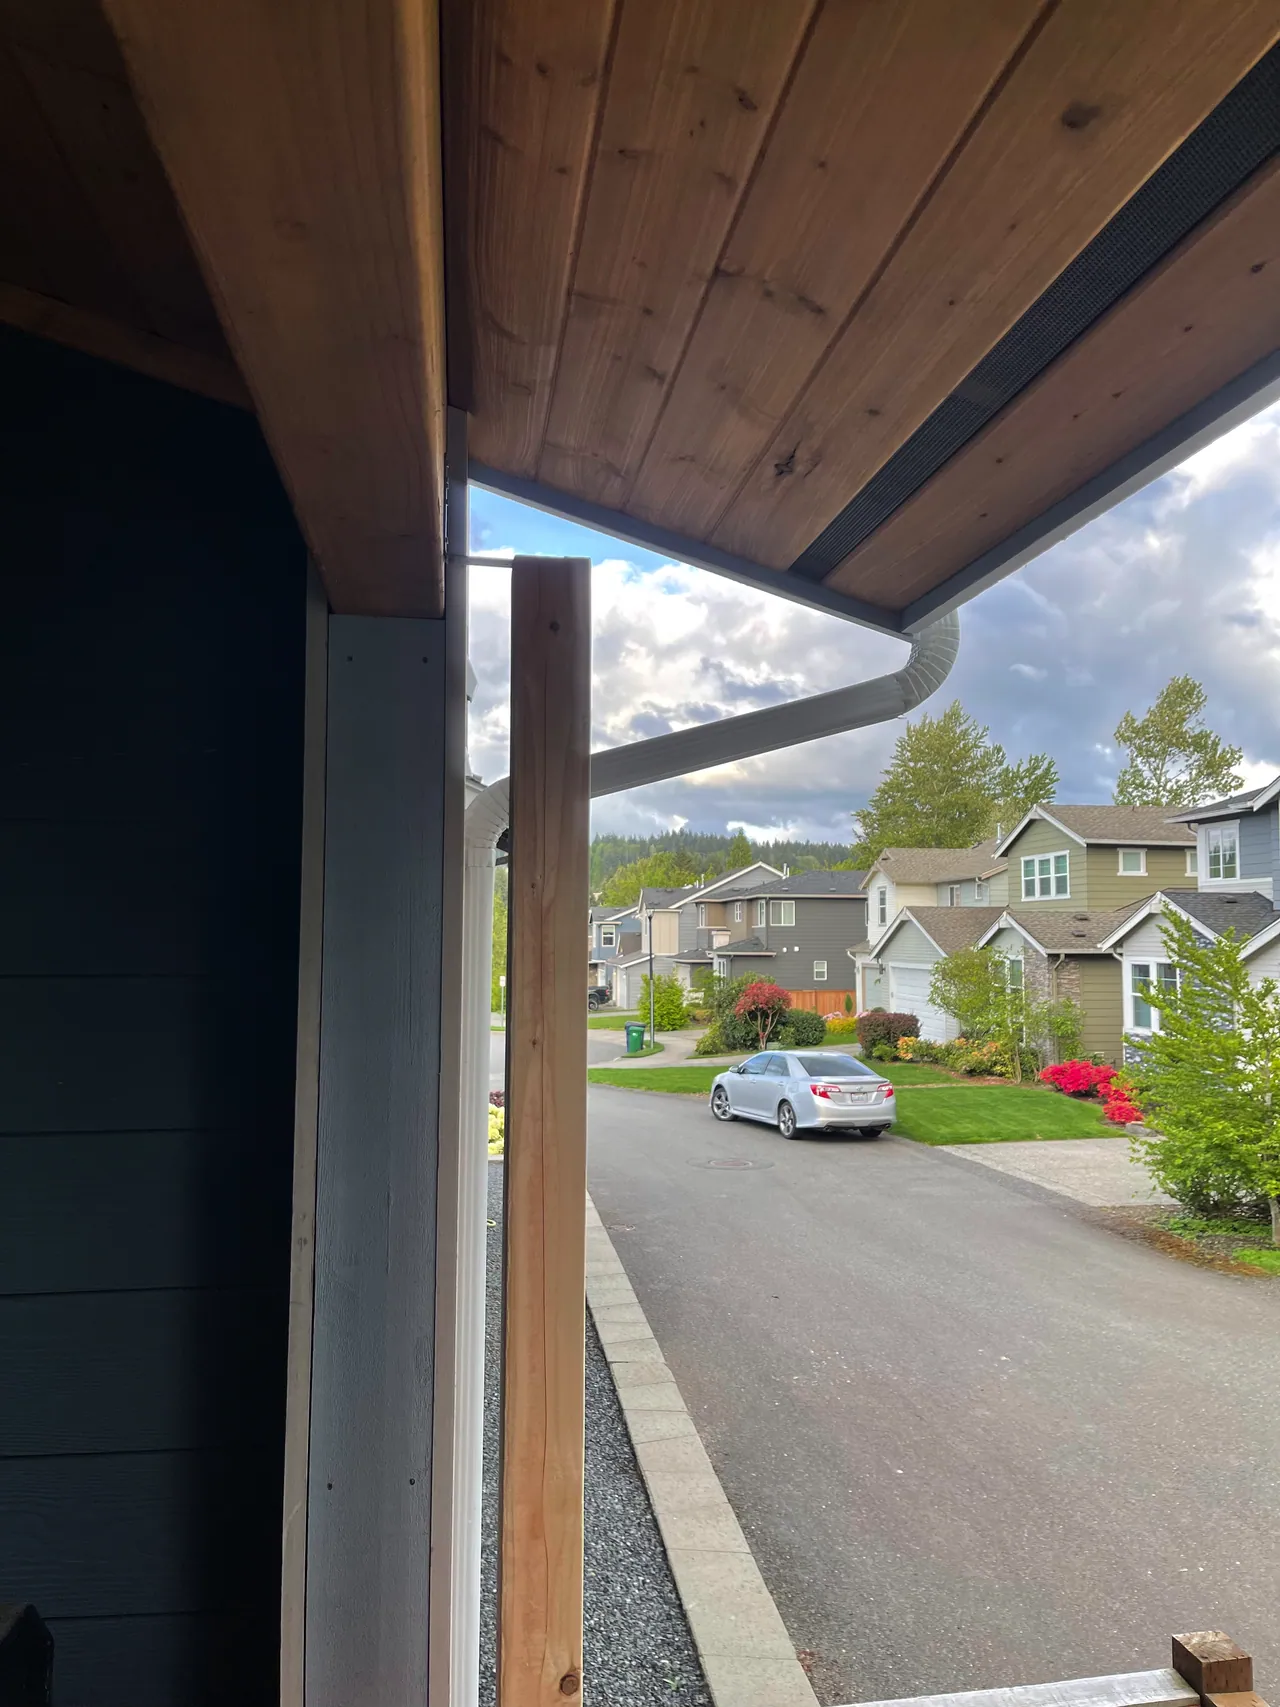
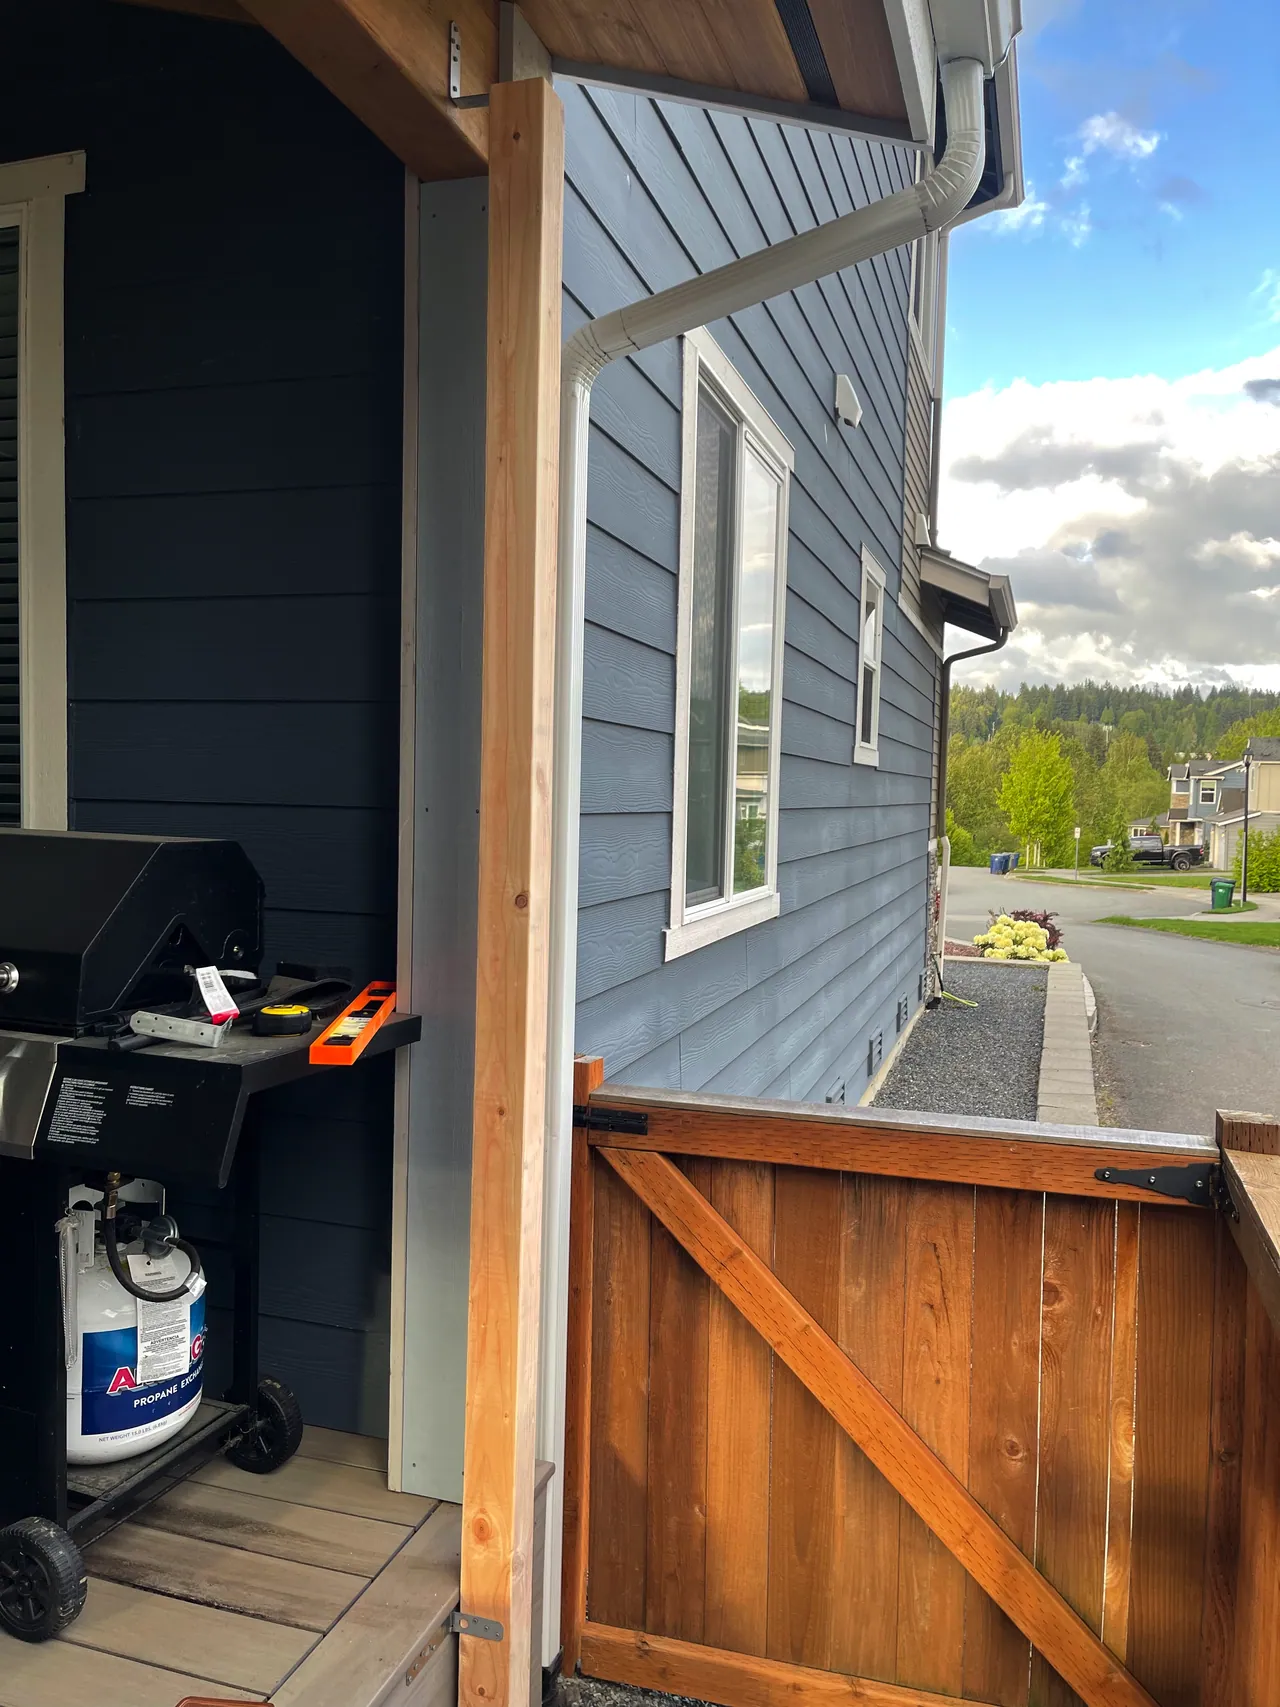
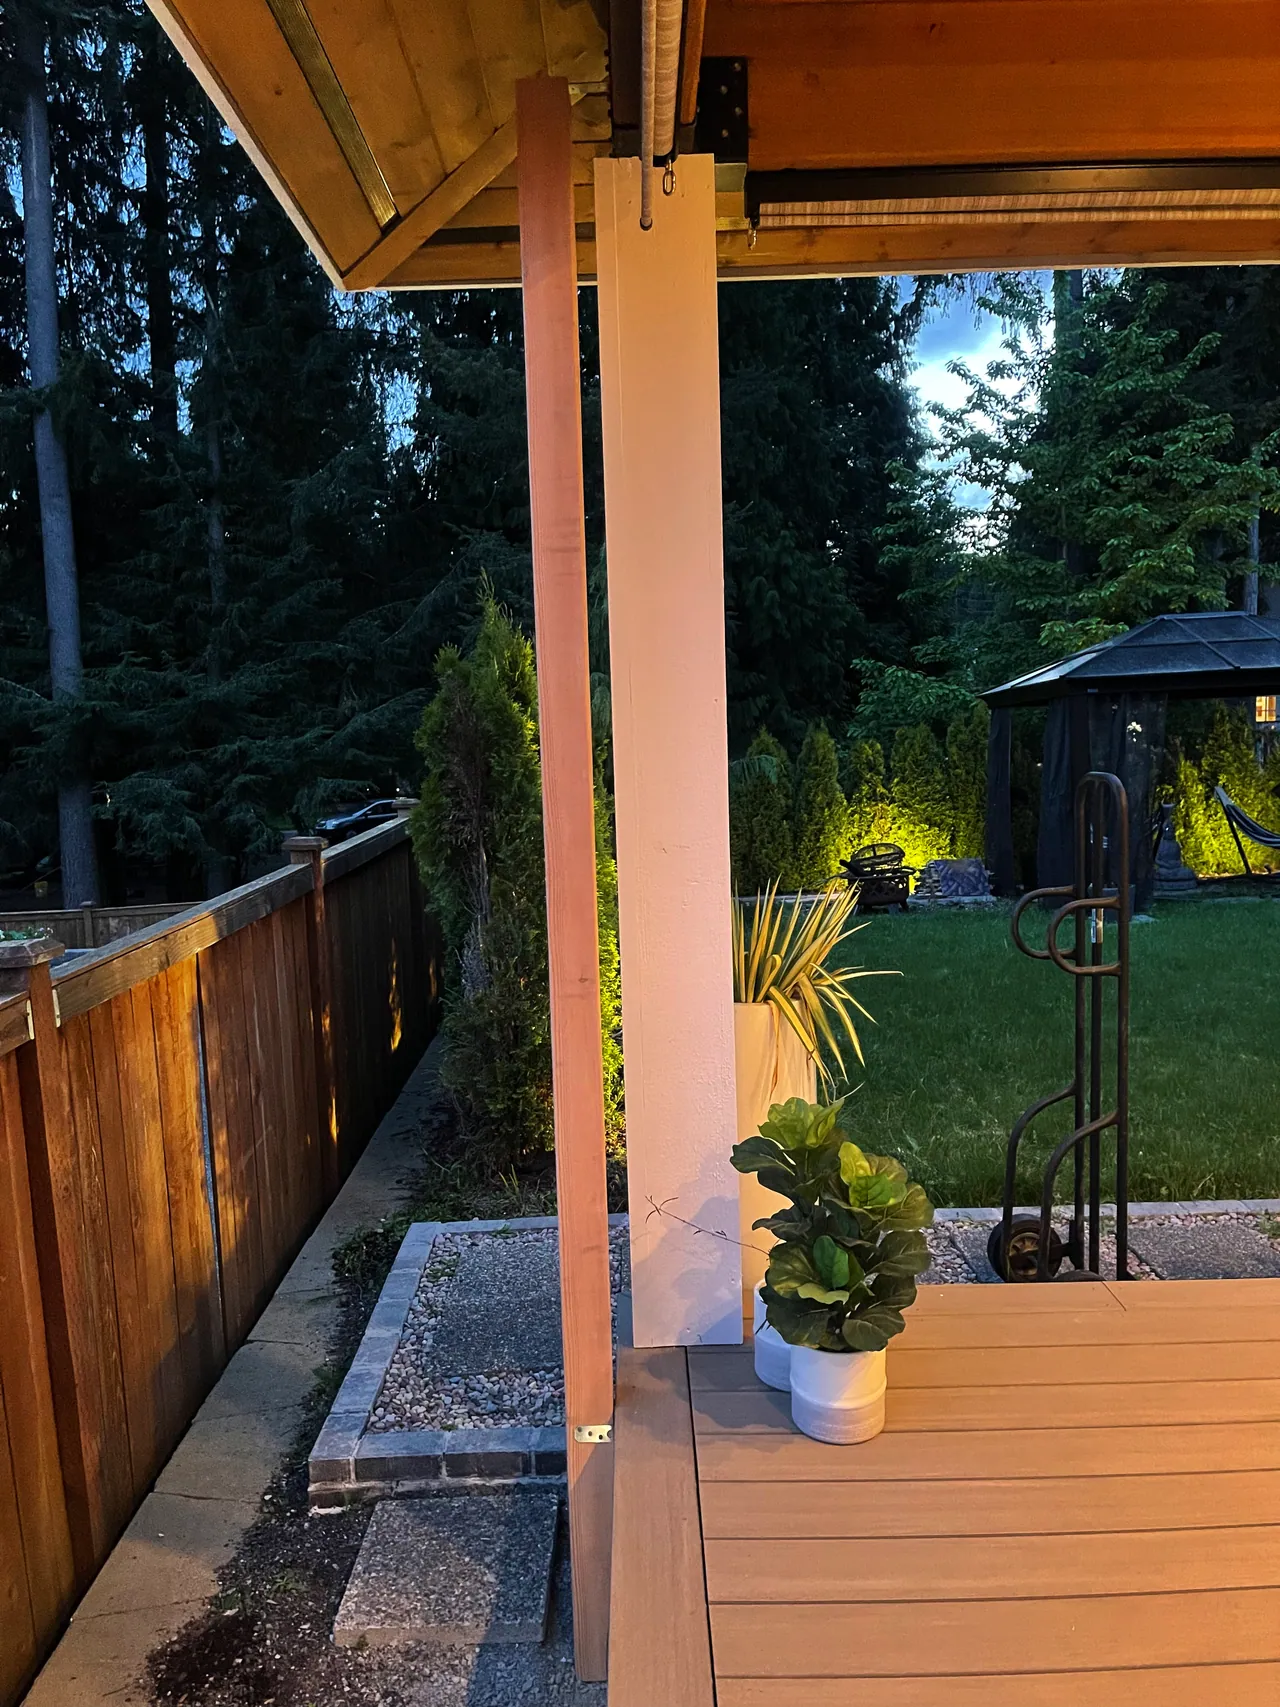
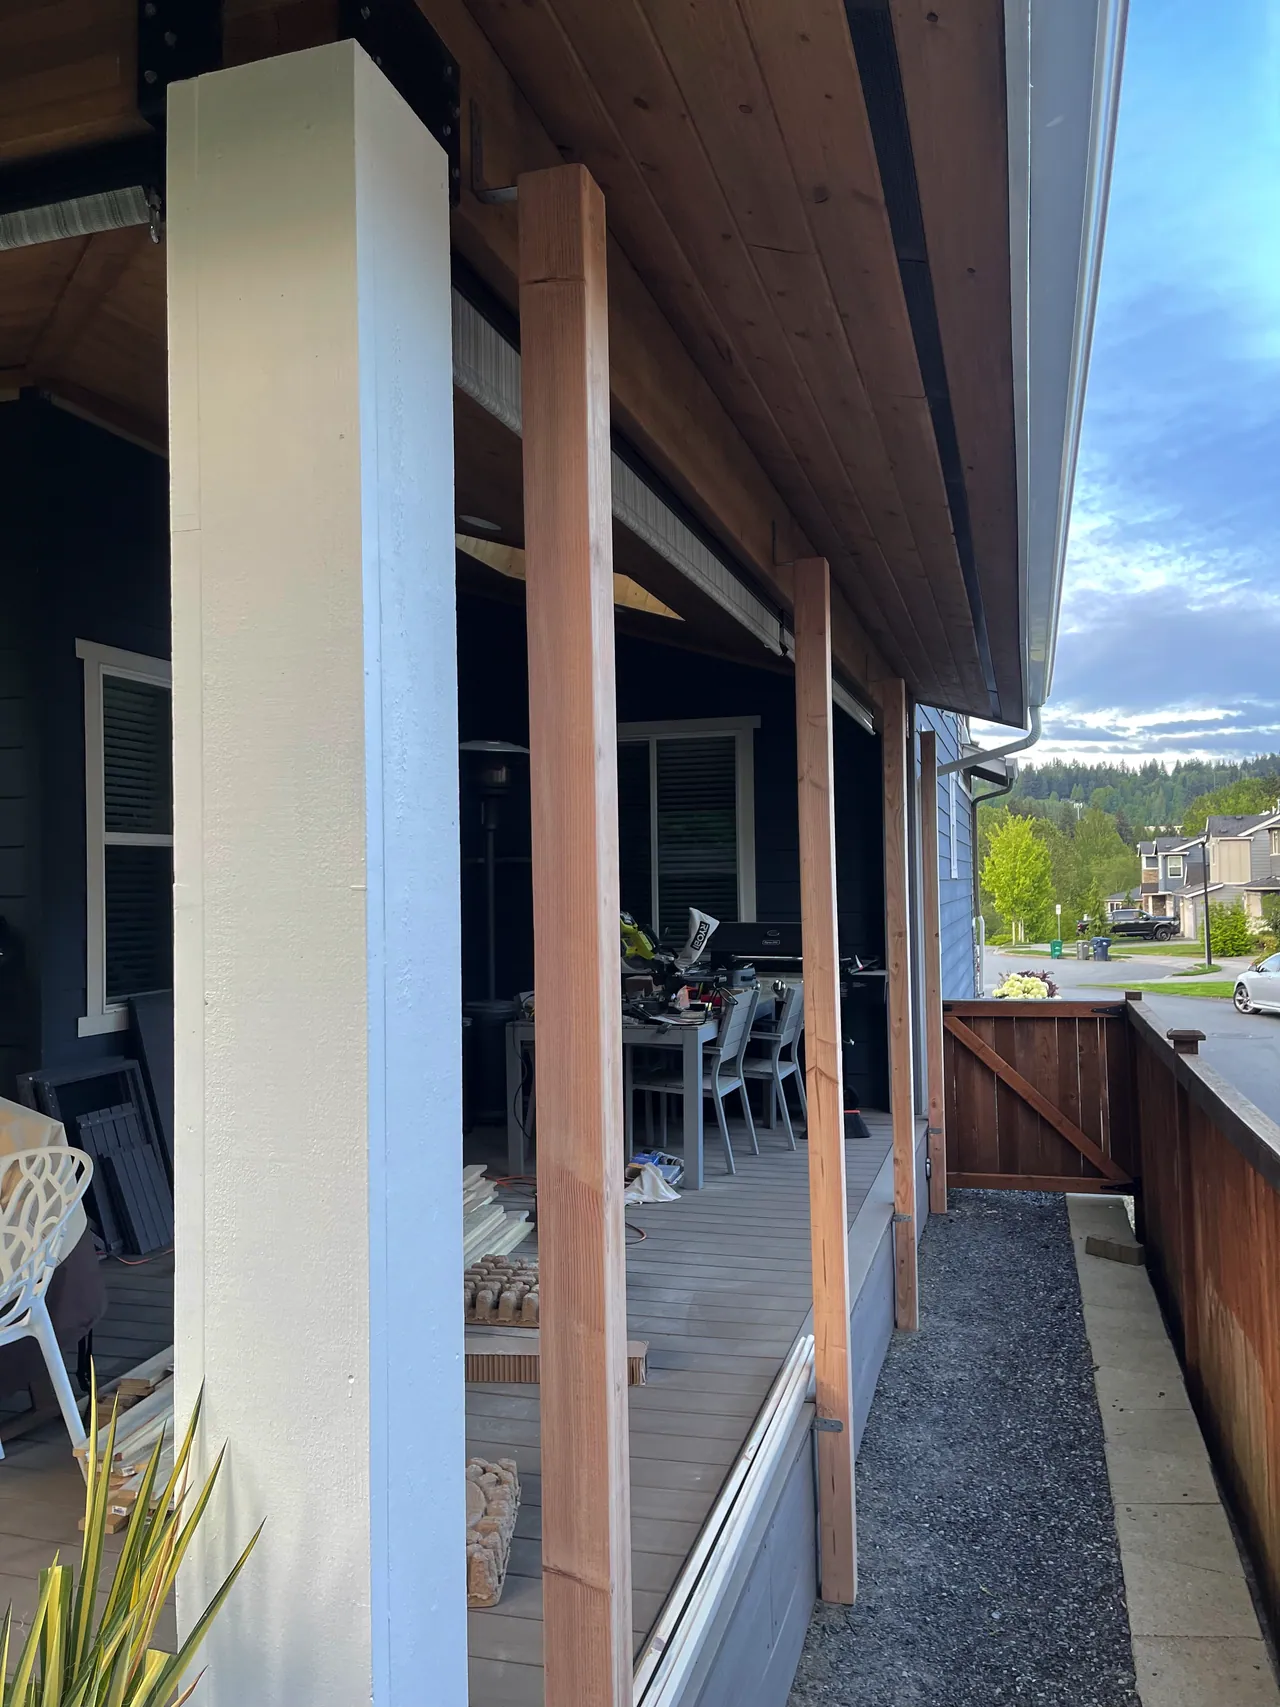
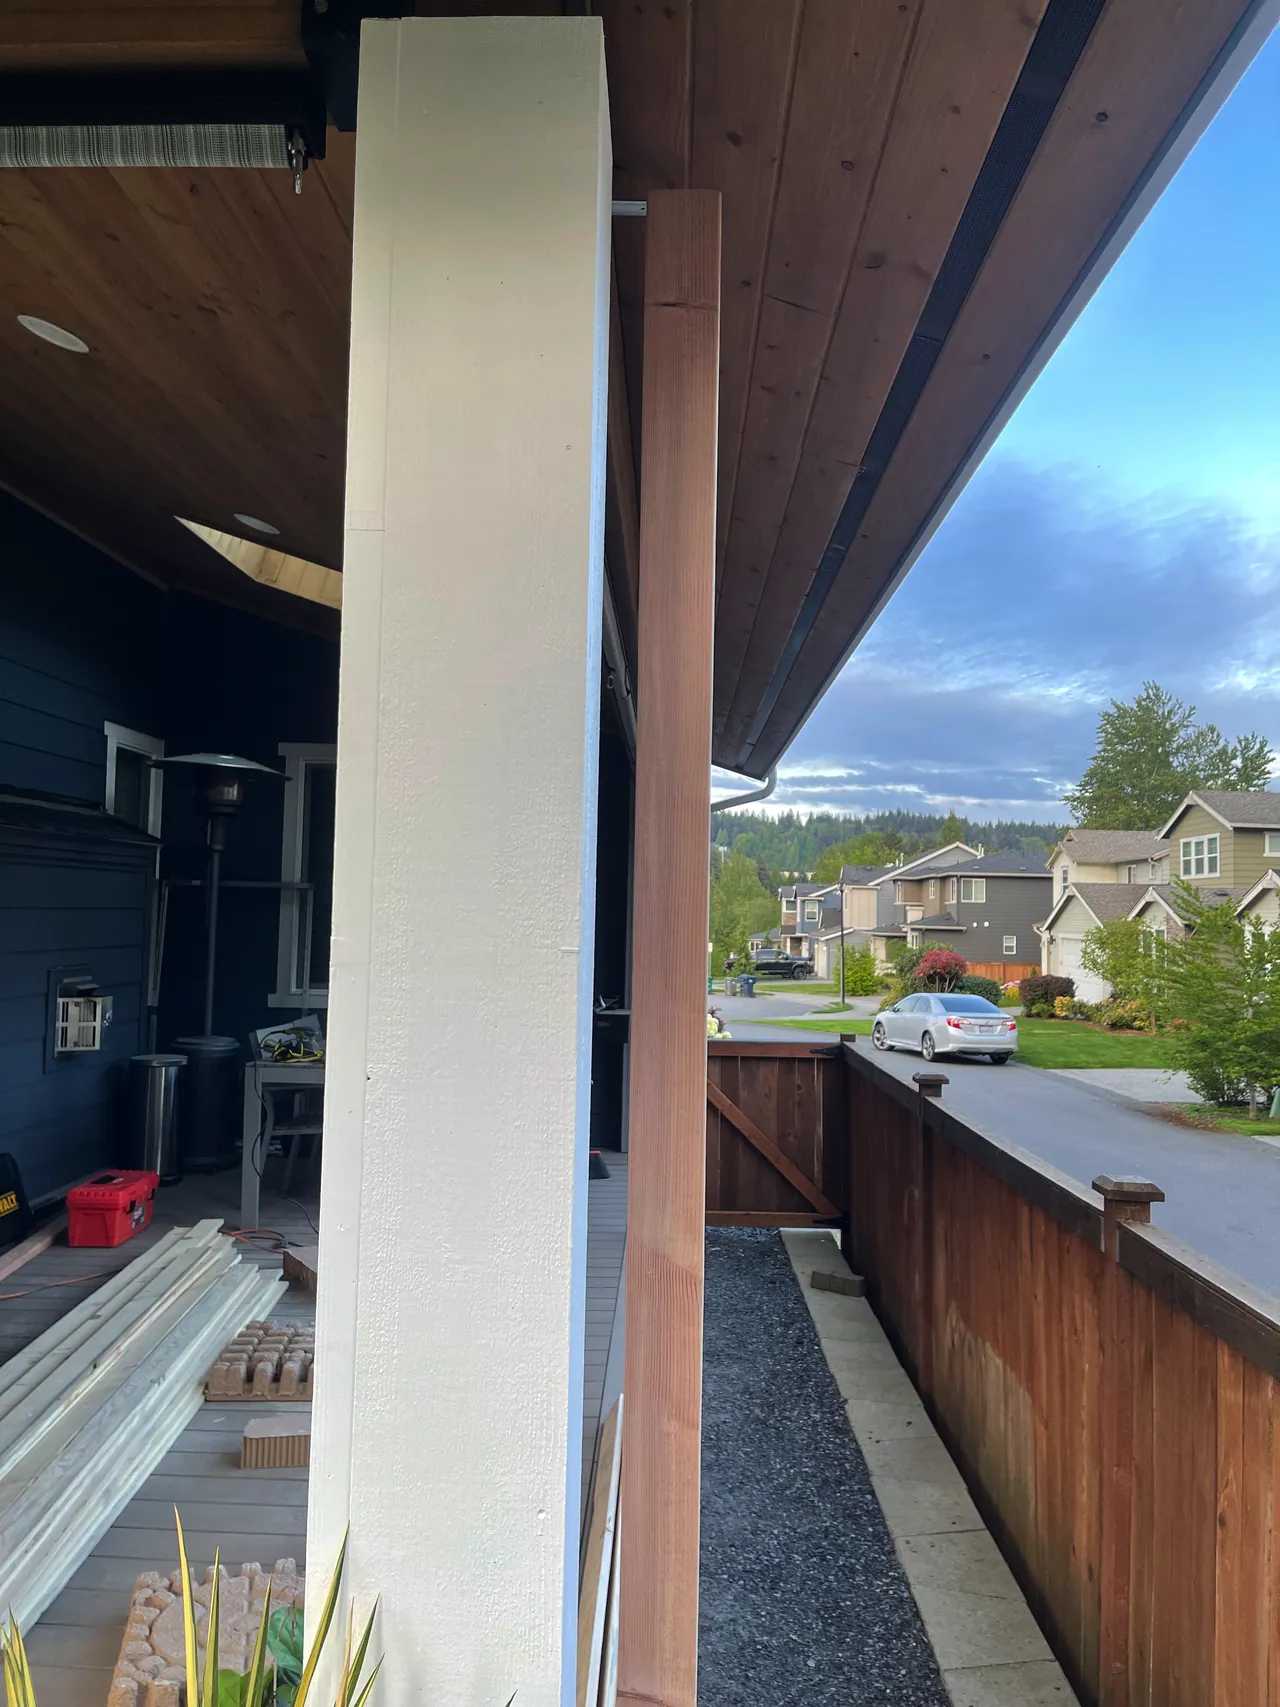
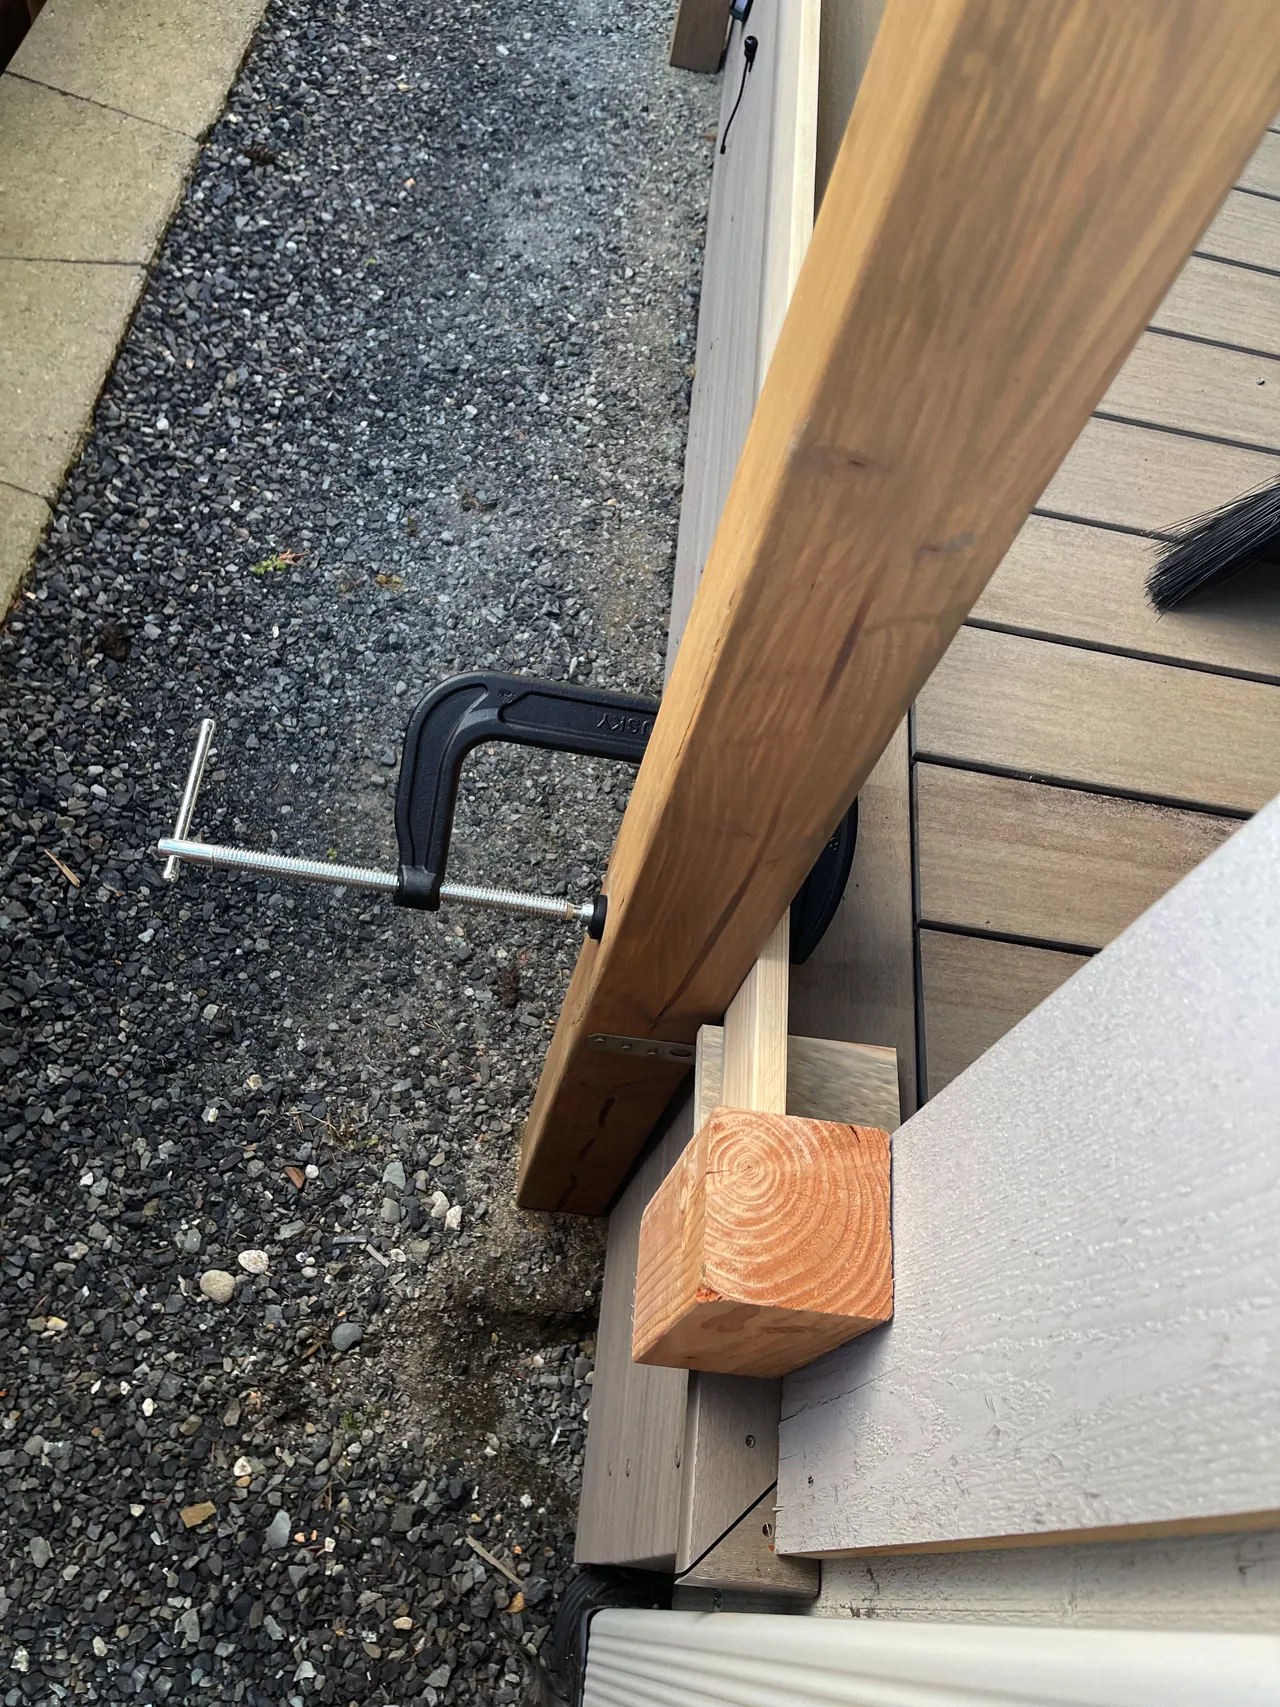
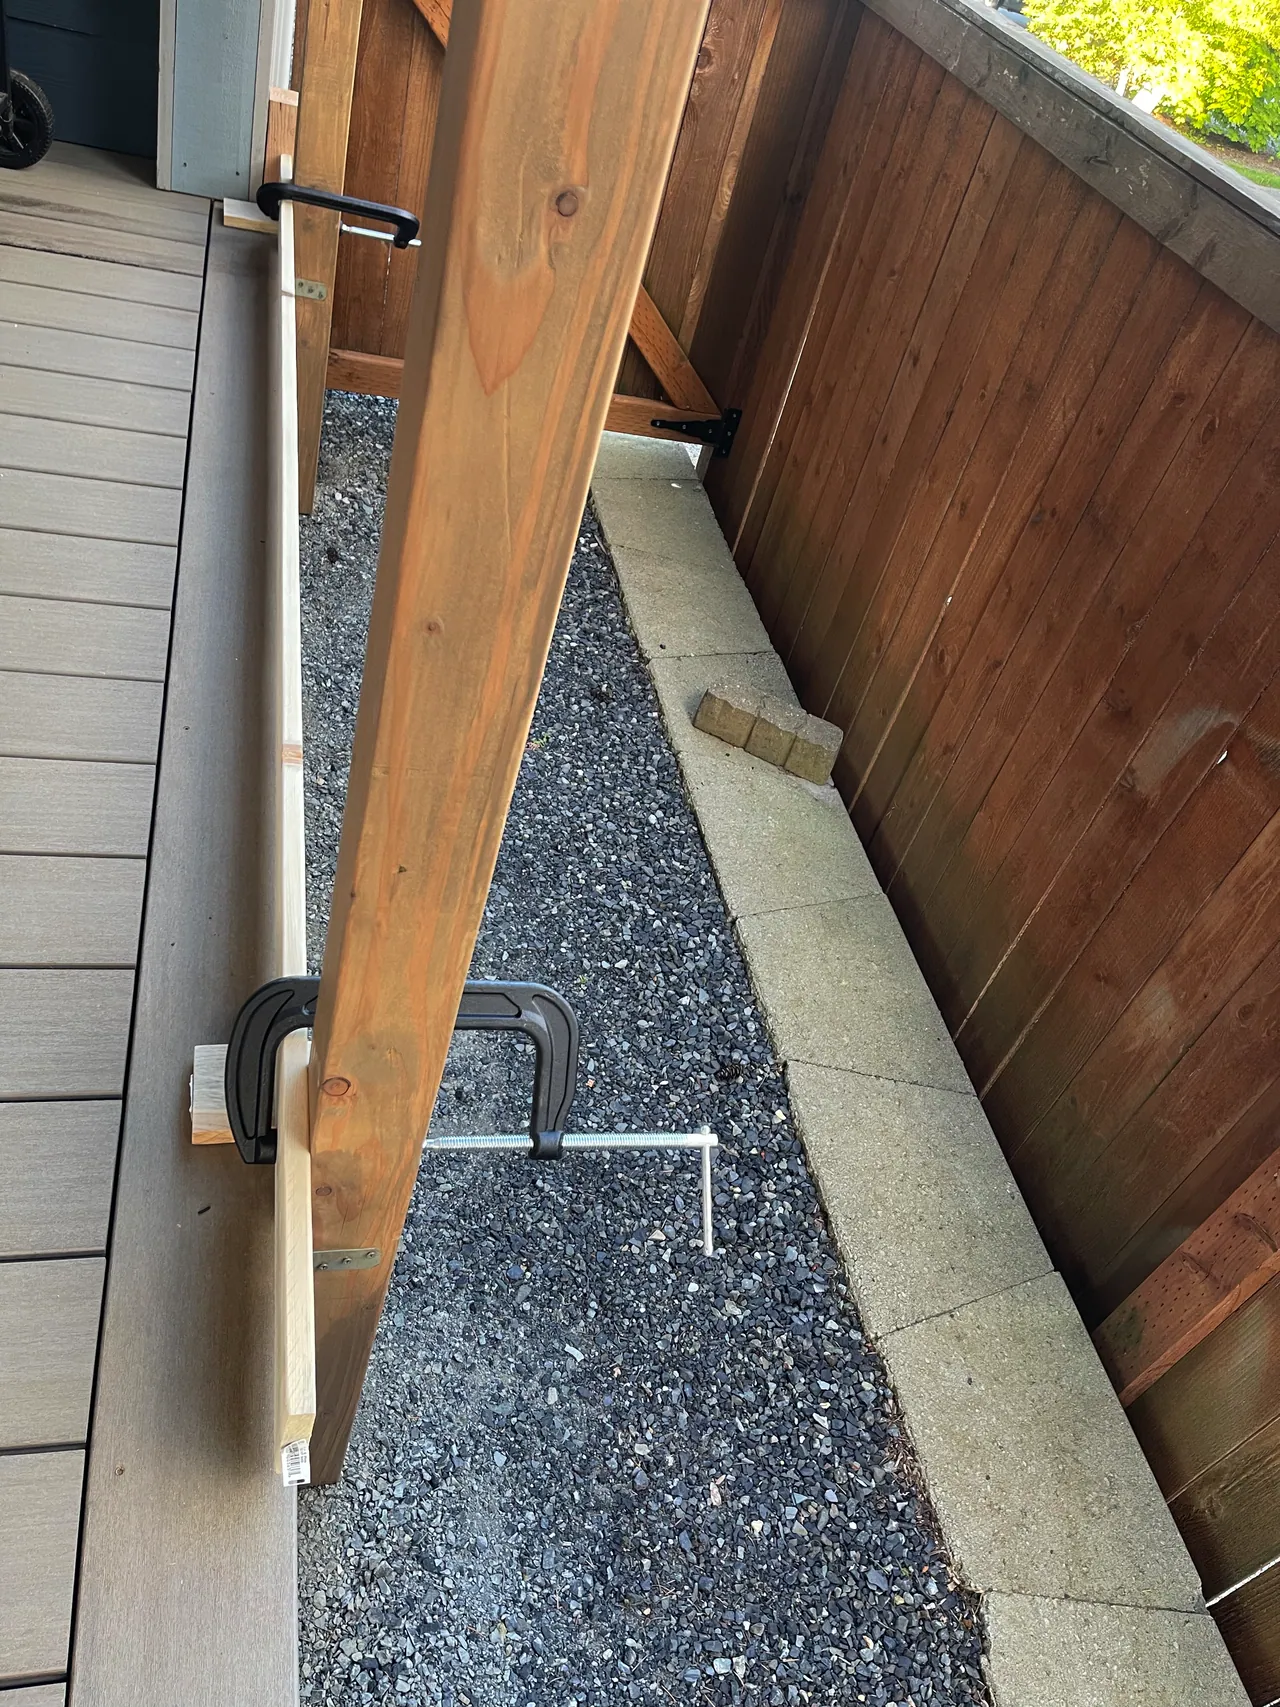
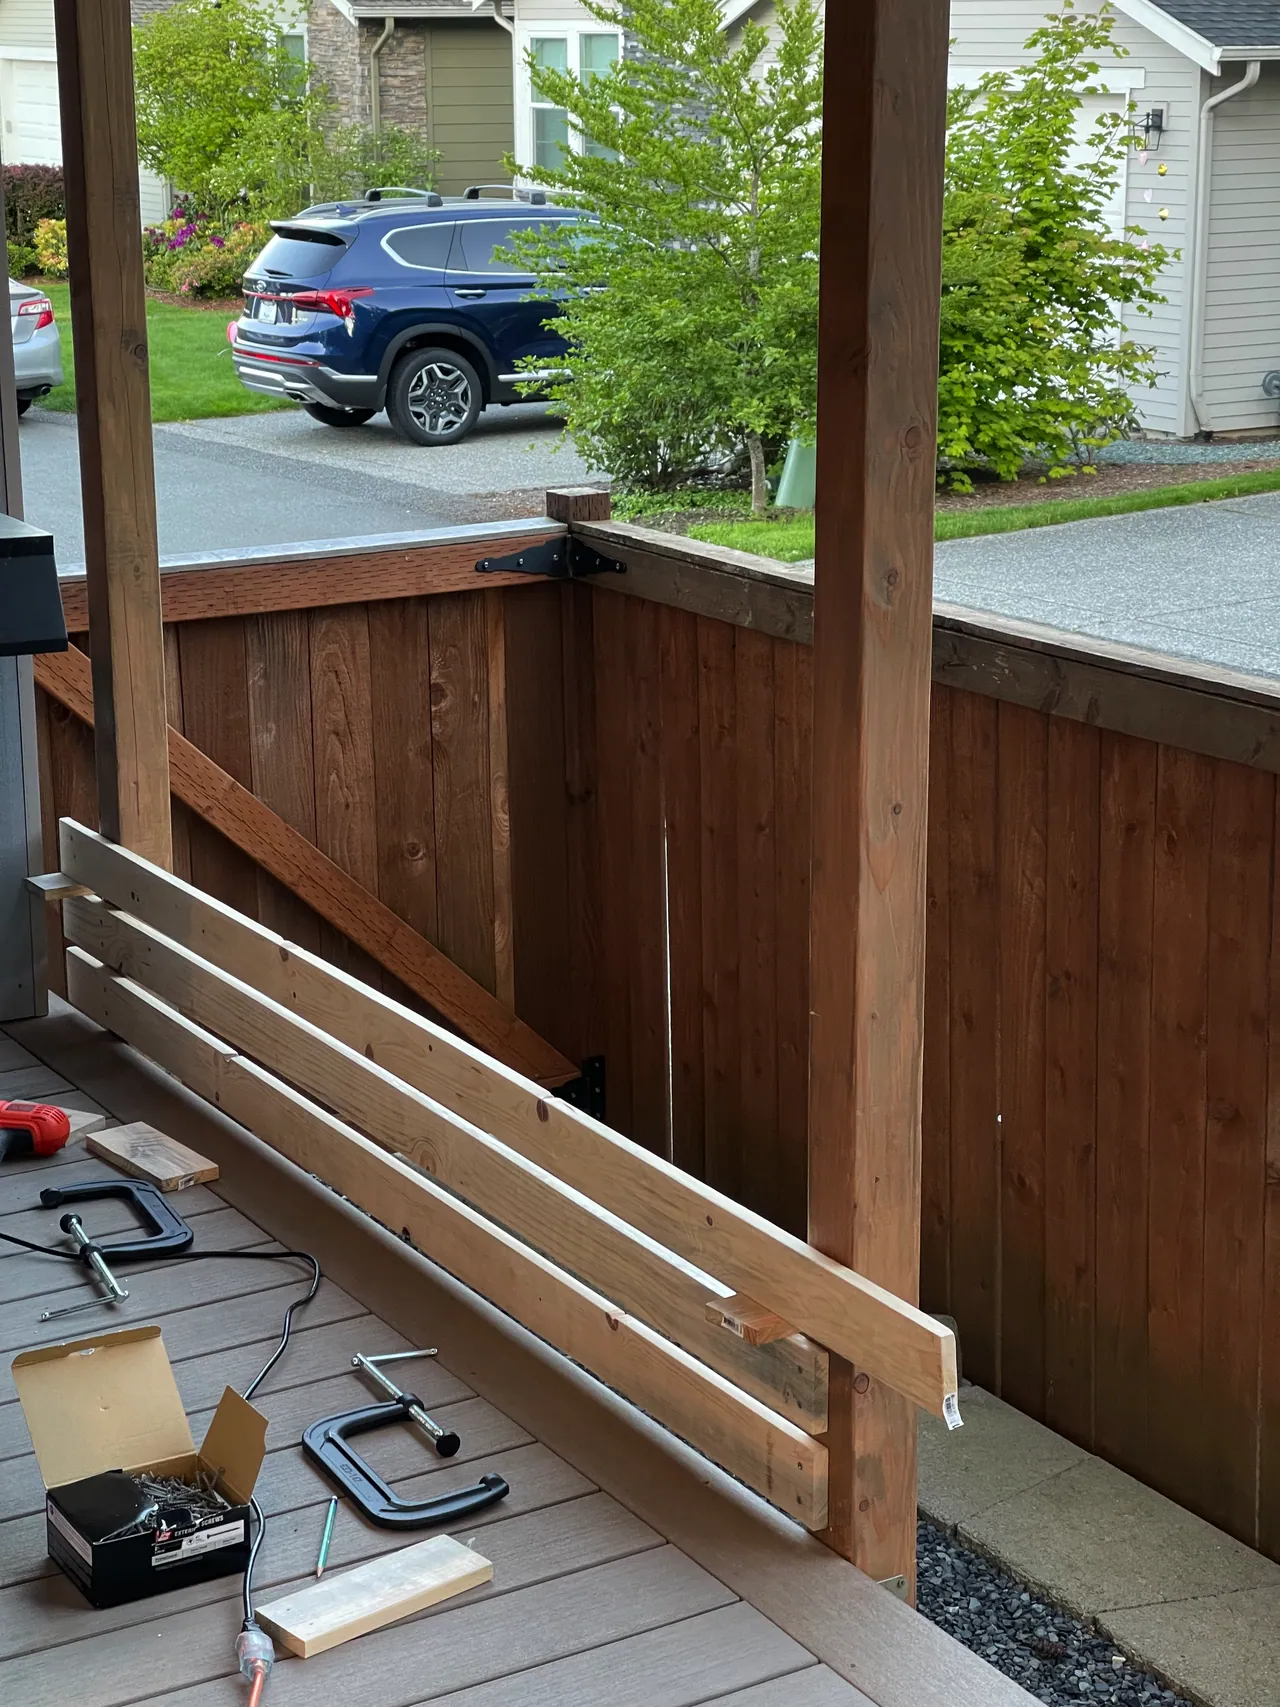
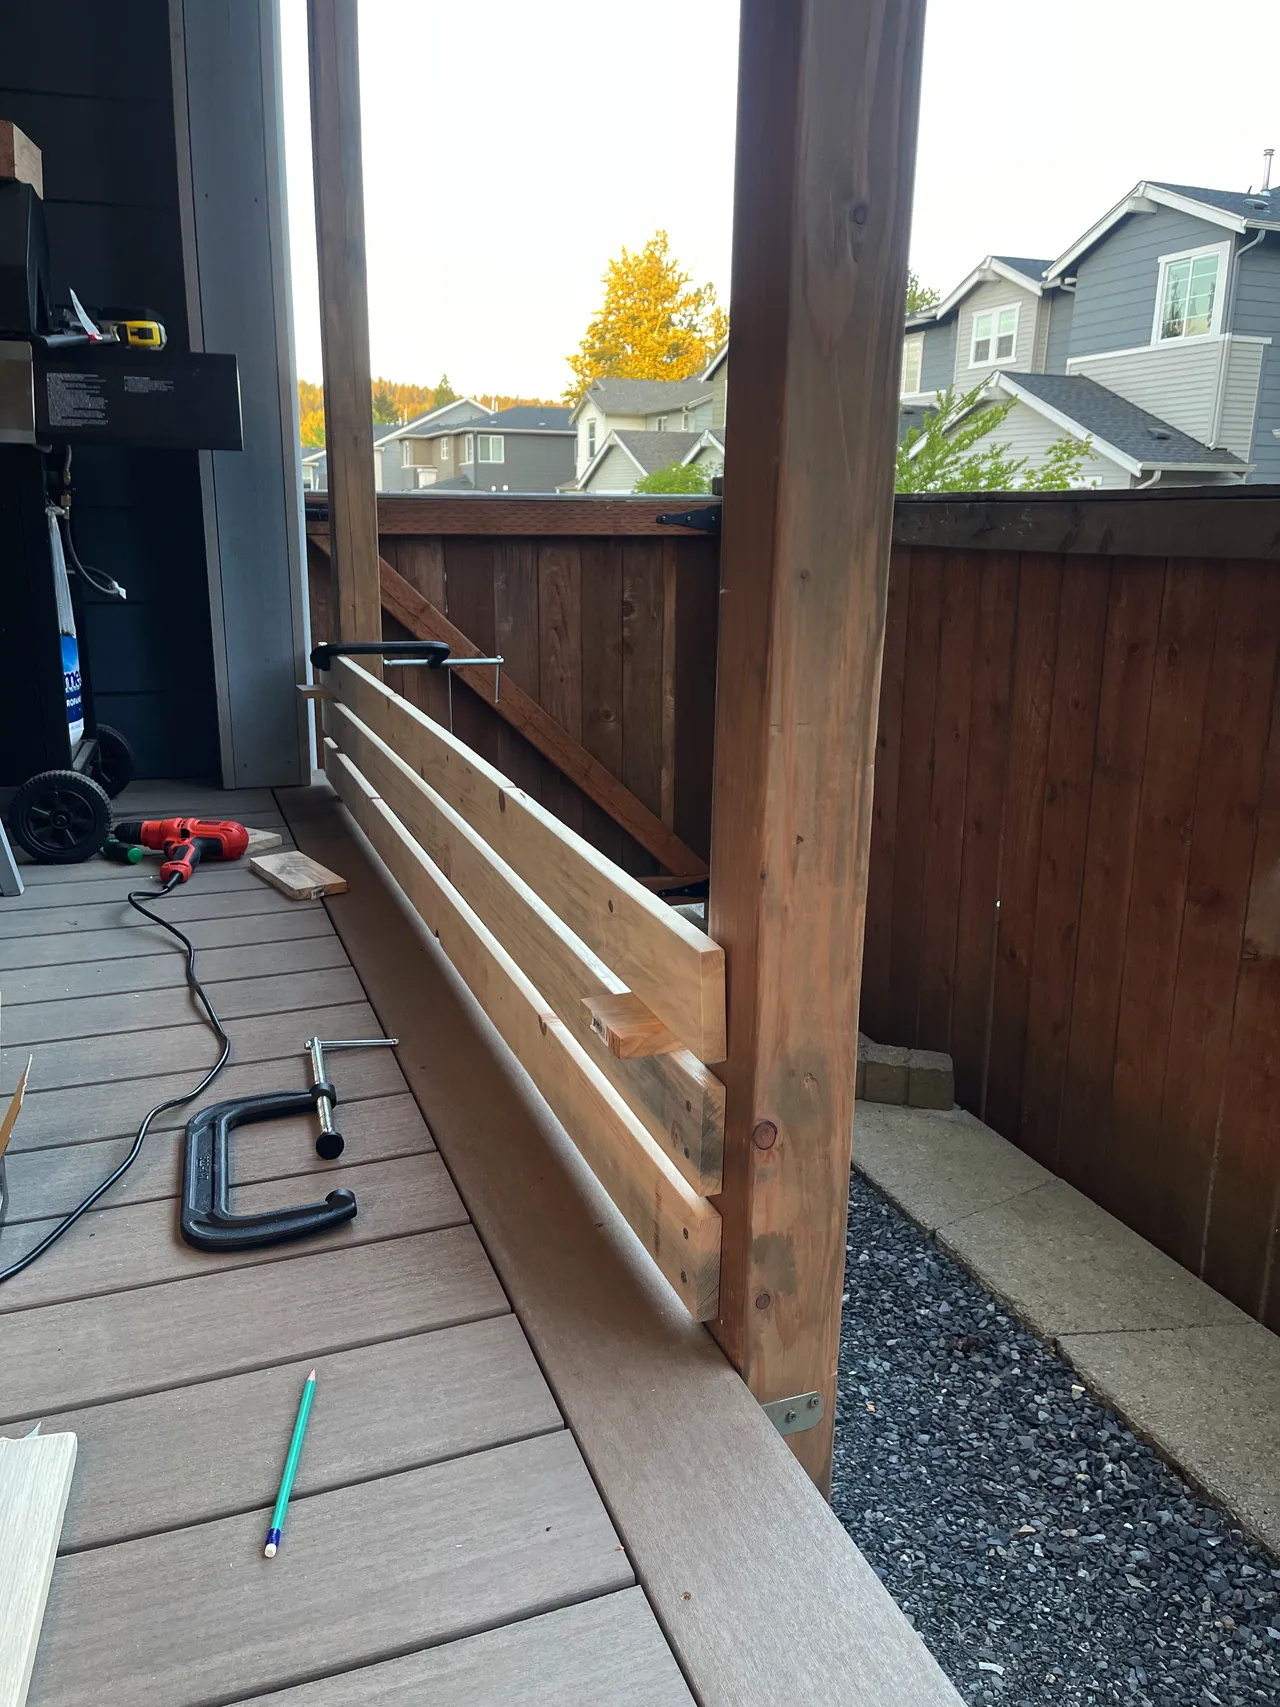
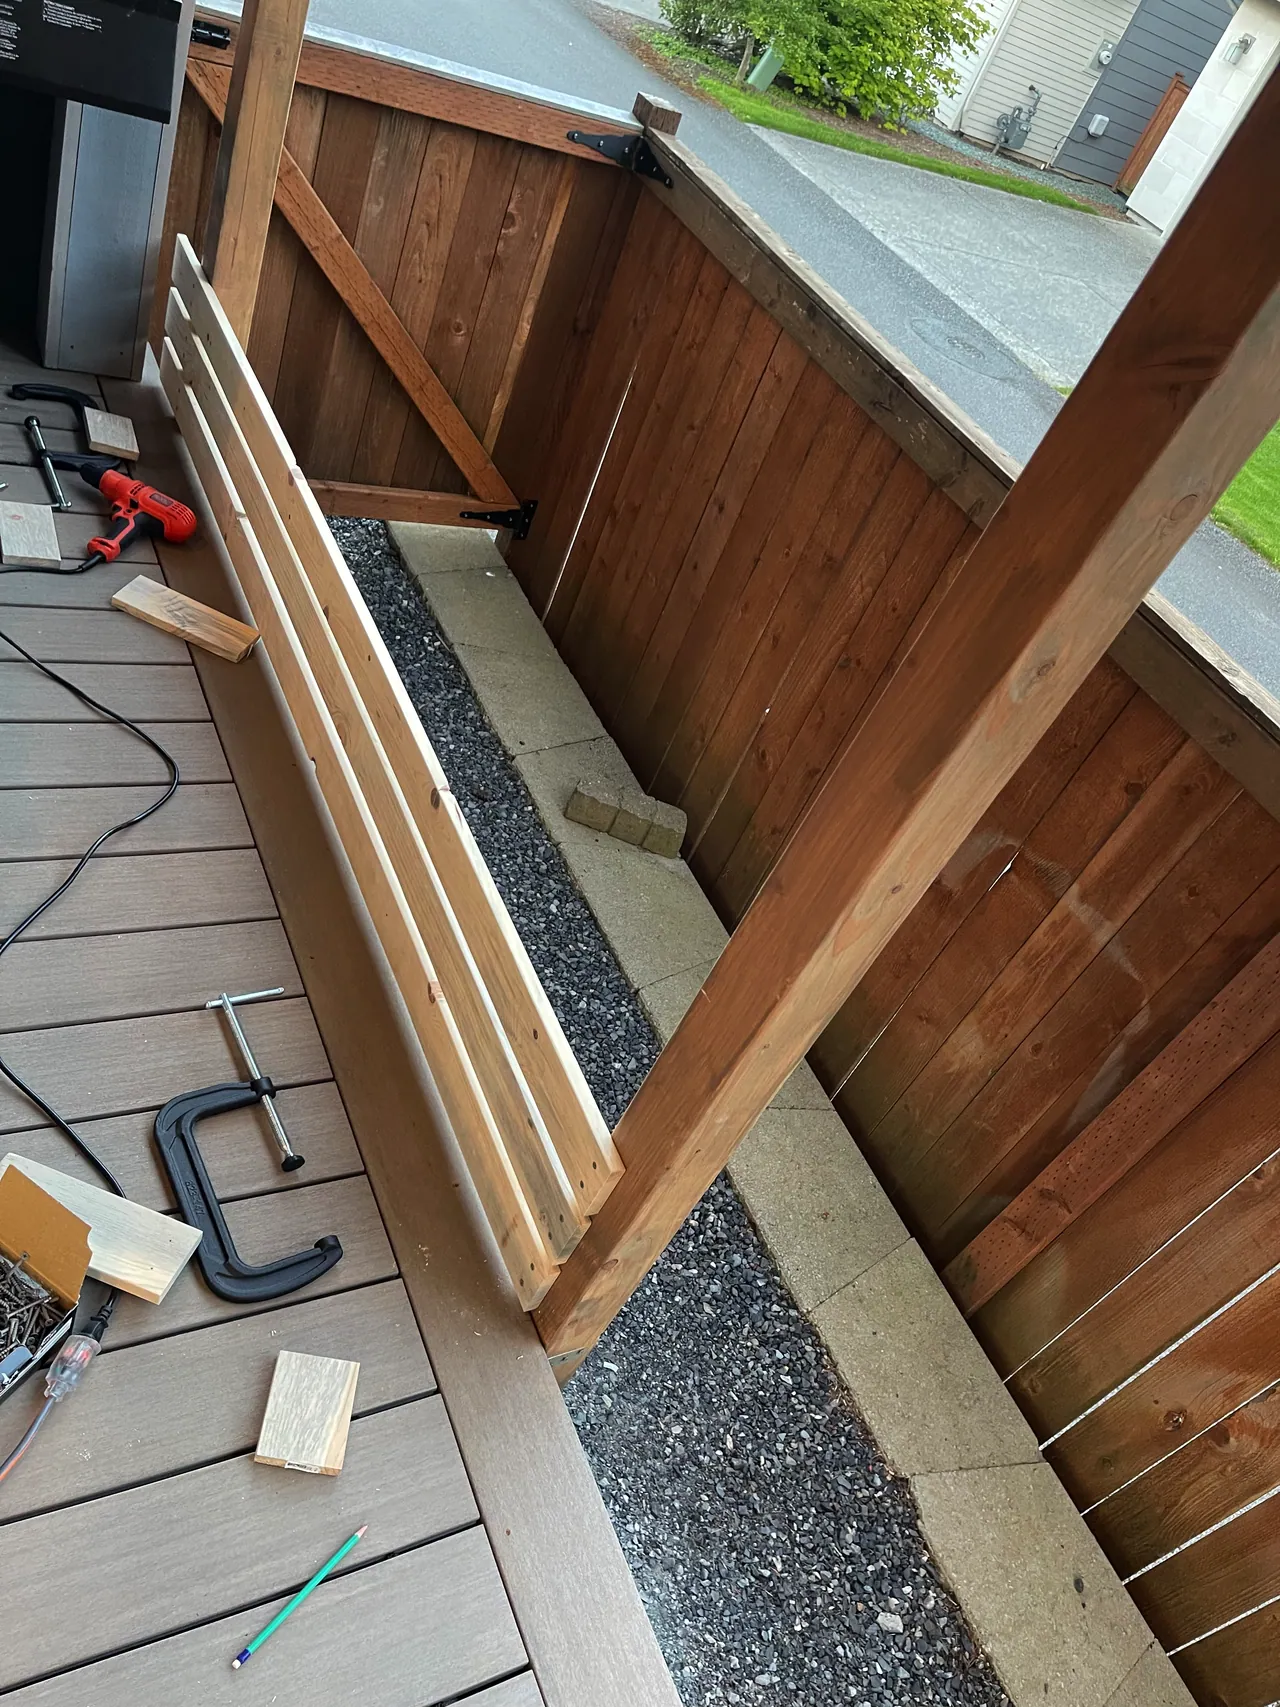
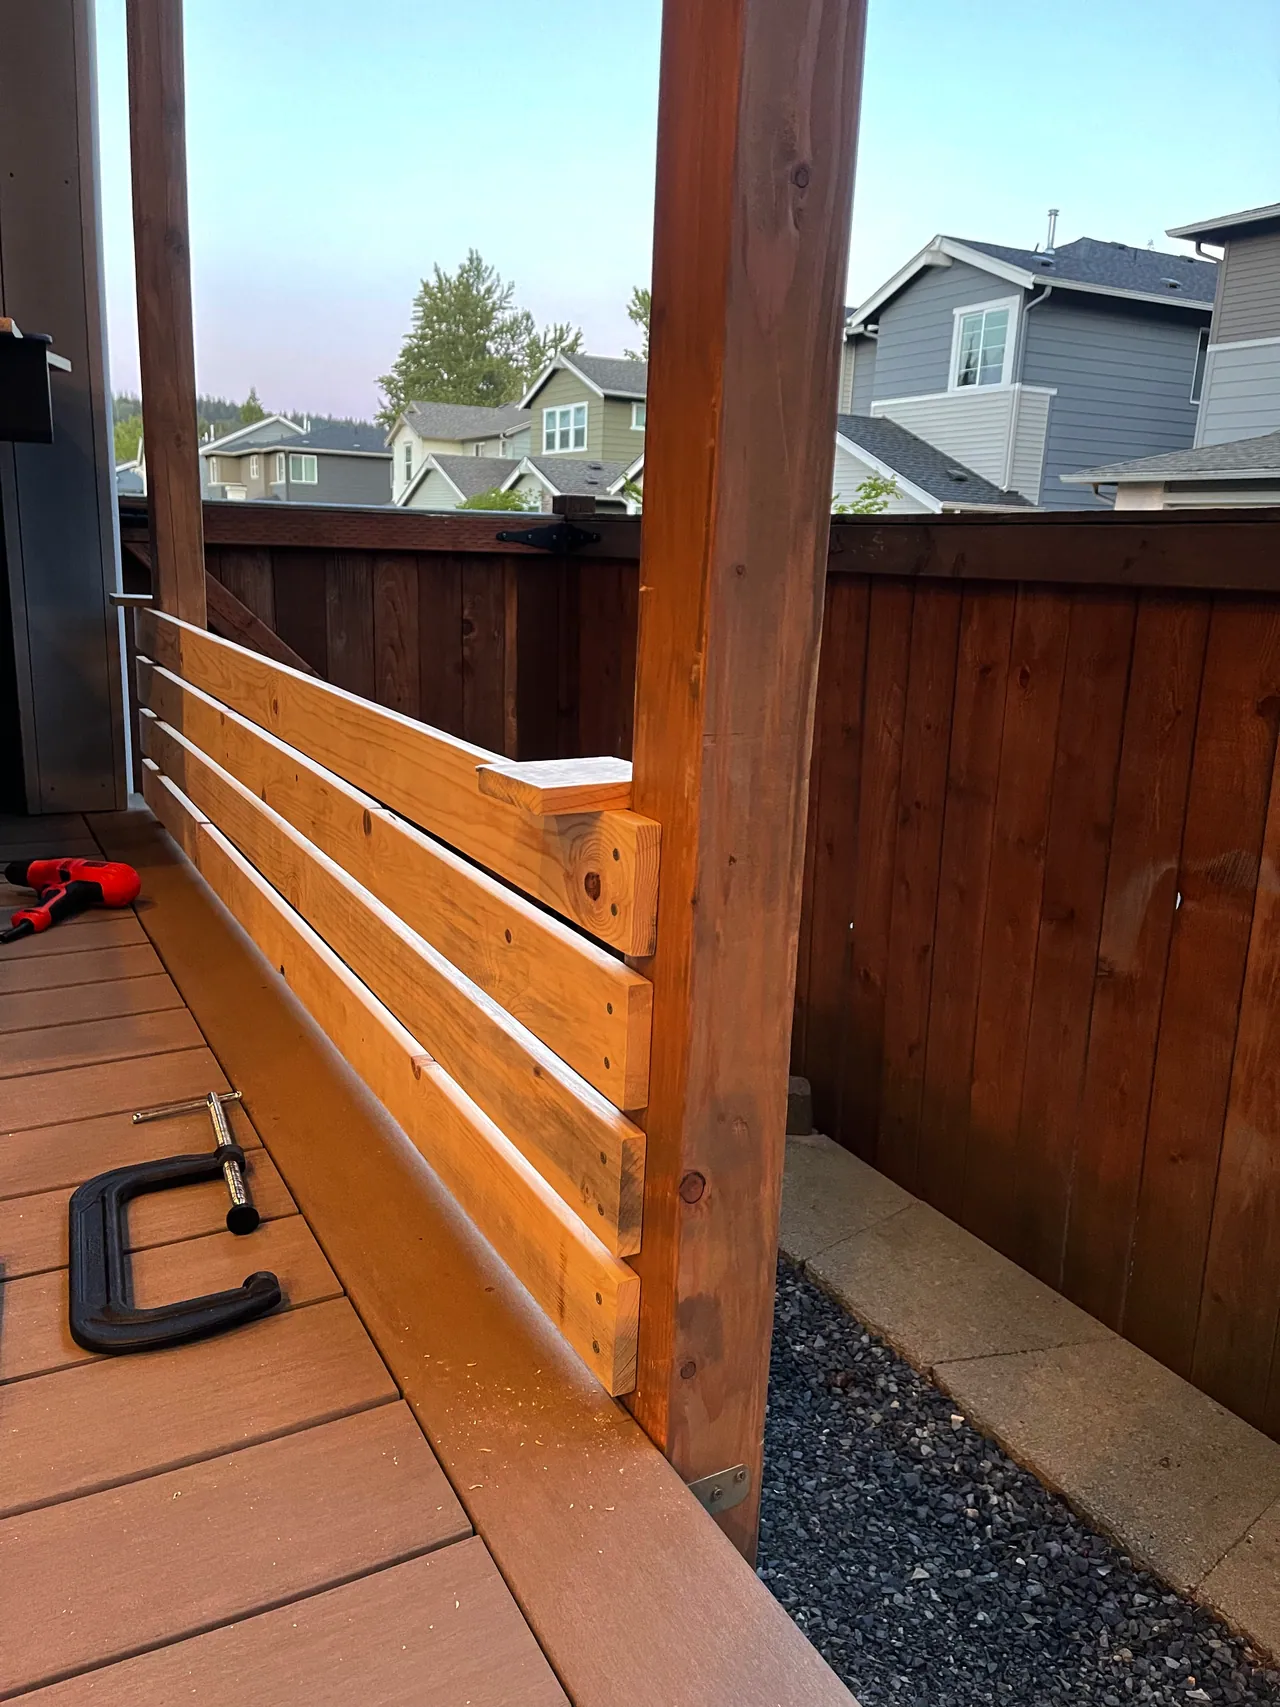
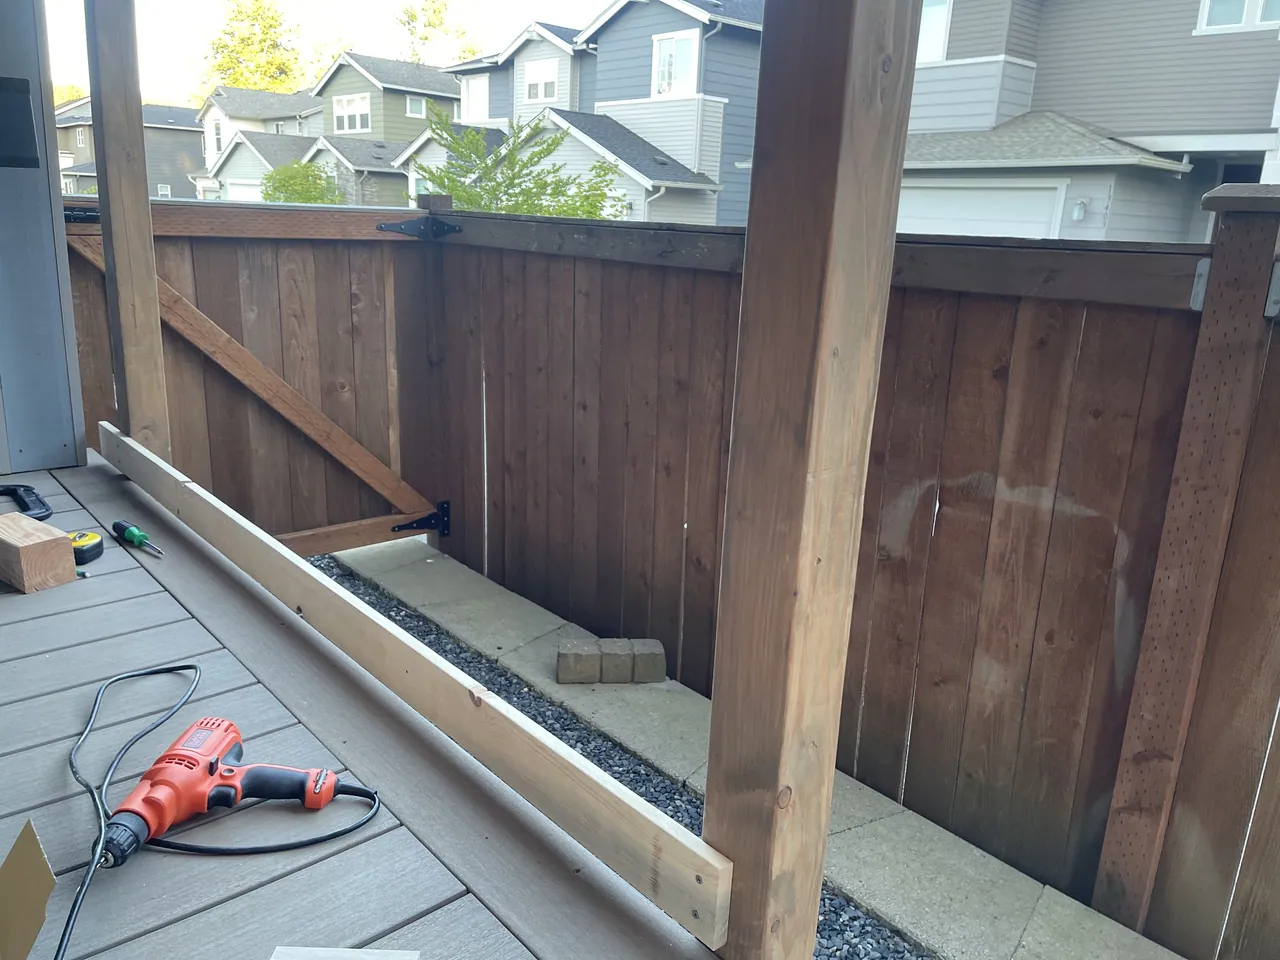
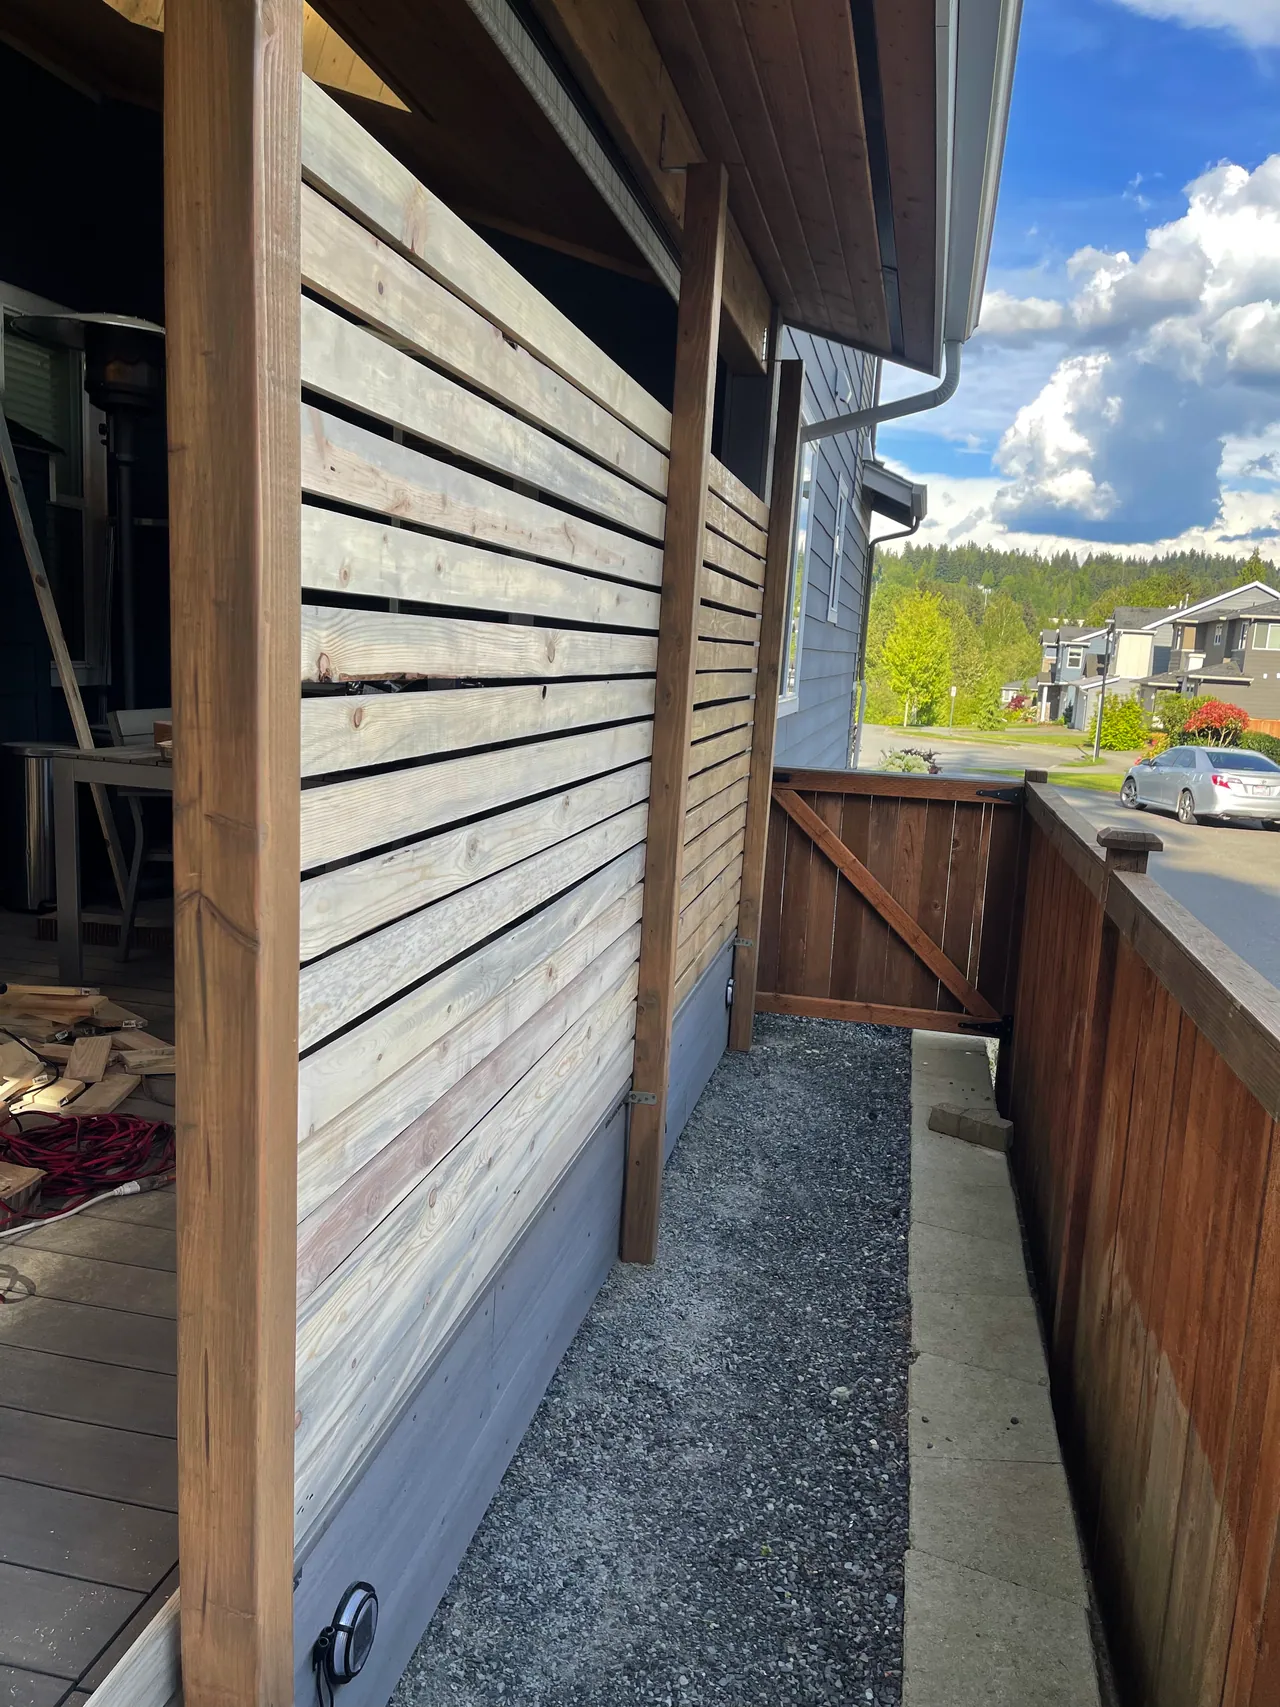
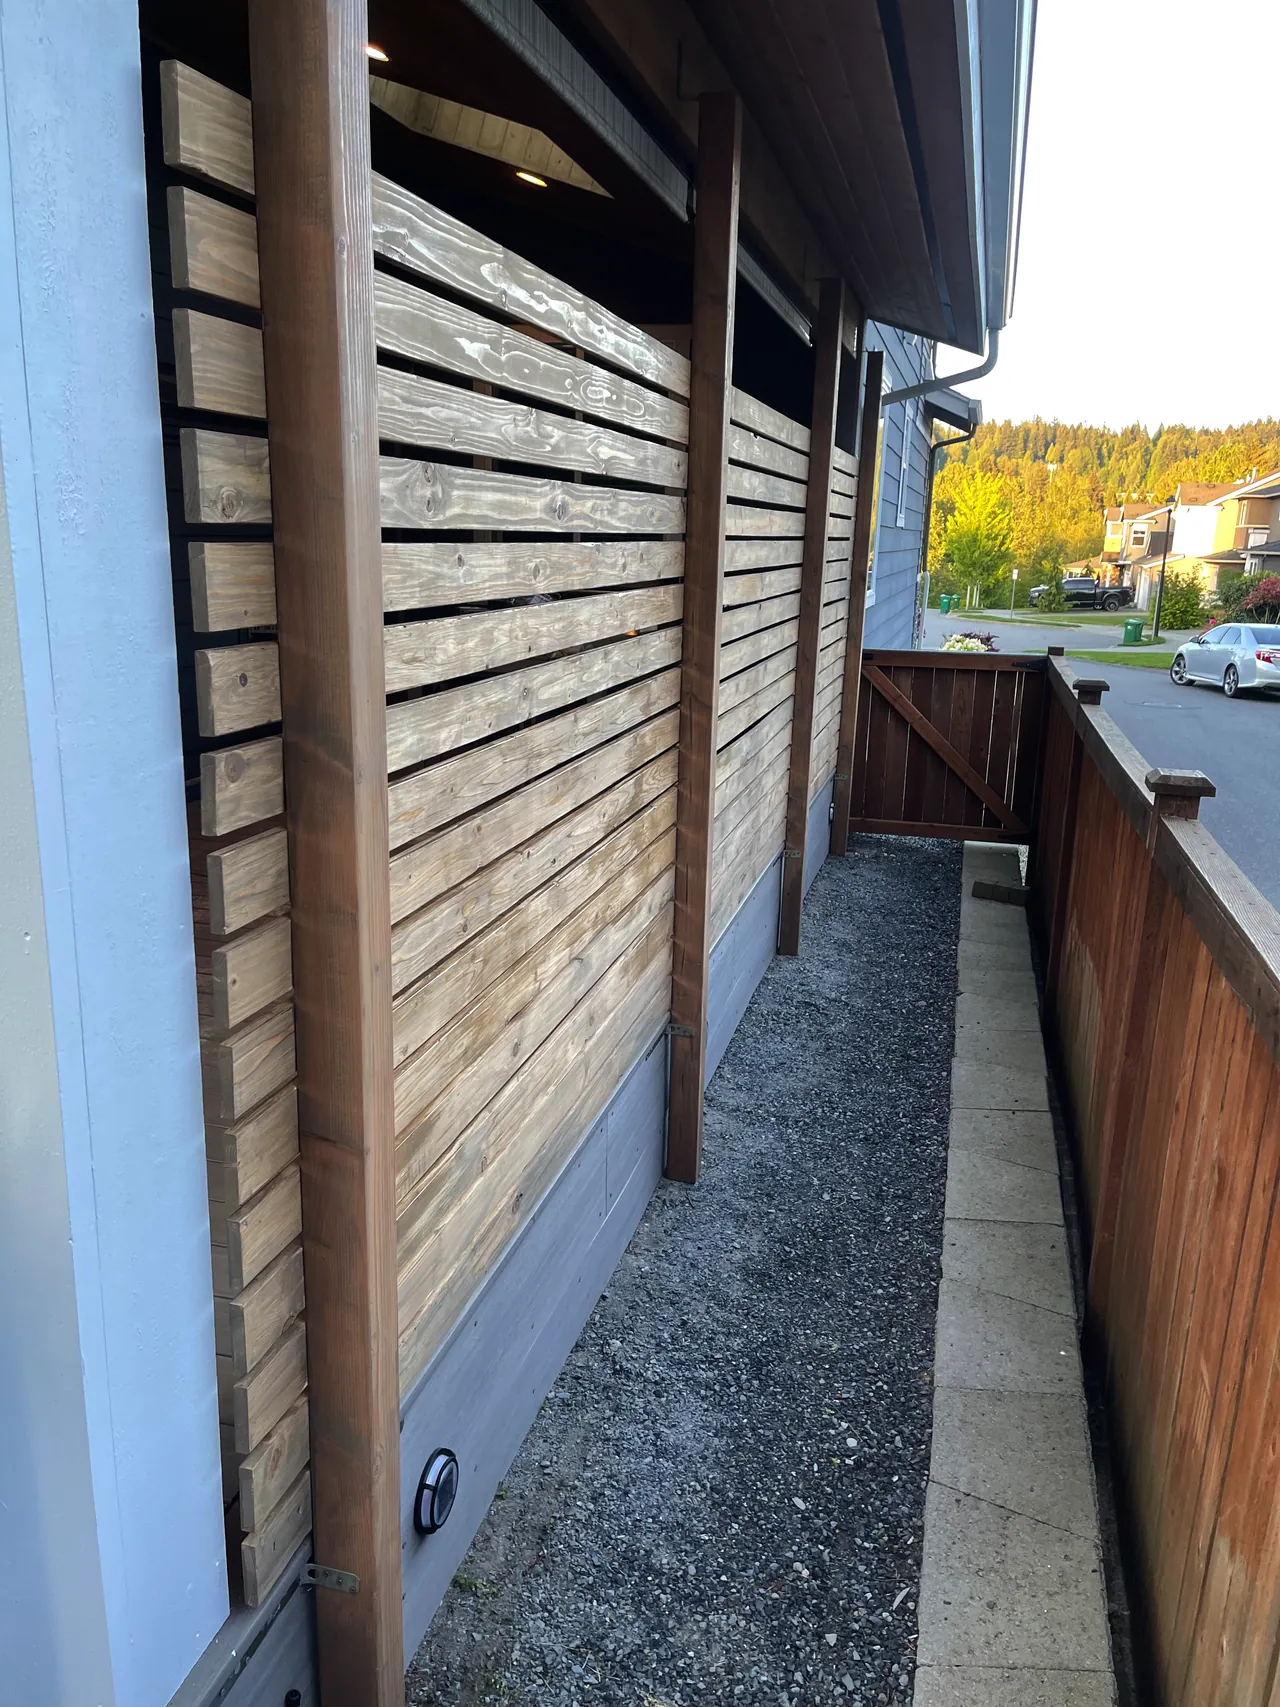
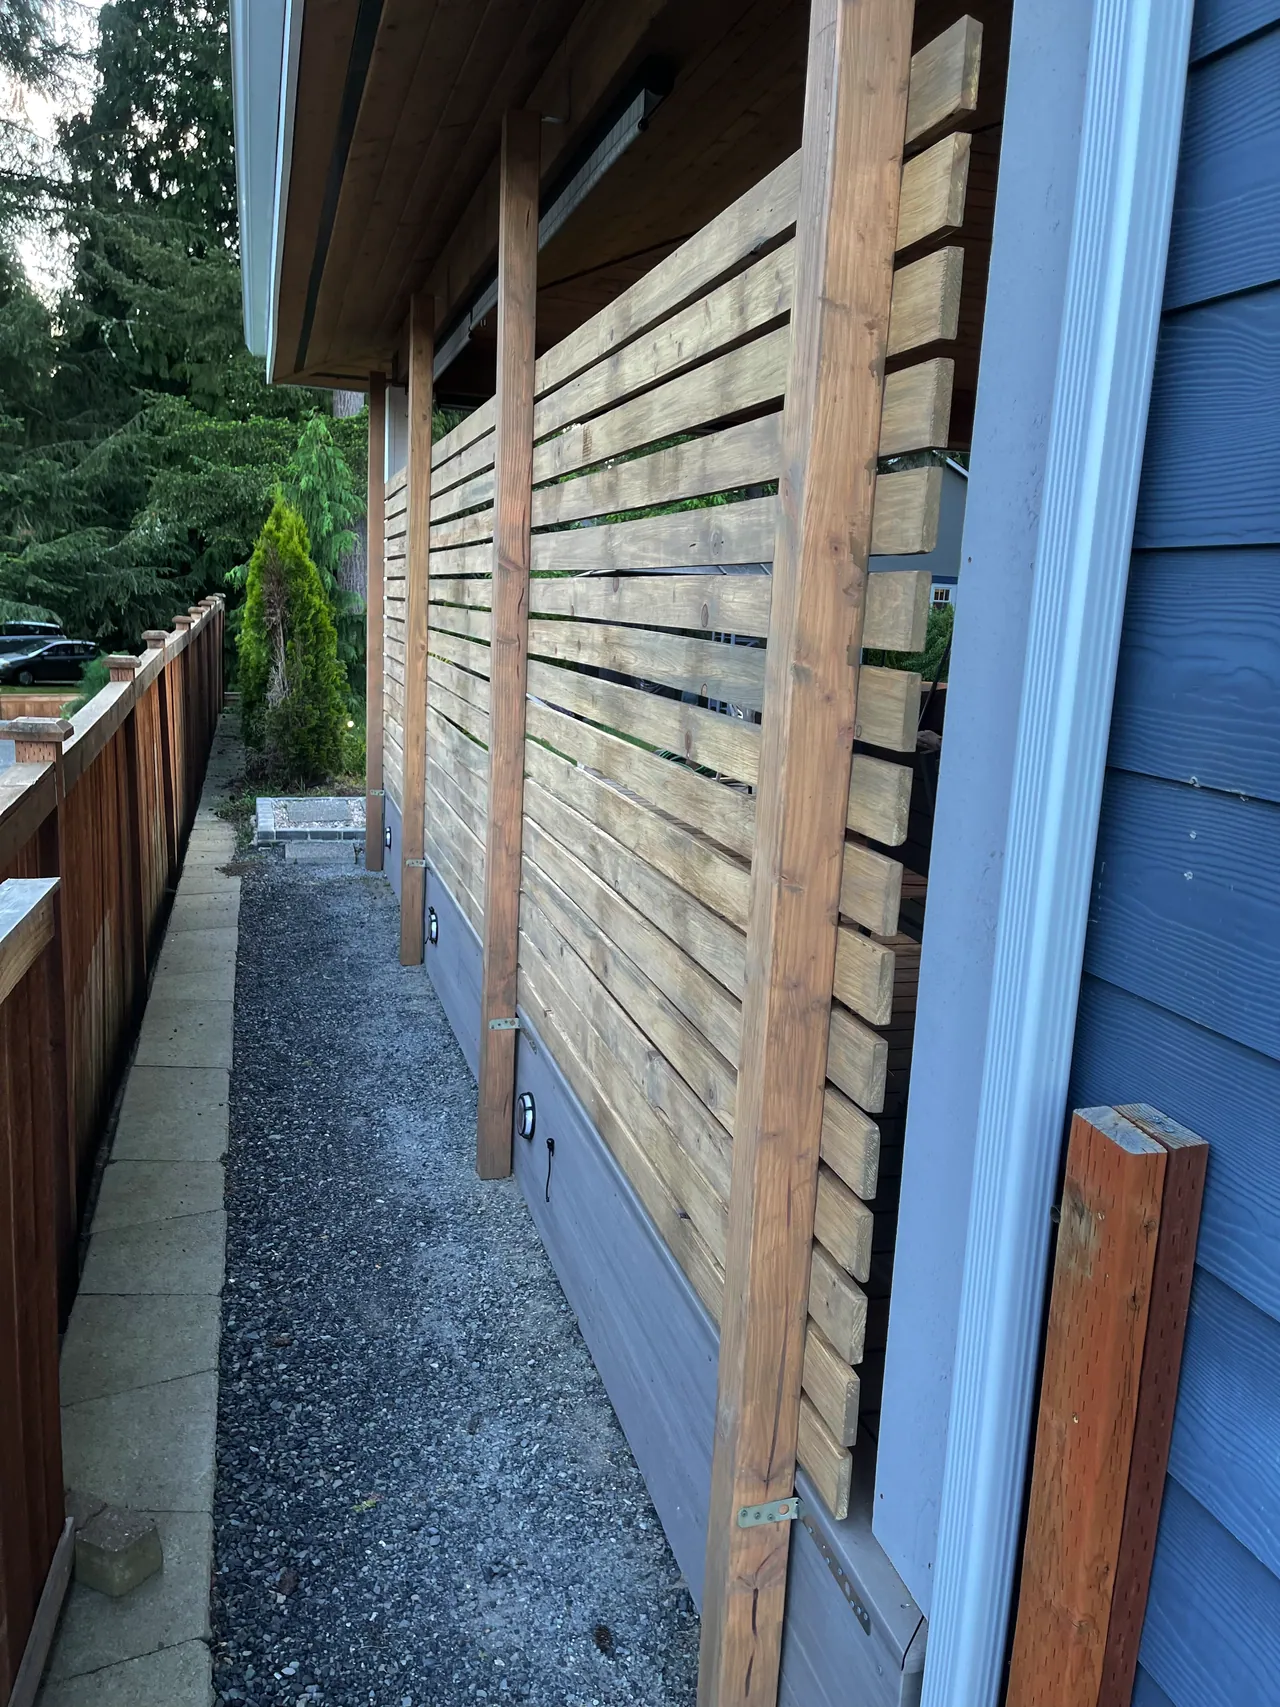
Time to install the posts. After measuring an marking the position on the top beam, the first step was to attach the bracket to the top of the post. The position of the beam relative to the base of the deck required the bracket to create a gap between the beam and the post. This gap allowed the post to sit as close as possible to the deck and to keep a vertical orientation of 90° relative to the ground. Pictures below explain it all. Once the posts were attached to the top, I bent the galvanized straps to fix the posts to the base of the deck. Attached brackets used #6 x 1 1/4 in Philips Exterior Screws (cost $32.97 5 lb. box).
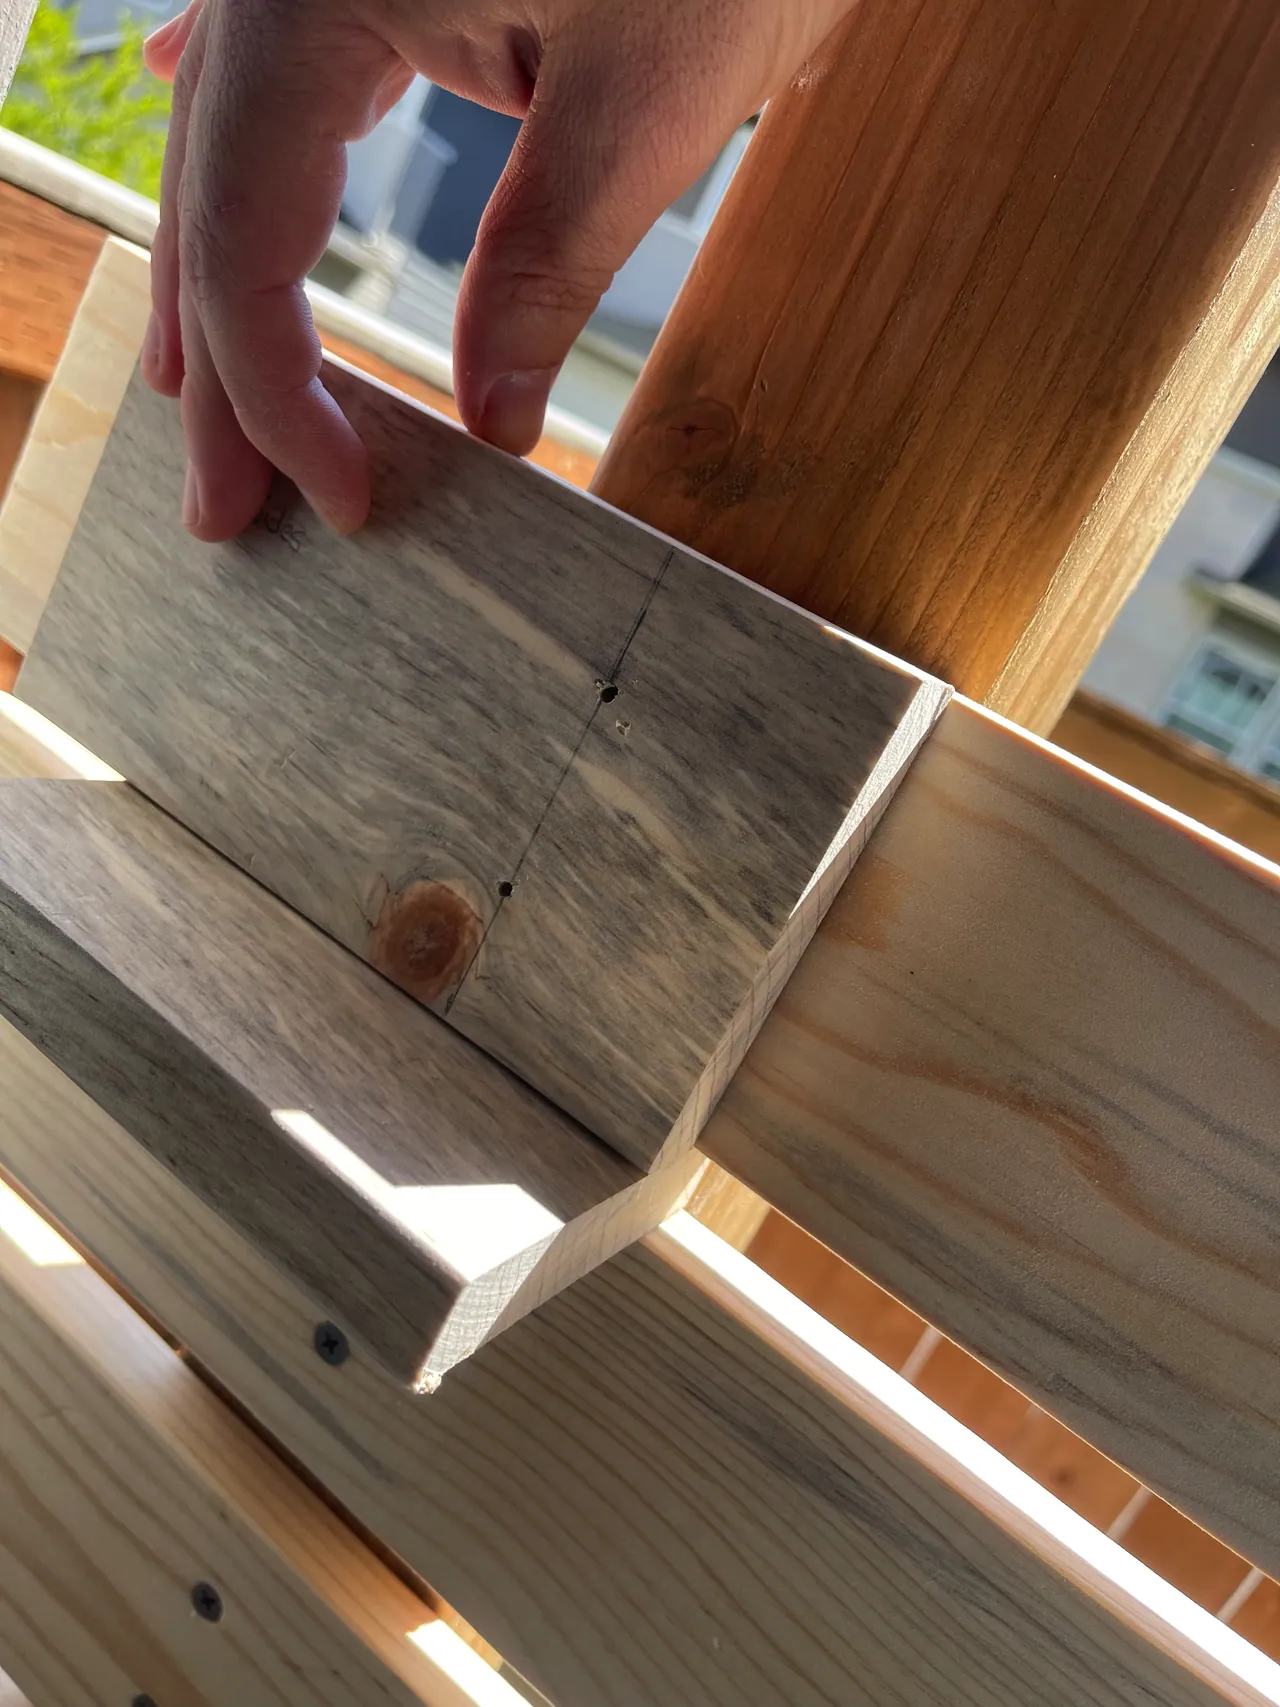
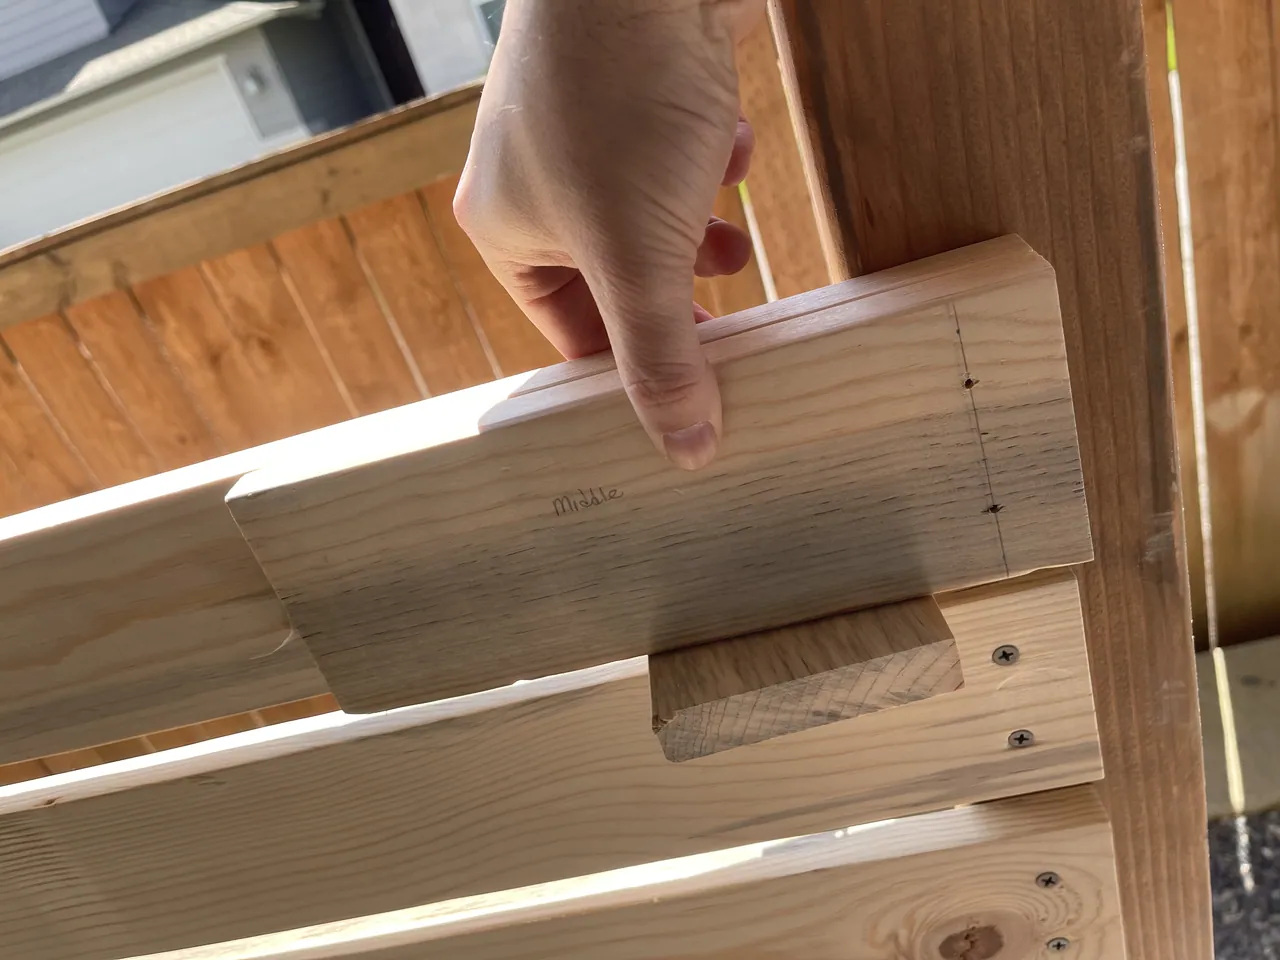
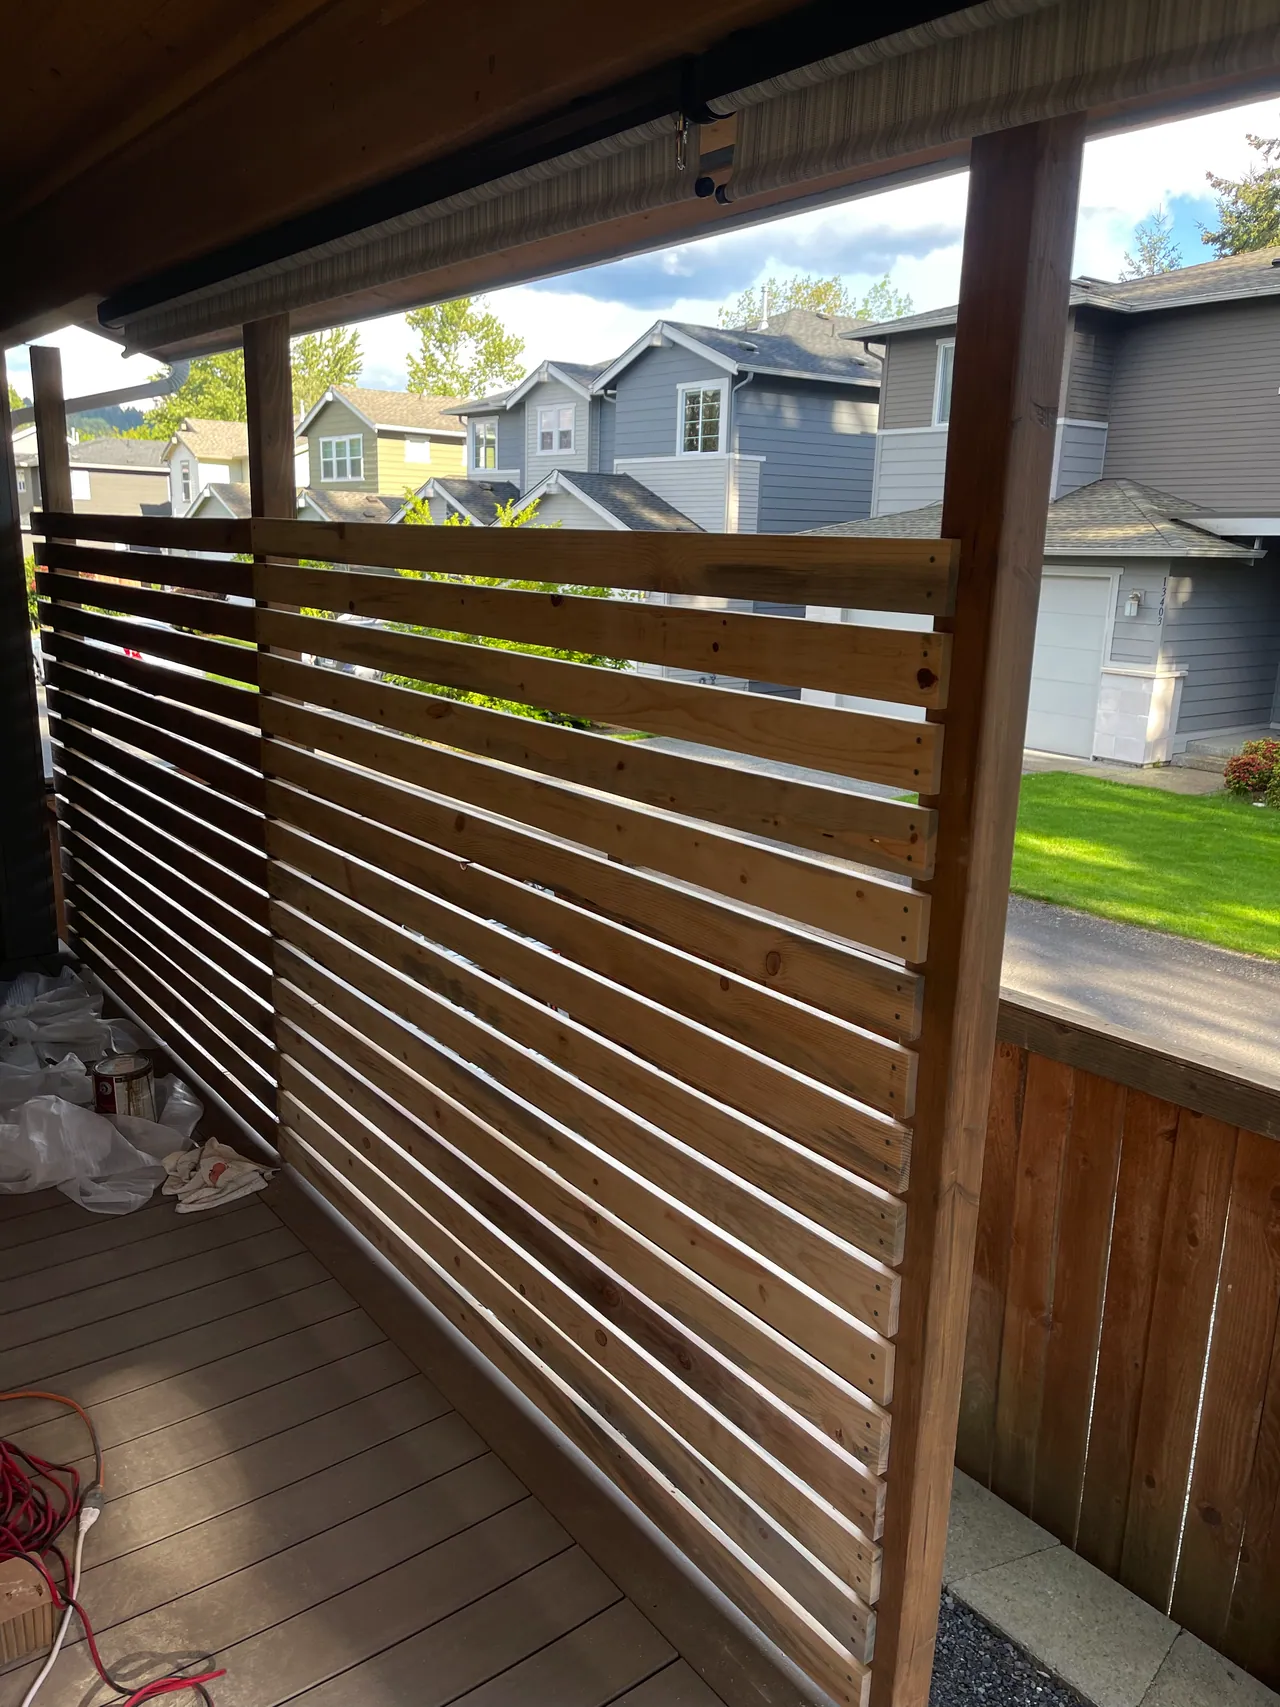
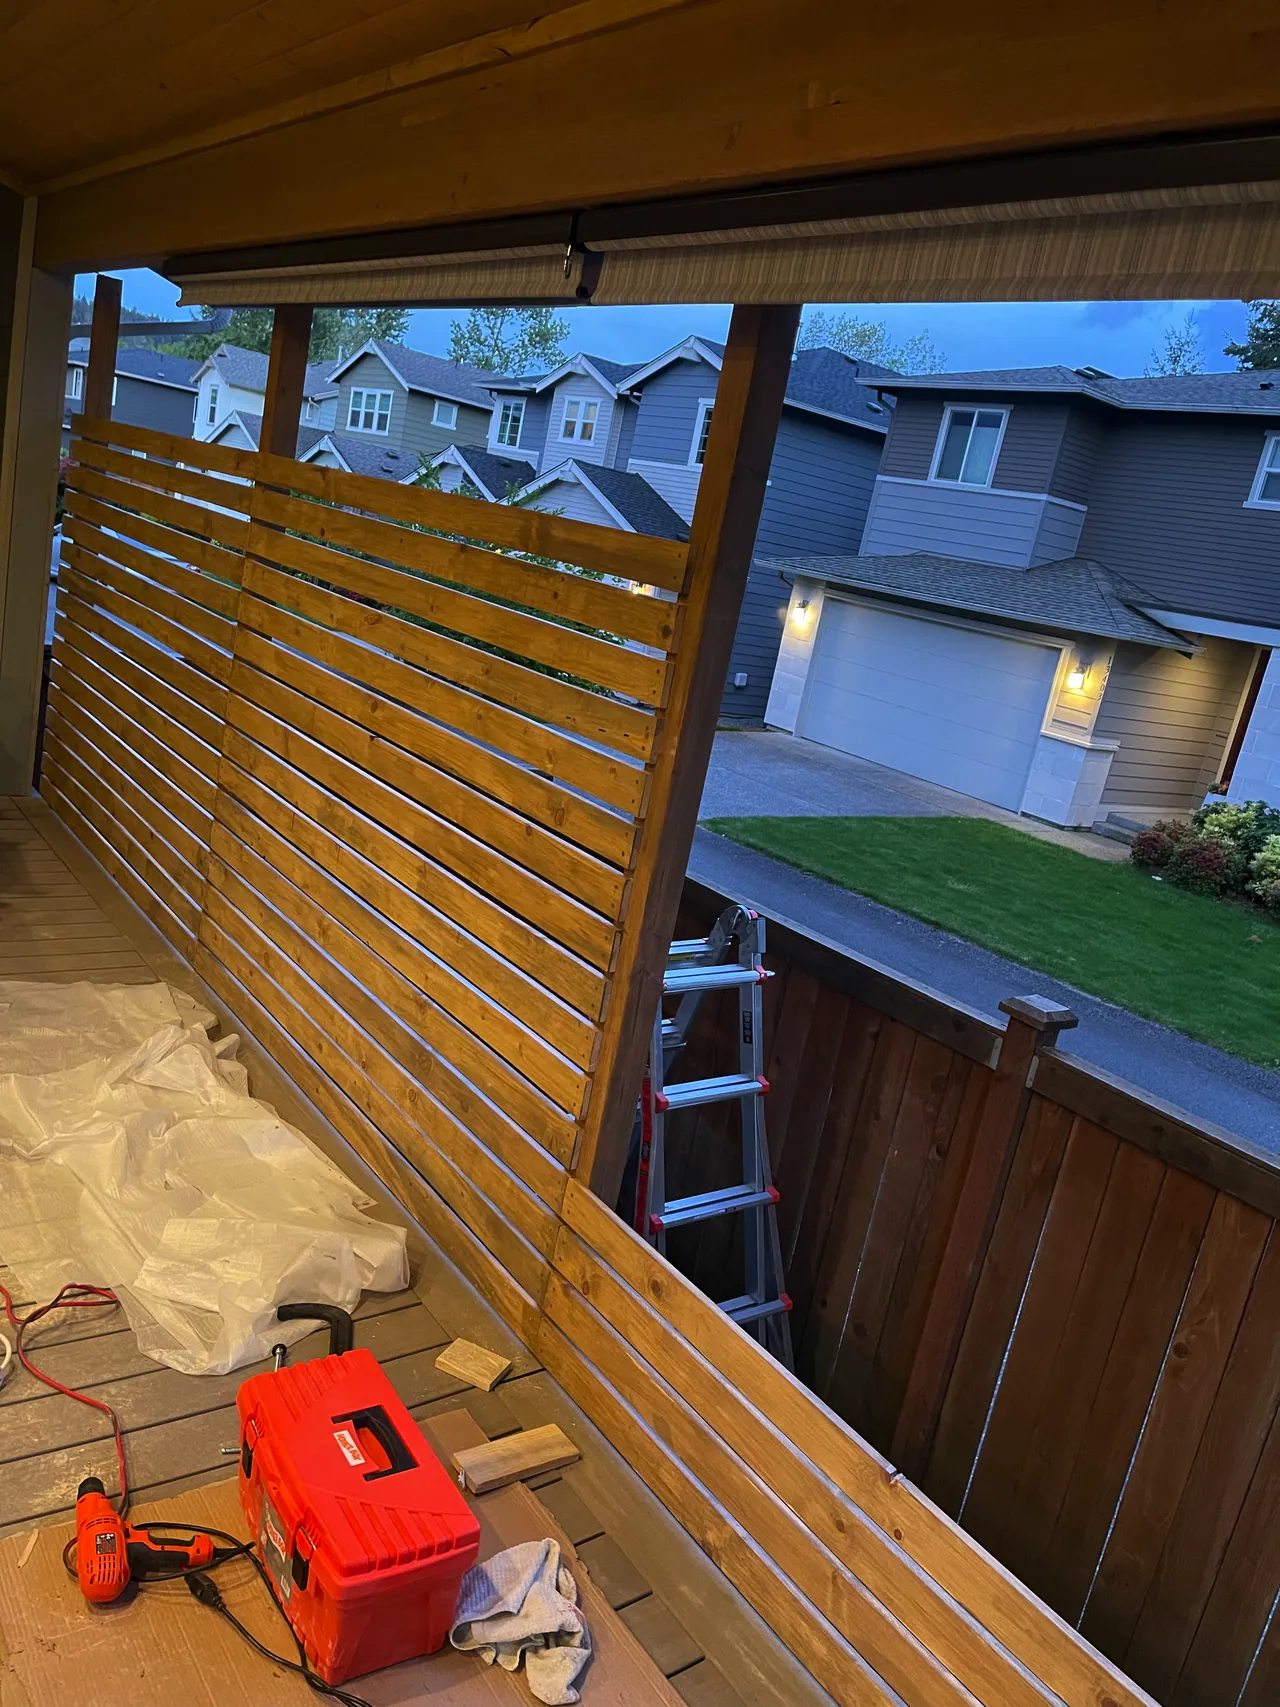
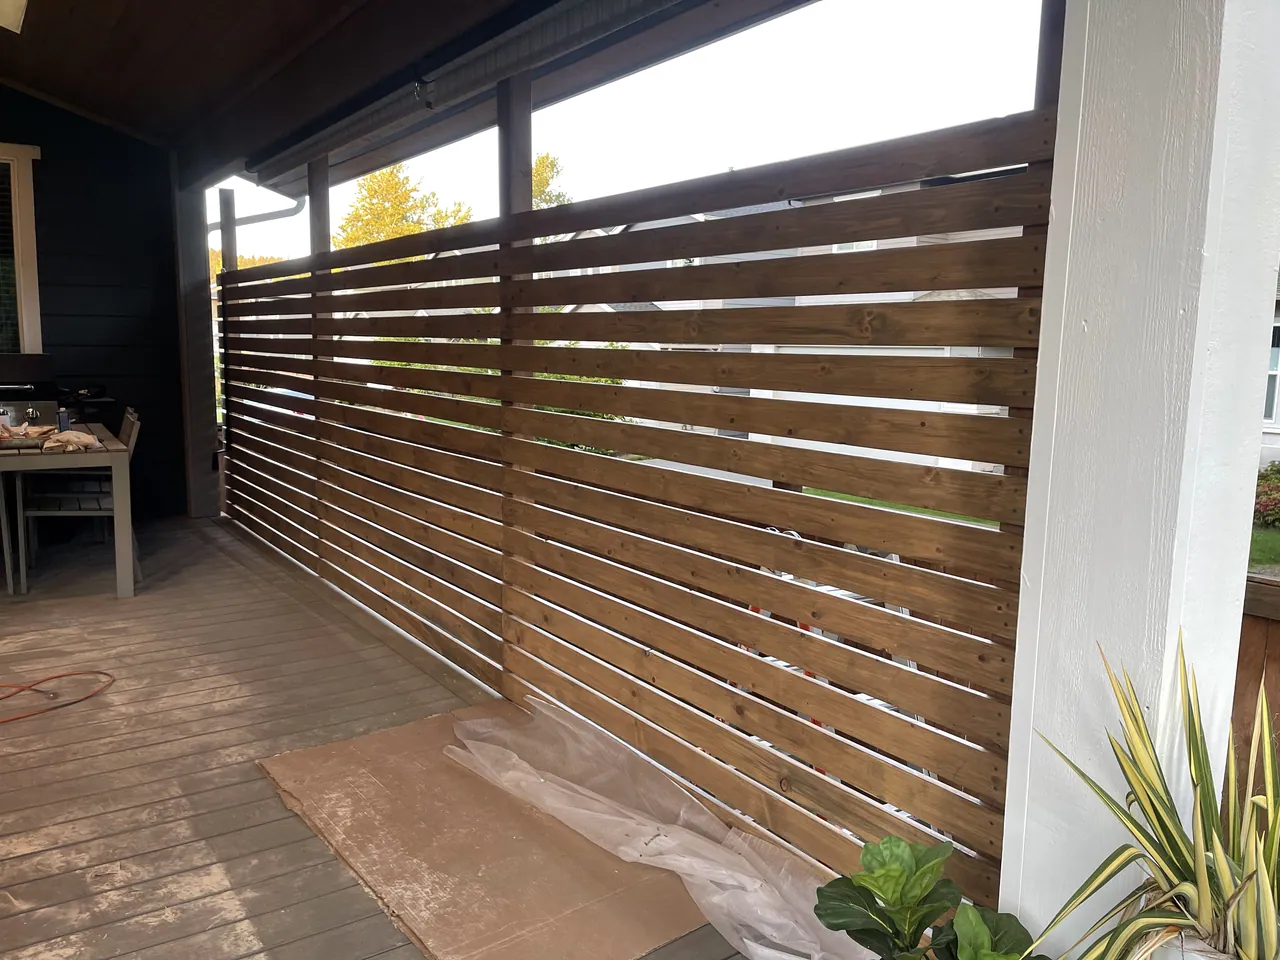
All boards were sanded previously. The first step to install a board is to cut it to the right size. In order to know the right size I used two clamps, took measurements. Once cut to the right size we needed to drill holes and screw the board to the posts. We used #7 x 2 in Phillips Exterior Screws since the boards are 1 in. thick ($32.97 5lb box). In order to keep the gap constant we used a board section. To accelerate locating the drilling spots for each board I created a stencil out of other board pieces.
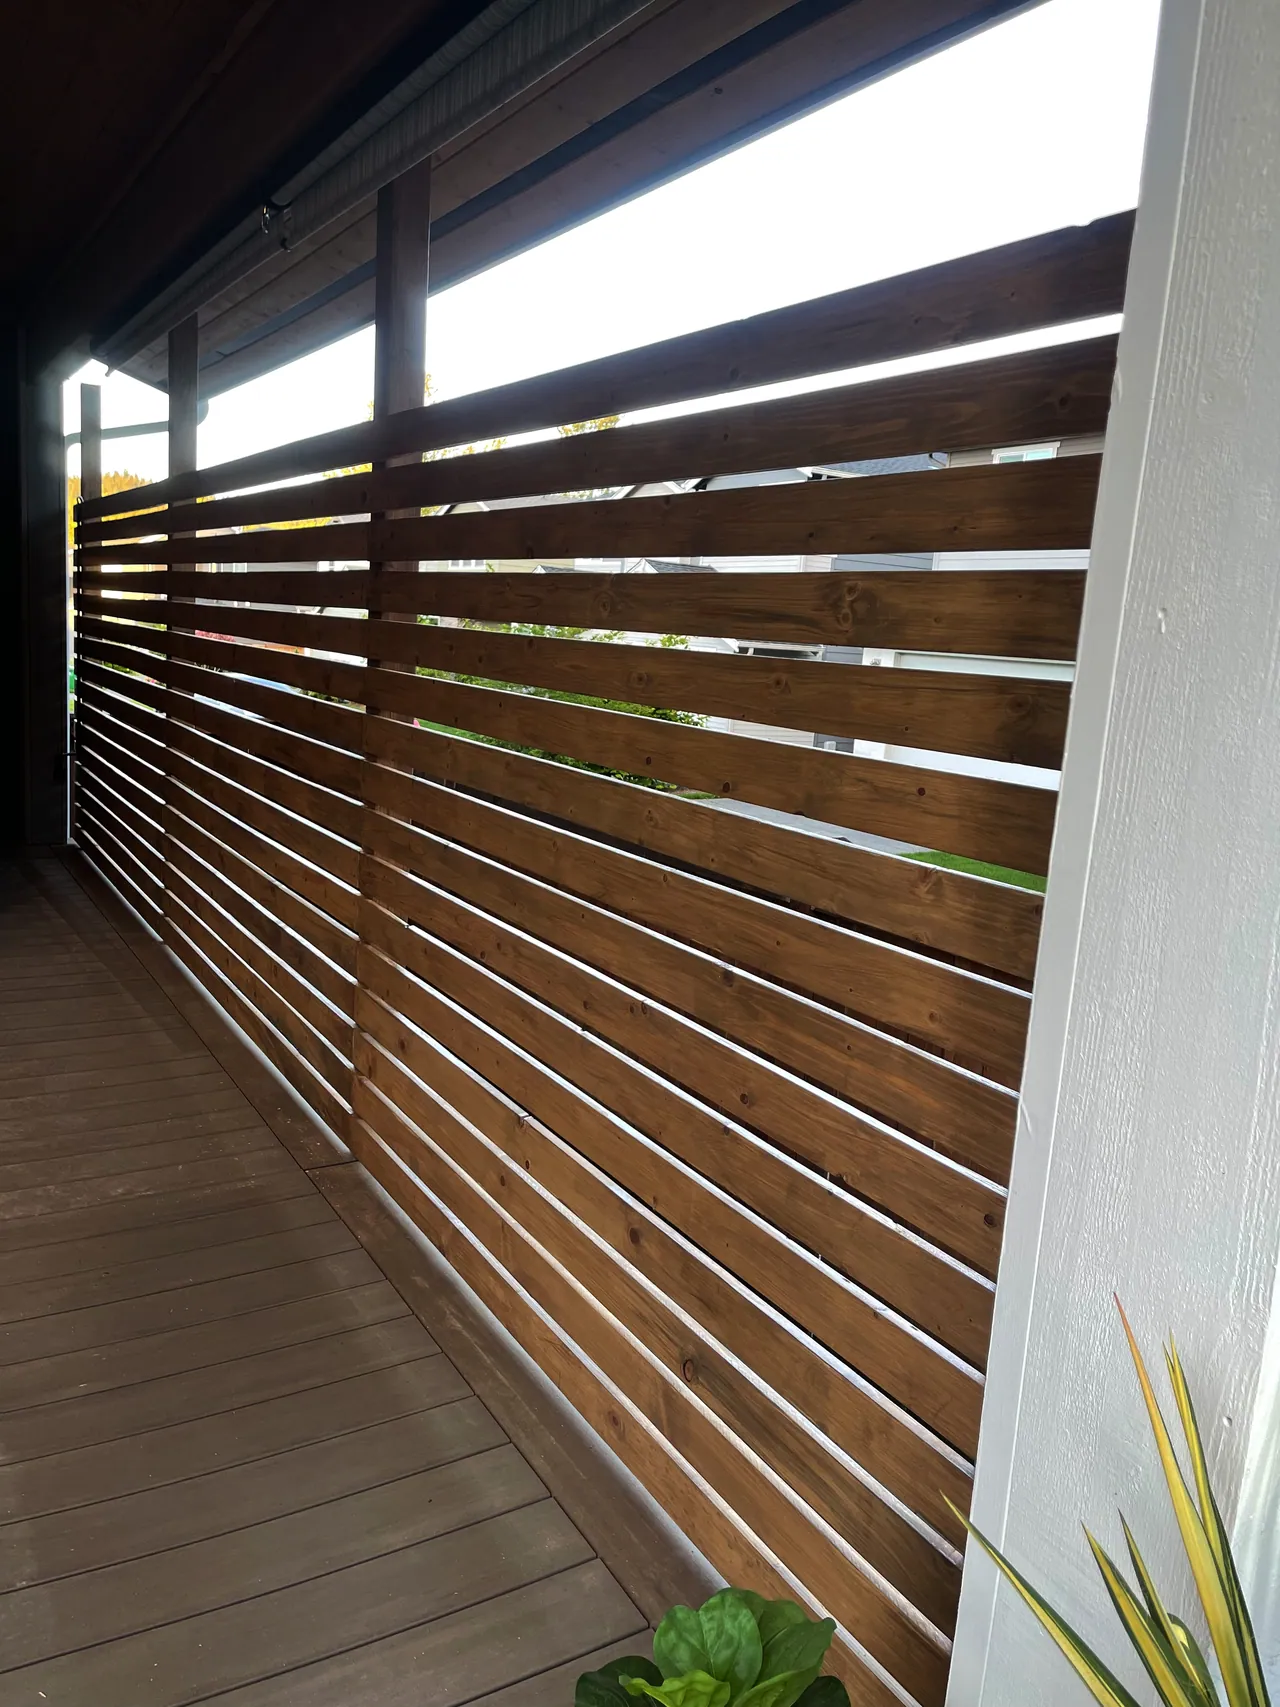
Once we’re done with the first panel, the other two are built the same way. The very last part is staining and we’re done! Ready for some outdoor time 😁
Cost breakdown
| Item | Amount | Price |
|---|---|---|
| 4x4 Posts | x 4 | $87.36 |
| Top braces | x 4 | $26.20 |
| Galvanized strap | x 8 | $4.56 |
| Pine boards | x48 | $335.04 |
| #6 1 1/4 in screws | 5 lb. box | $32.97 |
| #7 2 in screws | 5 lb. box | $32.97 |
| Wood stain | 1 gal. | $42.98 |
| Total | $562.08 + tax |
